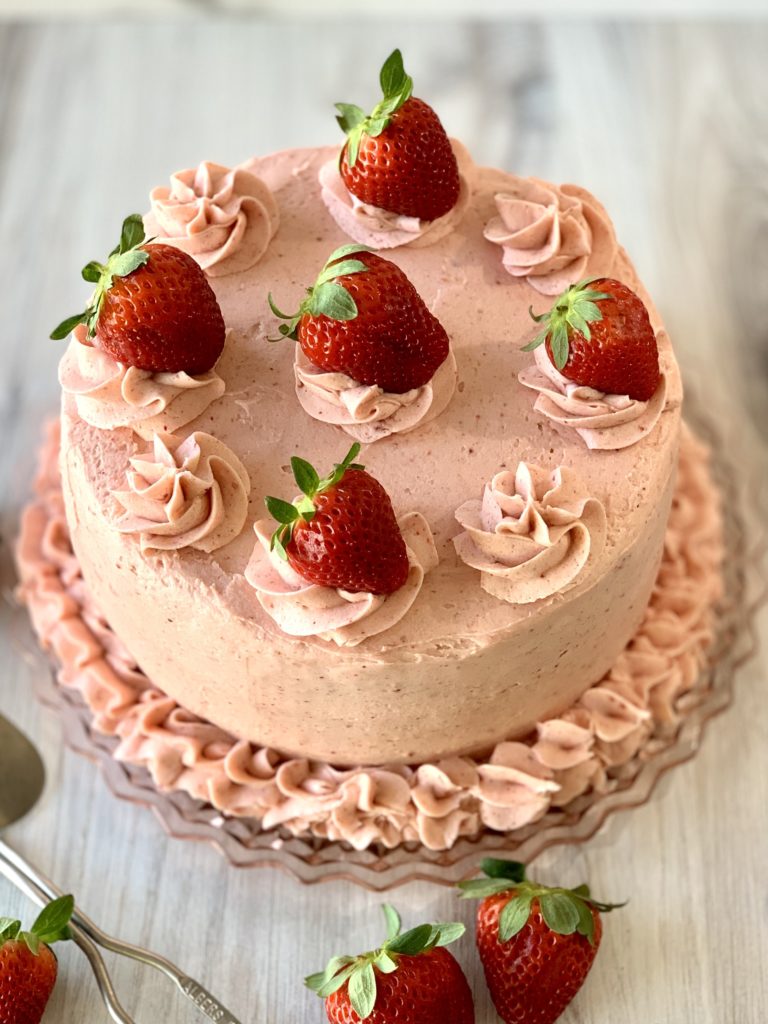
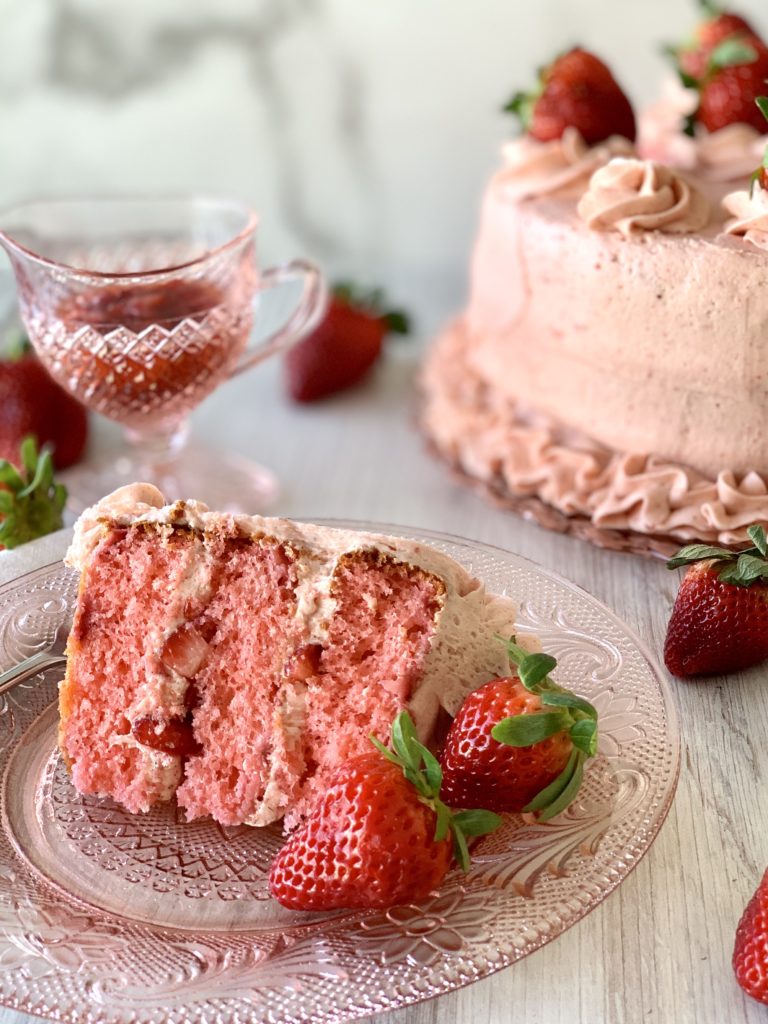
Strawberry Festival was just held in Plant City, Florida so it’s the perfect time for my Easy Strawberry Cake! My twist on the old-timey, semi-homemade easy strawberry cake is absolutely delicious. It’s moist, tender and packed with strawberries. It has that melt-in-your-mouth quality that makes you go back for a second slice. While the batter starts with a boxed white cake mix, yes that’s right, you can’t tell because it’s just bursting with fresh strawberry flavor throughout. There’s fresh strawberries in the batter, in the filling and it’s topped with a delicious strawberry buttercream frosting! This is a family favorite that’s on rotation.
CAKE MIX HISTORY
The first pre-made cake mix was produced in 1929 and packaged in a can! Hard to believe, but true. Ever since then grandmas everywhere begin baking and creating desserts we still enjoy today. Now this recipe is over 80 years old and it’s hard to pinpoint or credit any single baker. There are as many recipes for this boxed strawberry cake as there are grandmas, but they all include a box of white cake mix, a packet of strawberry jello, eggs and oil. Today I’m sharing my family’s version and it’s a winner every time.
This is one of those classic dump cakes so you don’t need to bring out any heavy equipment. A handheld electric mixer or a simple whisk will do the trick!
HERE’S HOW I MADE IT
Coat three 8-inch cake pans with butter and flour or with non-stick baking spray. I prefer to butter and flour the tins because I don’t know what’s in the baking spray, but no judging here, use whatever method you like. You can also line the bottom of each pan with parchment paper, but it’s not necessary for this bake, the three layers release just fine if evenly buttered and floured/sprayed. Pre-heat the oven to 350°F and position oven rack in the center. Finely dice 1 pound of fresh, hulled strawberries, divide into two cups (1 cup each for the batter and filling) and set aside.
Making the Filling
Combine 1 cup of diced strawberries with 1 teaspoon of granulated sugar and 1 teaspoon of vanilla bean paste or extract. I prefer the vanilla bean paste because you can see the vanilla bean specks, but vanilla extract works fine too. Stir to coat and combine the ingredients and set aside to macerate until ready to use.
Substitute: You can also combine 1 cup of fresh diced strawberries with 2 Tablespoons of strawberry preserves.
Making the Batter
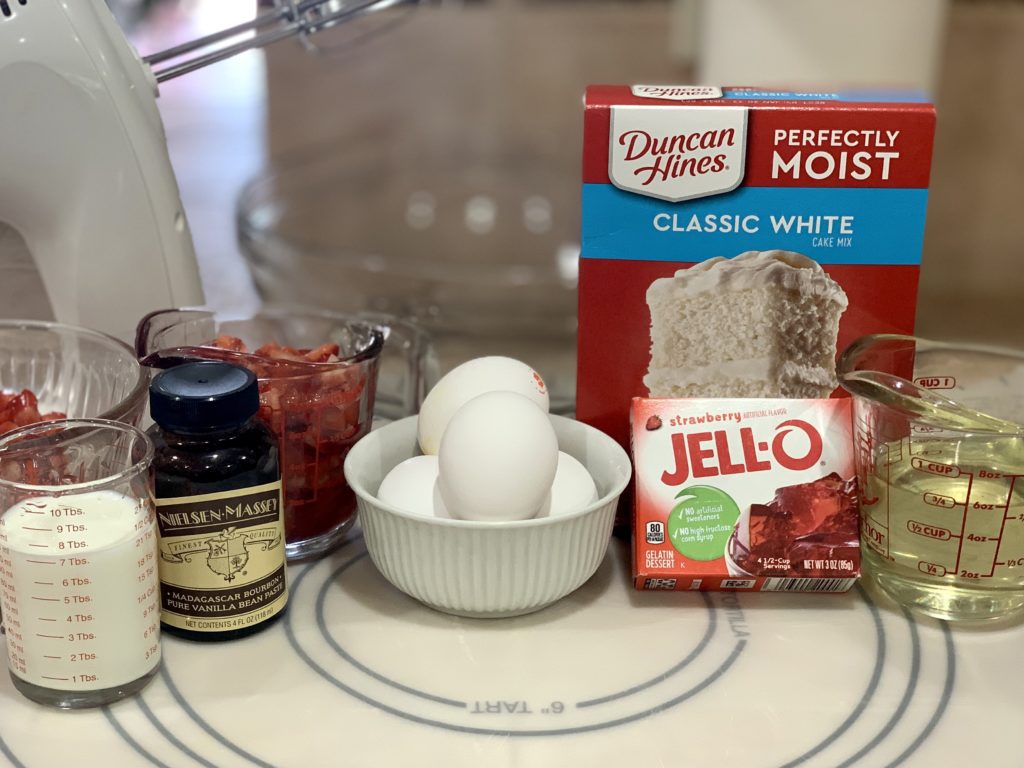
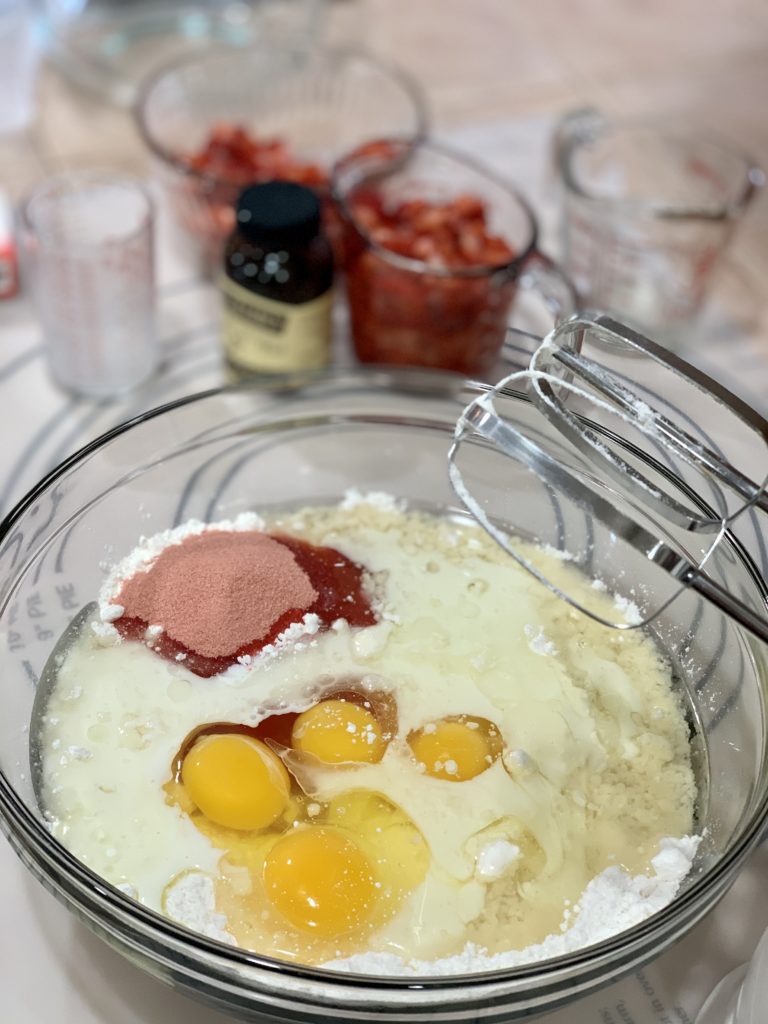
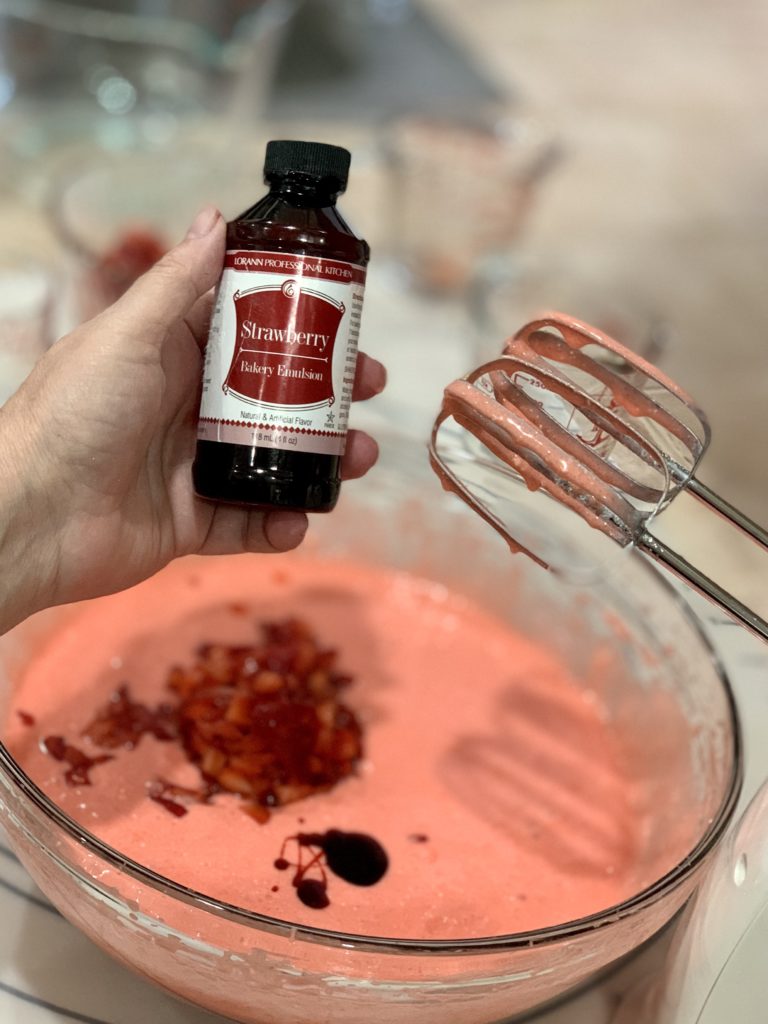
In a large mixing bowl, combine a box of Duncan Hines Classic White Cake Mix, 3-ounce packet of strawberry jello, 4 extra large eggs, 1/2 cup whole milk and 3/4 cup of canola or vegetable oil. Beat until all the batter has been well mixed and you don’t see any cake mix. Add a cup of diced fresh strawberries and 1 teaspoon of strawberry emulsion (optional) and mix with a spatula as not to smash the strawberries with the beaters. Evenly divide the batter among the three prepared baking pans, tap the pans on the counter to release any air bubbles. Bake at 350°F for 25-28 minutes or until a toothpick inserted in the center comes out clean. Remove from the oven and cool in their pans for 10 minutes before inverting and cooling completely on a wire rack.
Note: Don’t swap out the oil for butter. Oil makes all the difference in this cake.
Does it have to be Duncan Hines Classic White Cake Mix? Yes, it does. I find Duncan Hines Classic White Cake Mix to be moister. I’ve tried other brands and they are just not the same. If you can’t find Duncan Hines, just buy a white cake mix, not yellow. I usually stock up on cake mixes when I go to Walmart – they are very affordable.
What’s an emulsion? Unlike extracts that are alcohol based, emulsions are water based. Emulsion flavors do not “bake out” when subjected to high heat. They are preferred by professional bakers and are superior to extracts. Source at Michael’s or Amazon.
How Do You Know When Your Cake Has Baked? Chances are as soon as you smell your bake, it’s done. Yes, your nose knows! Even if the timer hasn’t gone off, as soon as you smell what you’re baking, it’s time to test for doneness. Inserting a toothpick or knife in the center and if it comes out clean, it’s done.
How Can I Quickly Cool Cake Layers? If you’re in a hurry, wrap your cake layers in plastic wrap after inverting and pop in the freezer for 10-15 minutes. If you need additional cooling time, transfer the layers to the refrigerator. Make sure they are completely cool before frosting or that buttercream will warm up and slide off. I speak from experience.
Making The Frosting
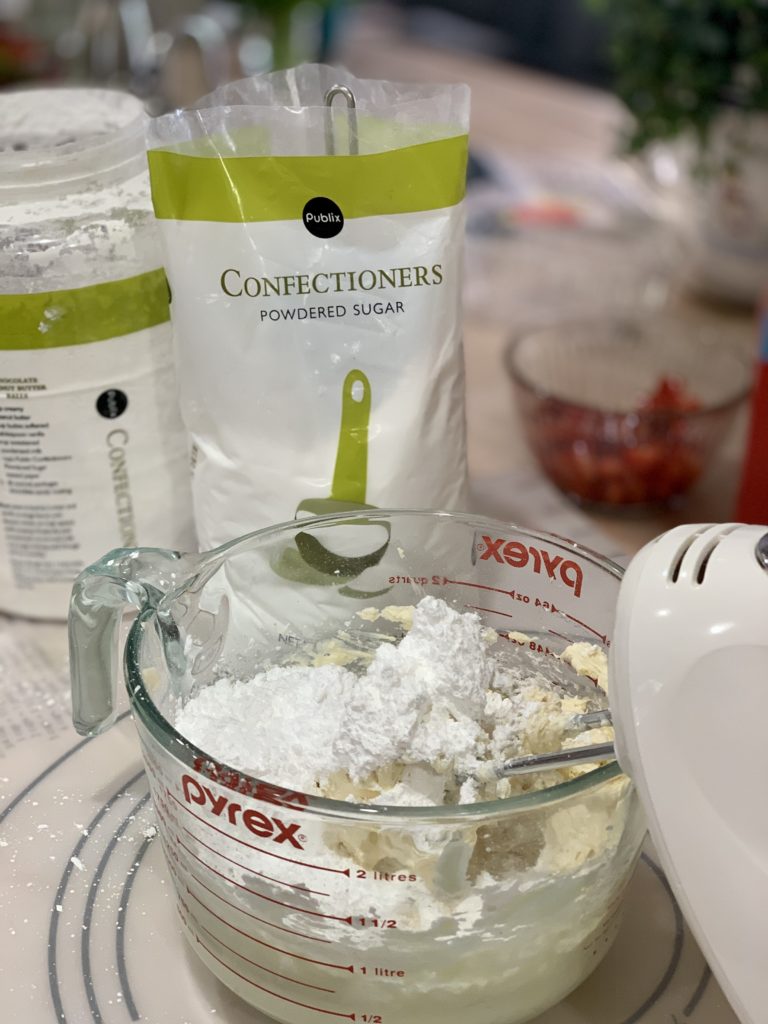
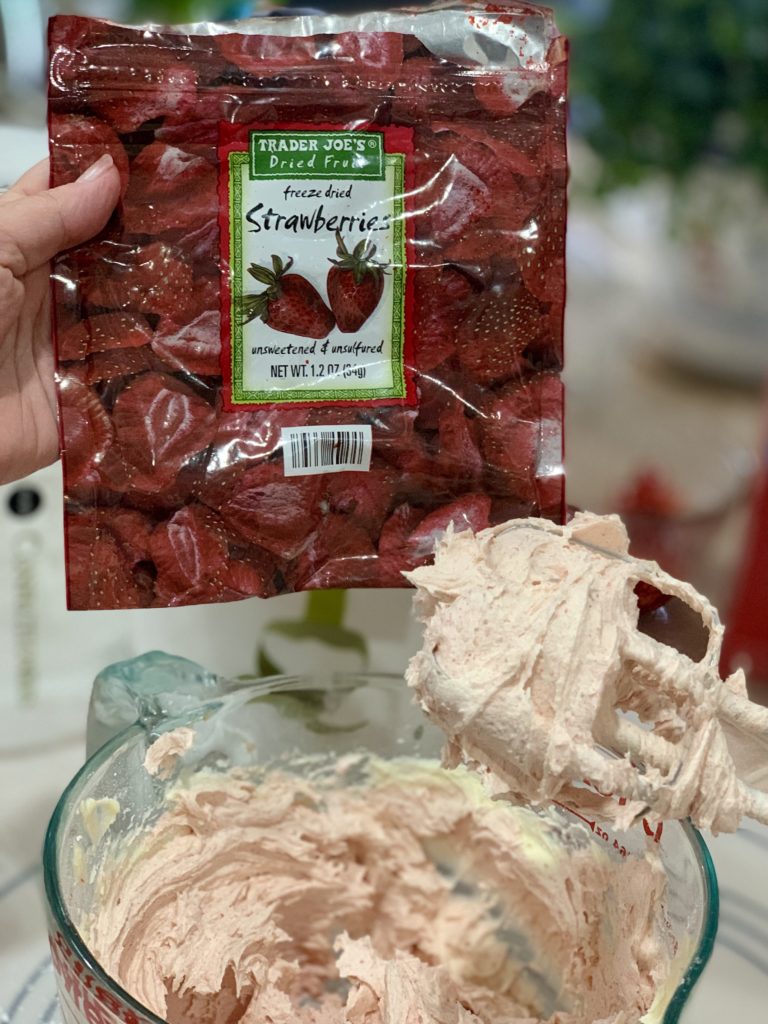
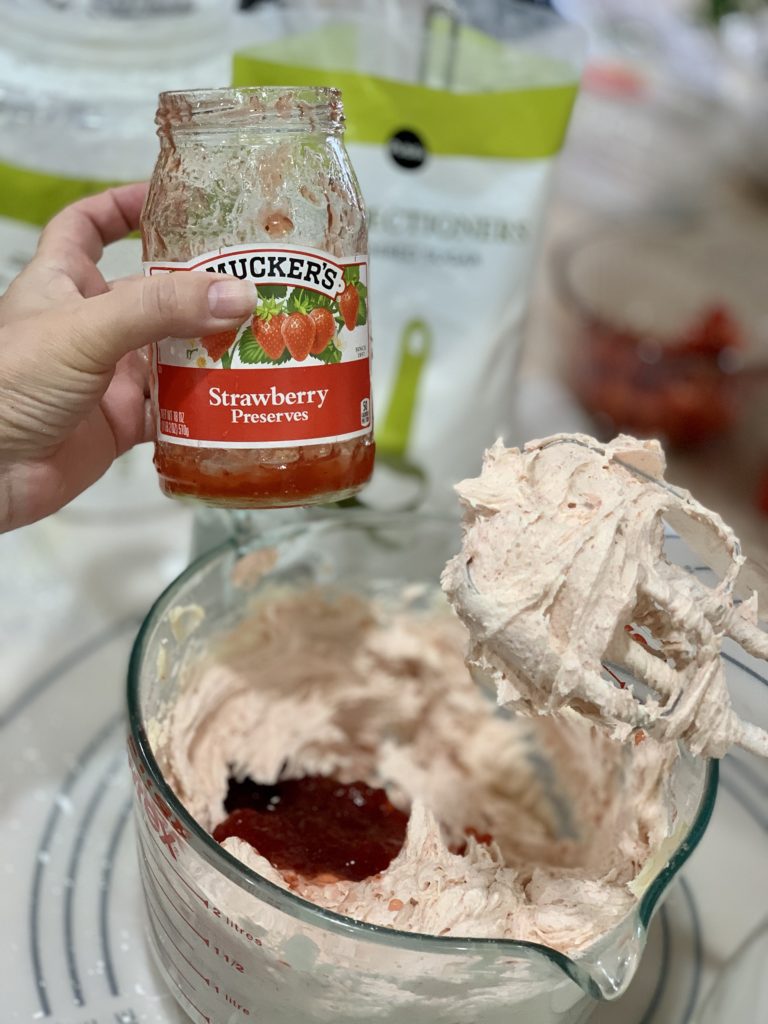
Cream 2 sticks of unsalted, room temperature butter with an electric mixer until light and fluffy, about 5 minutes. In a food processor blitz 1 cup of freeze dried strawberries until it’s a powder and sift to remove any large pieces. Add to the creamed butter and combine. The powdered strawberry will turn the butter a light pink color and it adds a lot of strawberry flavor without any extra moisture. Sift six cups of powdered sugar and add to the creamed butter one cup at a time, scraping the sides of the bowl after each cup. Add 2 teaspoons vanilla bean paste or extract and 1/4 cup of strawberry preserves.
Note: If the frosting is too thick, you can add a teaspoon of whole milk at a time, until it reaches the consistency you like. I didn’t add any milk to my frosting. Additionally, if the frosting is too loose, add more powdered sugar.
Why freeze dried vs. fresh strawberries? Fresh strawberries are juicy and all that liquid from the strawberries can split or curdle the buttercream. The freeze dried strawberries add all the natural strawberry flavor without splitting the buttercream. It works great! I’ve only been able to source freeze dried fruits at Trader Joe’s. If you can’t source them, just increase the amount of strawberries preserves plus a capful of strawberry emulsion to the frosting. If you don’t mind split frosting, add fresh strawberries.
Assembly
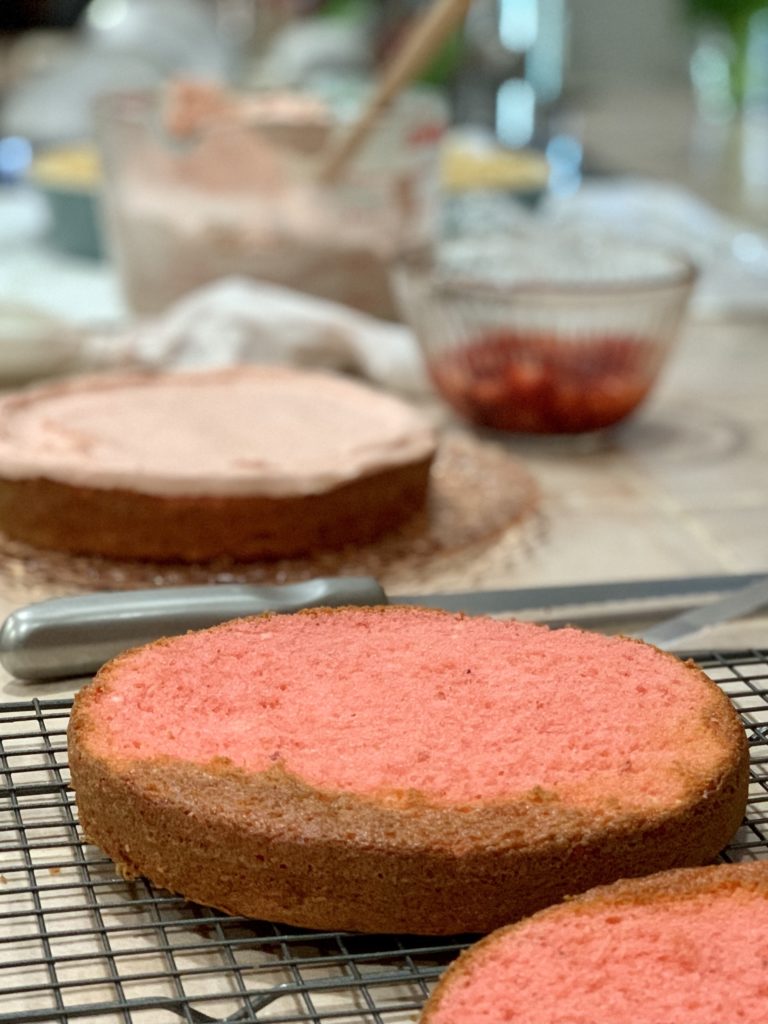
I didn’t use my Wilton Even Bake Strips to wrap the baking tins so my cake layers baked uneven. That’s okay because this is an easy cake after all and I’m not going for perfection. Since I didn’t want my cake to lean, I trimmed and leveled each layer before stacking and frosting. A good serrated bread knife will do the job just fine. Be patient, go slow and don’t angle the knife. Once the three layers are leveled, you can begin to stack and frost. Don’t forget to sample the trimmed cake!
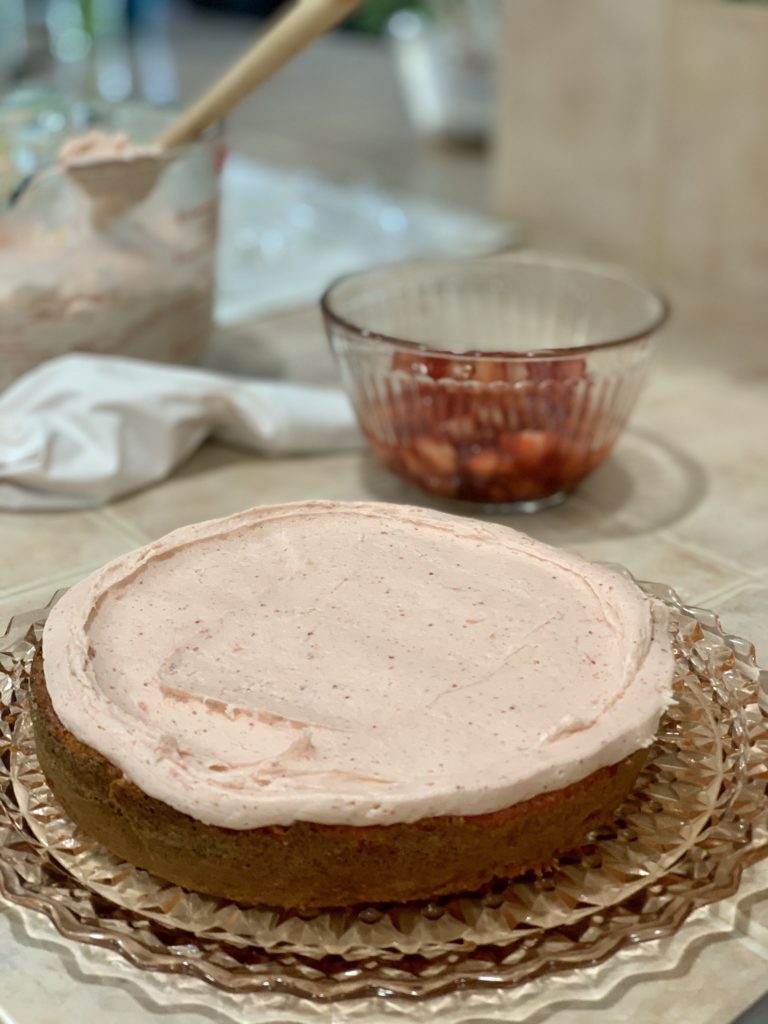
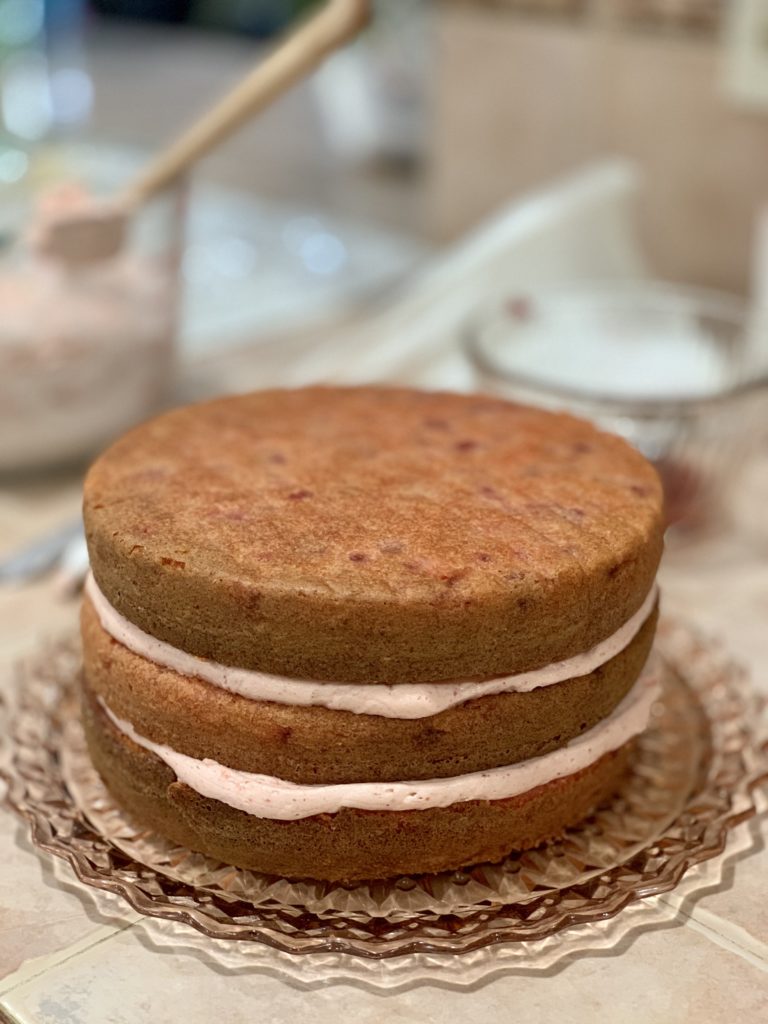
Place the first layer on your cake plate with the trimmed side up. Fill a piping bag (no tip) with frosting and pipe a dam or border around the top edge so the filling doesn’t spill out. Pipe a few thinner rings or circles of frosting in the center and gently spread the frosting around with an offset spatula until the top of the cake is covered. The frosting will create a barrier so when you add the fresh fruit, it doesn’t disappear into the cake.
Note: By piping a few rings of frosting in the center, you use shorter strokes and reduce the chances of pulling up cake crumbs.
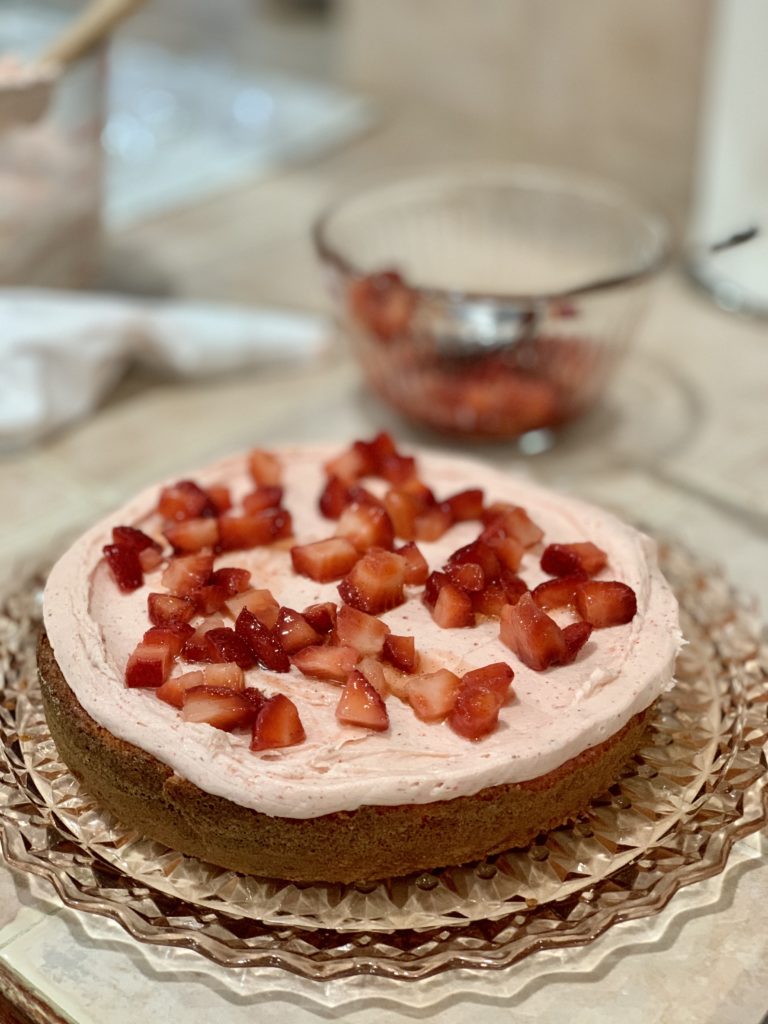
By now the macerated fruit has released quite a bit of juice. Use a slotted spoon to scoop out half of the fruit and allow the juice to drain back into the bowl. Sprinkle the drained strawberry pieces over the frosting as shown above and place the second layer directly on top. It doesn’t matter if the second layer is placed trimmed side up or down. Repeat the steps with the second layer – pipe dam around the edge, pipe frosting rings in the center & spread evenly, drain remaining fruit and sprinkle on top. Place the third layer trim side down so you have a smooth surface on top.
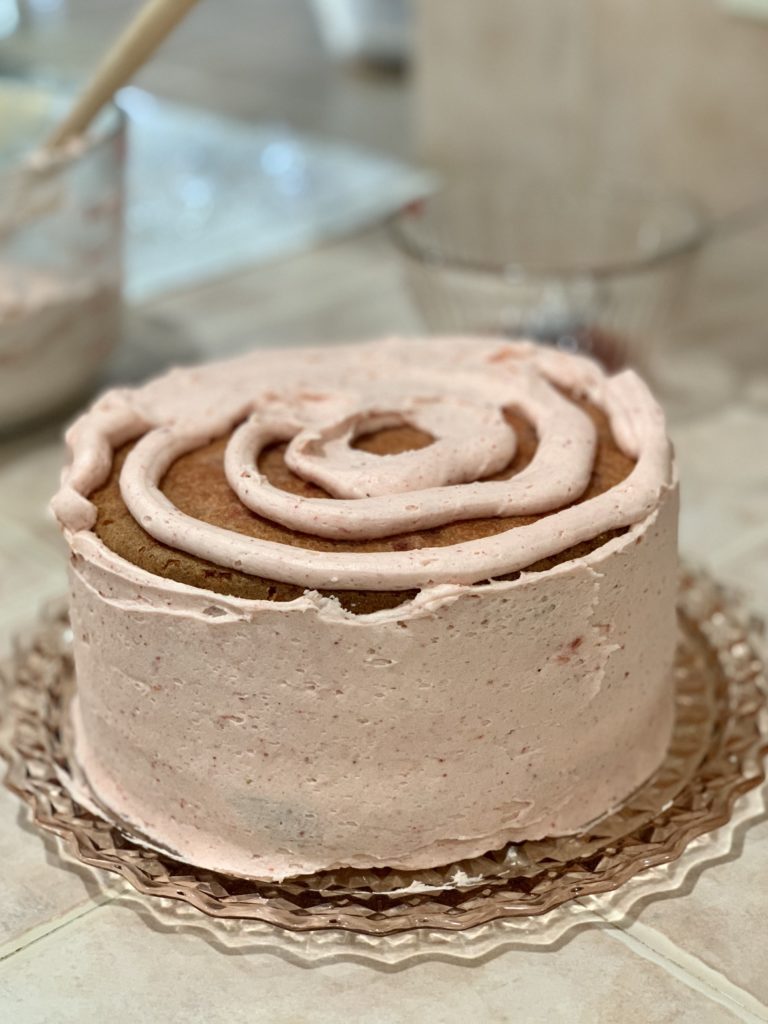
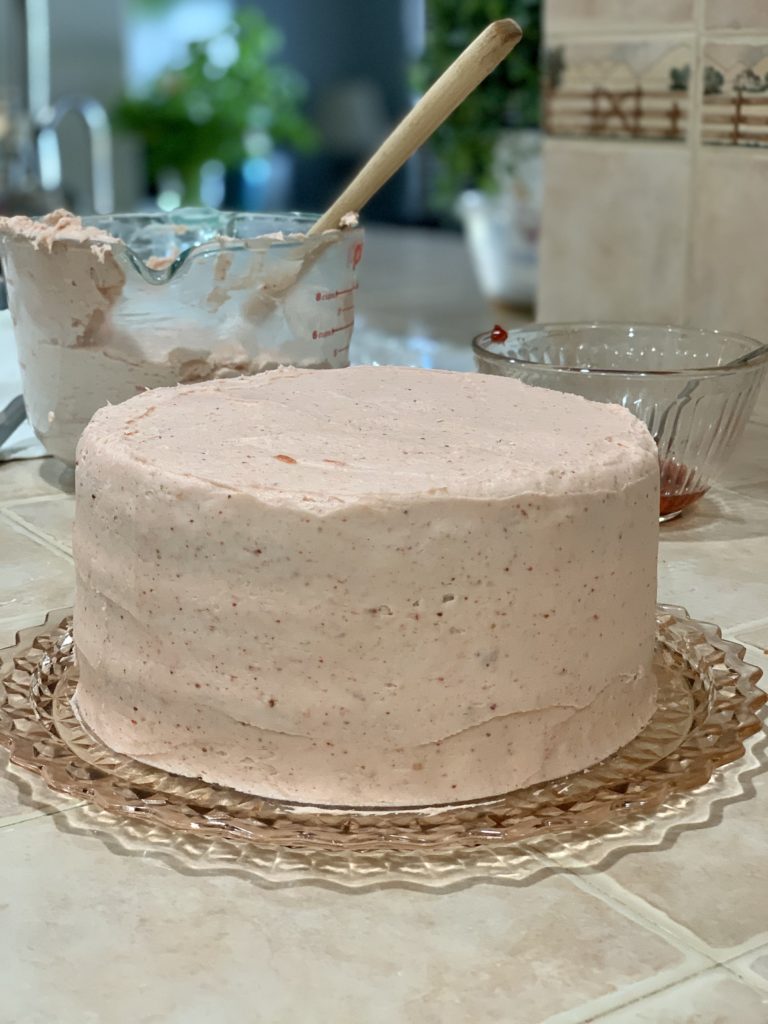
Pipe rings around the sides and top of the cake. Using an offset spatula, spread the frosting in one direction while you rotate the cake. If your frosting was piped thin, you may end up with a crumb coating. I piped my frosting thick enough where I was able to frost the cake. If you want a perfect, flawless finish, dip the offset spatula in hot water and smooth out any frosting imperfections. I didn’t do that and I embrace all the imperfections of a homemade cake. I don’t own a revolving cake stand/turntable or a lazy Susan so smoothing the cake was a little challenging for me, but in the end it turned out just fine – so if you don’t have a revolving cake stand, you can still frost your cake!
What’s a Crumb Coating? A crumb coating is a very thin layer of frosting that seals the cake from loose crumbs. A crumb coating is typically done before applying fondant or to achieve the rustic or naked cake look.
Now all I need to do was add decorative touches. I fitted a piping bag with a star tip and added enough frosting to create a border around the bottom and a few rosettes on top. A few whole strawberries finished the cake. I didn’t cut the strawberries because I didn’t want the juice to drip down the cake.
This cake looks and tastes like it was picked right out of a strawberry patch and you can’t tell it all started with a box! The fresh diced strawberries look like little gems and the cake is filled with bright and fresh flavors letting you know spring is here! I served the juices from the macerated berries on the side because that’s how we like it. This cake is always a success and a crowd pleaser. I hope your family loves it as much as mine does.
Even though I was generous with my frosting, I still had some left over. I froze the leftover frosting and I’ll be using it in a week or so. Frozen frosting thaws best overnight in the refrigerator. If very thick, you may want to fluff it up with a hand held mixer and if too dry, add a teaspoon of milk at a time until it reaches the desired consistency.
This easy cake is also perfect in a 9X13 sheet pan. Bake for about 25-28 minutes until a toothpick comes out clean and you just frost the top! If you don’t reduce the frosting amount, freeze the remaining frosting for another baking day.
Easy Strawberry Cake
A classic and delicious strawberry cake that rivals any bakery cake! Packed with fresh strawberries, this cake is as easy as opening a box.
Ingredients
BATTER & FRUIT FILLING
- 1 lb. fresh strawberries, hulled, diced and divided (1 cup for batter, 1 cup for filling)
- 1 teaspoon granulated sugar
- 1 teaspoon vanilla bean paste or extract
- 1 15.25-ounce classic white cake mix prefer Duncan Hines brand
- 1 3-ounce packet of strawberry gelatine prefer Jell-o brand
- 4 extra large eggs, room temperature
- ¾ cup canola or vegetable oil (don't substitute with butter)
- ½ cup whole milk
- 1 teaspoon strawberry emulsion (optional)
FROSTING
- 2 sticks unsalted butter, room temperature prefer Plugra or Kerrygold brand
- 1 cup freeze dried strawberries sourced at Trader Joe's
- 6 cups powdered sugar, sifted
- 2 teaspoons vanilla bean paste or extract
- ¼ cup strawberry preserves prefer Bonne Maman, Braswell's or Smucker's
- garnish with fresh whole strawberries
Instructions
-
Preheat oven to 350°F, position oven rack in the center and grease and flour three 8-inch round cake pans or the baking pan of your choice. Set aside.
BATTER & FILLING
-
Hull and dice 1 pound of strawberries (yields 2 cups) and divide in half. In a small bowl, combine 1 cup of diced strawberries with 1 teaspoon of granulated sugar and 1 teaspoon of vanilla bean paste/extract. Set aside to macerate. Set aside the second cup to be folded into the batter.
-
In a large mixing bowl, combine white cake mix, strawberry gelatine, eggs, oil and milk with a handheld electric mixer or whisk until completely mixed and you don't see any white cake mix.
-
Fold in the diced strawberries and strawberry emulsion.
Note: If you don't have strawberry emulsion, just omit it. If added, it enhances the strawberry flavor.
-
Divide the batter evenly between the three prepared cake pans. Bake for 25-28 minutes and test for doneness by inserting a toothpick in the center. If it comes out clean, your cake is done.
-
Allow to cool in the cake pans for 10 minutes before inverting onto a cooling rack and completely cooling to room temperature.
FROSTING
-
While the cake layers cool, cream 2 sticks of unsalted butter with an electric mixer until light and fluffy, about 5 minutes.
-
In a food processor, blitz 1 cup of freeze dried strawberries until powder and sift to remove any larger pieces. Set aside. Sift the powdered sugar and set aside in a separate bowl.
-
Add the powdered strawberries to the creamed butter and one cup at a time of powdered sugar. Beat until blended and scrape the sides of the bowl after each cup of sugar.
Note: Taste frosting. If too sweet, add a pinch of kosher salt.
-
Add 2 teaspoons of vanilla bean paste or extract and ¼ cup of strawberry preserves. Beat on low speed to combine, then beat on medium until light and fluffy, about 3 minutes.
-
Set frosting aside and cover with plastic wrap to prevent drying out until ready to use.
ASSEMBLY
-
Once the cakes have cooled completely, use a serrated bread knife to level each cake layer by removing the dome top.
-
Place the first layer on a cake plate with the trimmed side up. Fill a piping bag with frosting and pipe a border around the edge of the cake. Pipe a few thinner rings of frosting on top and spread evenly using an offset spatula.
Tip: If you don't have a piping bag, use a large gallon size plastic bag and snip the tip. Twist and secure the top as you apply pressure and frost the cake.
-
Use a slotted spoon to remove half of the macerated strawberries and allow the juices to drain back into the bowl. Evenly sprinkle the diced strawberries over the frosting and place the second cake layer on top.
Note: Reserve the strawberry juices and serve on the side with the cake.
-
Repeat steps with the second layer — pipe border, pipe frosting in the center and spread evenly, drain remaining fruit and sprinkle on top. Place third cake layer trim side down on top.
-
Pipe rings of frosting around the sides and top of the cake. Use the offset spatula to spread the frosting in one direction as you rotate the cake plate in the opposite direction. Once the cake is covered and smooth, you can add a piping tip to the piping bag to decorate the cake. Garnish with fresh whole strawberries.
Recipe Notes
Tip: If you don’t have a decorative piping tip, you can decorate the cake with a spoon and make swirls or a fork and make markings on the frosting.
If making a sheet cake, you may want to reduce the frosting. If you don’t, you can freeze the frosting up to three months. When ready to use, thaw overnight in the refrigerator.


