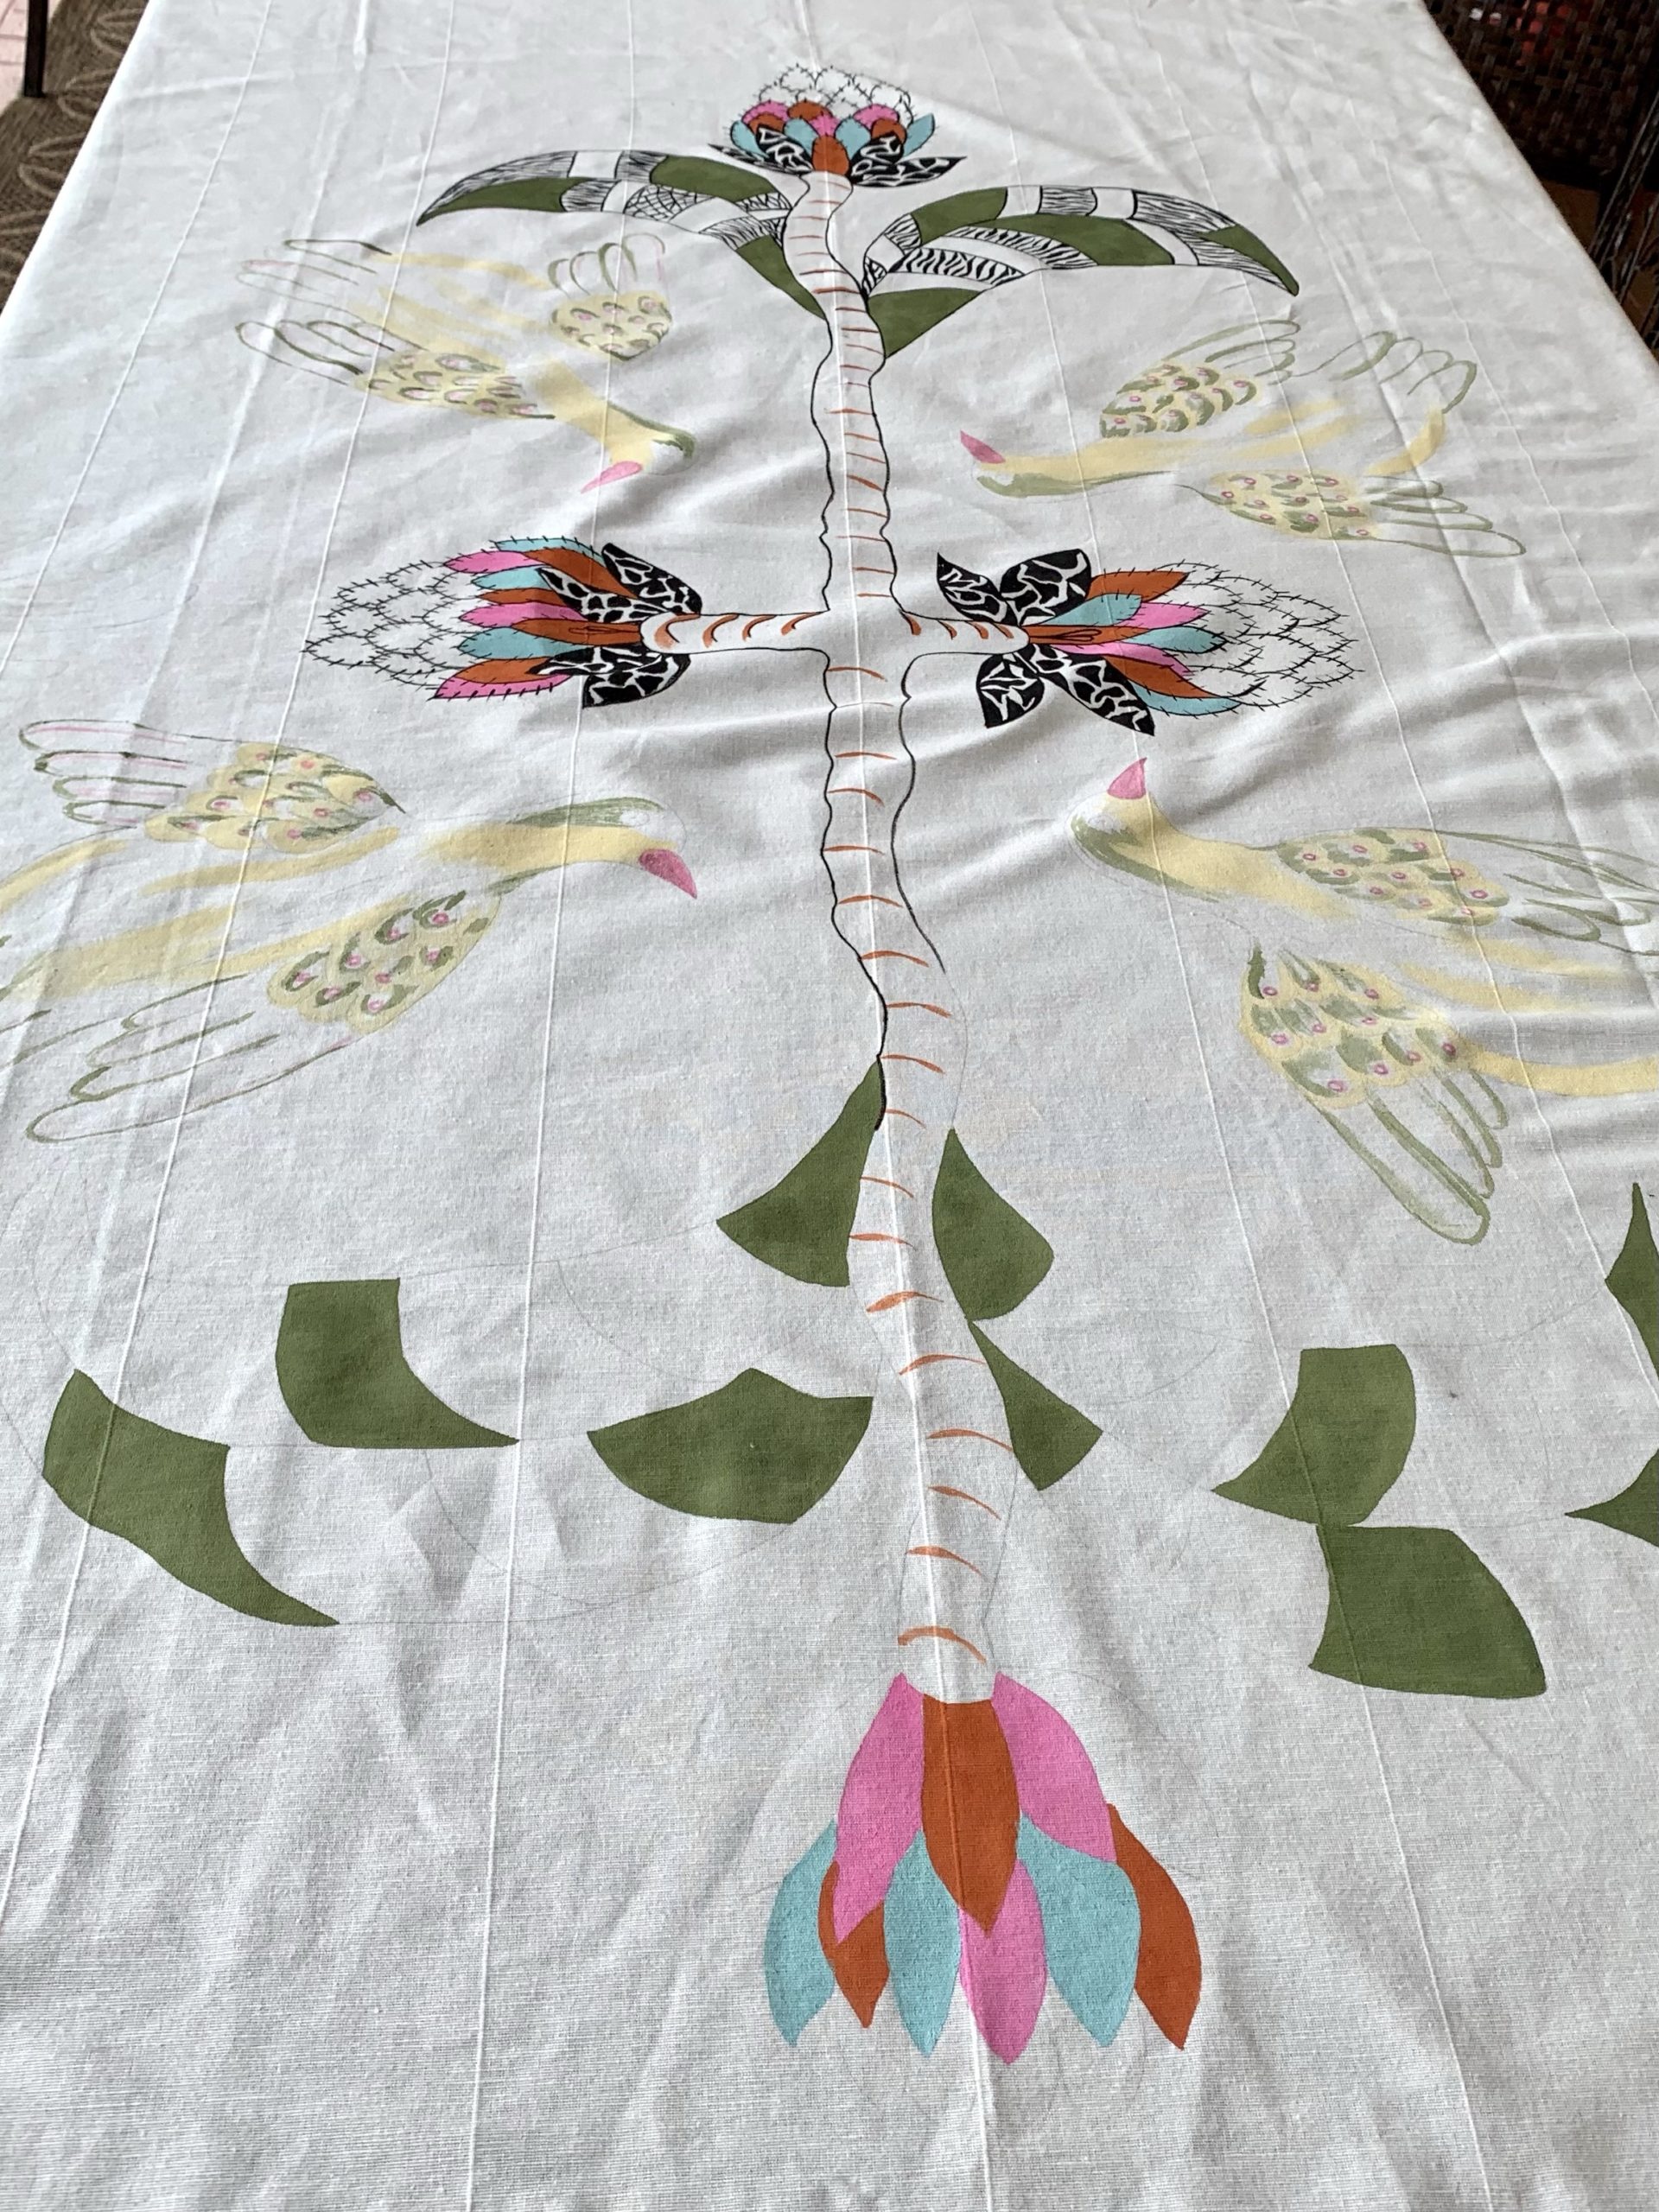
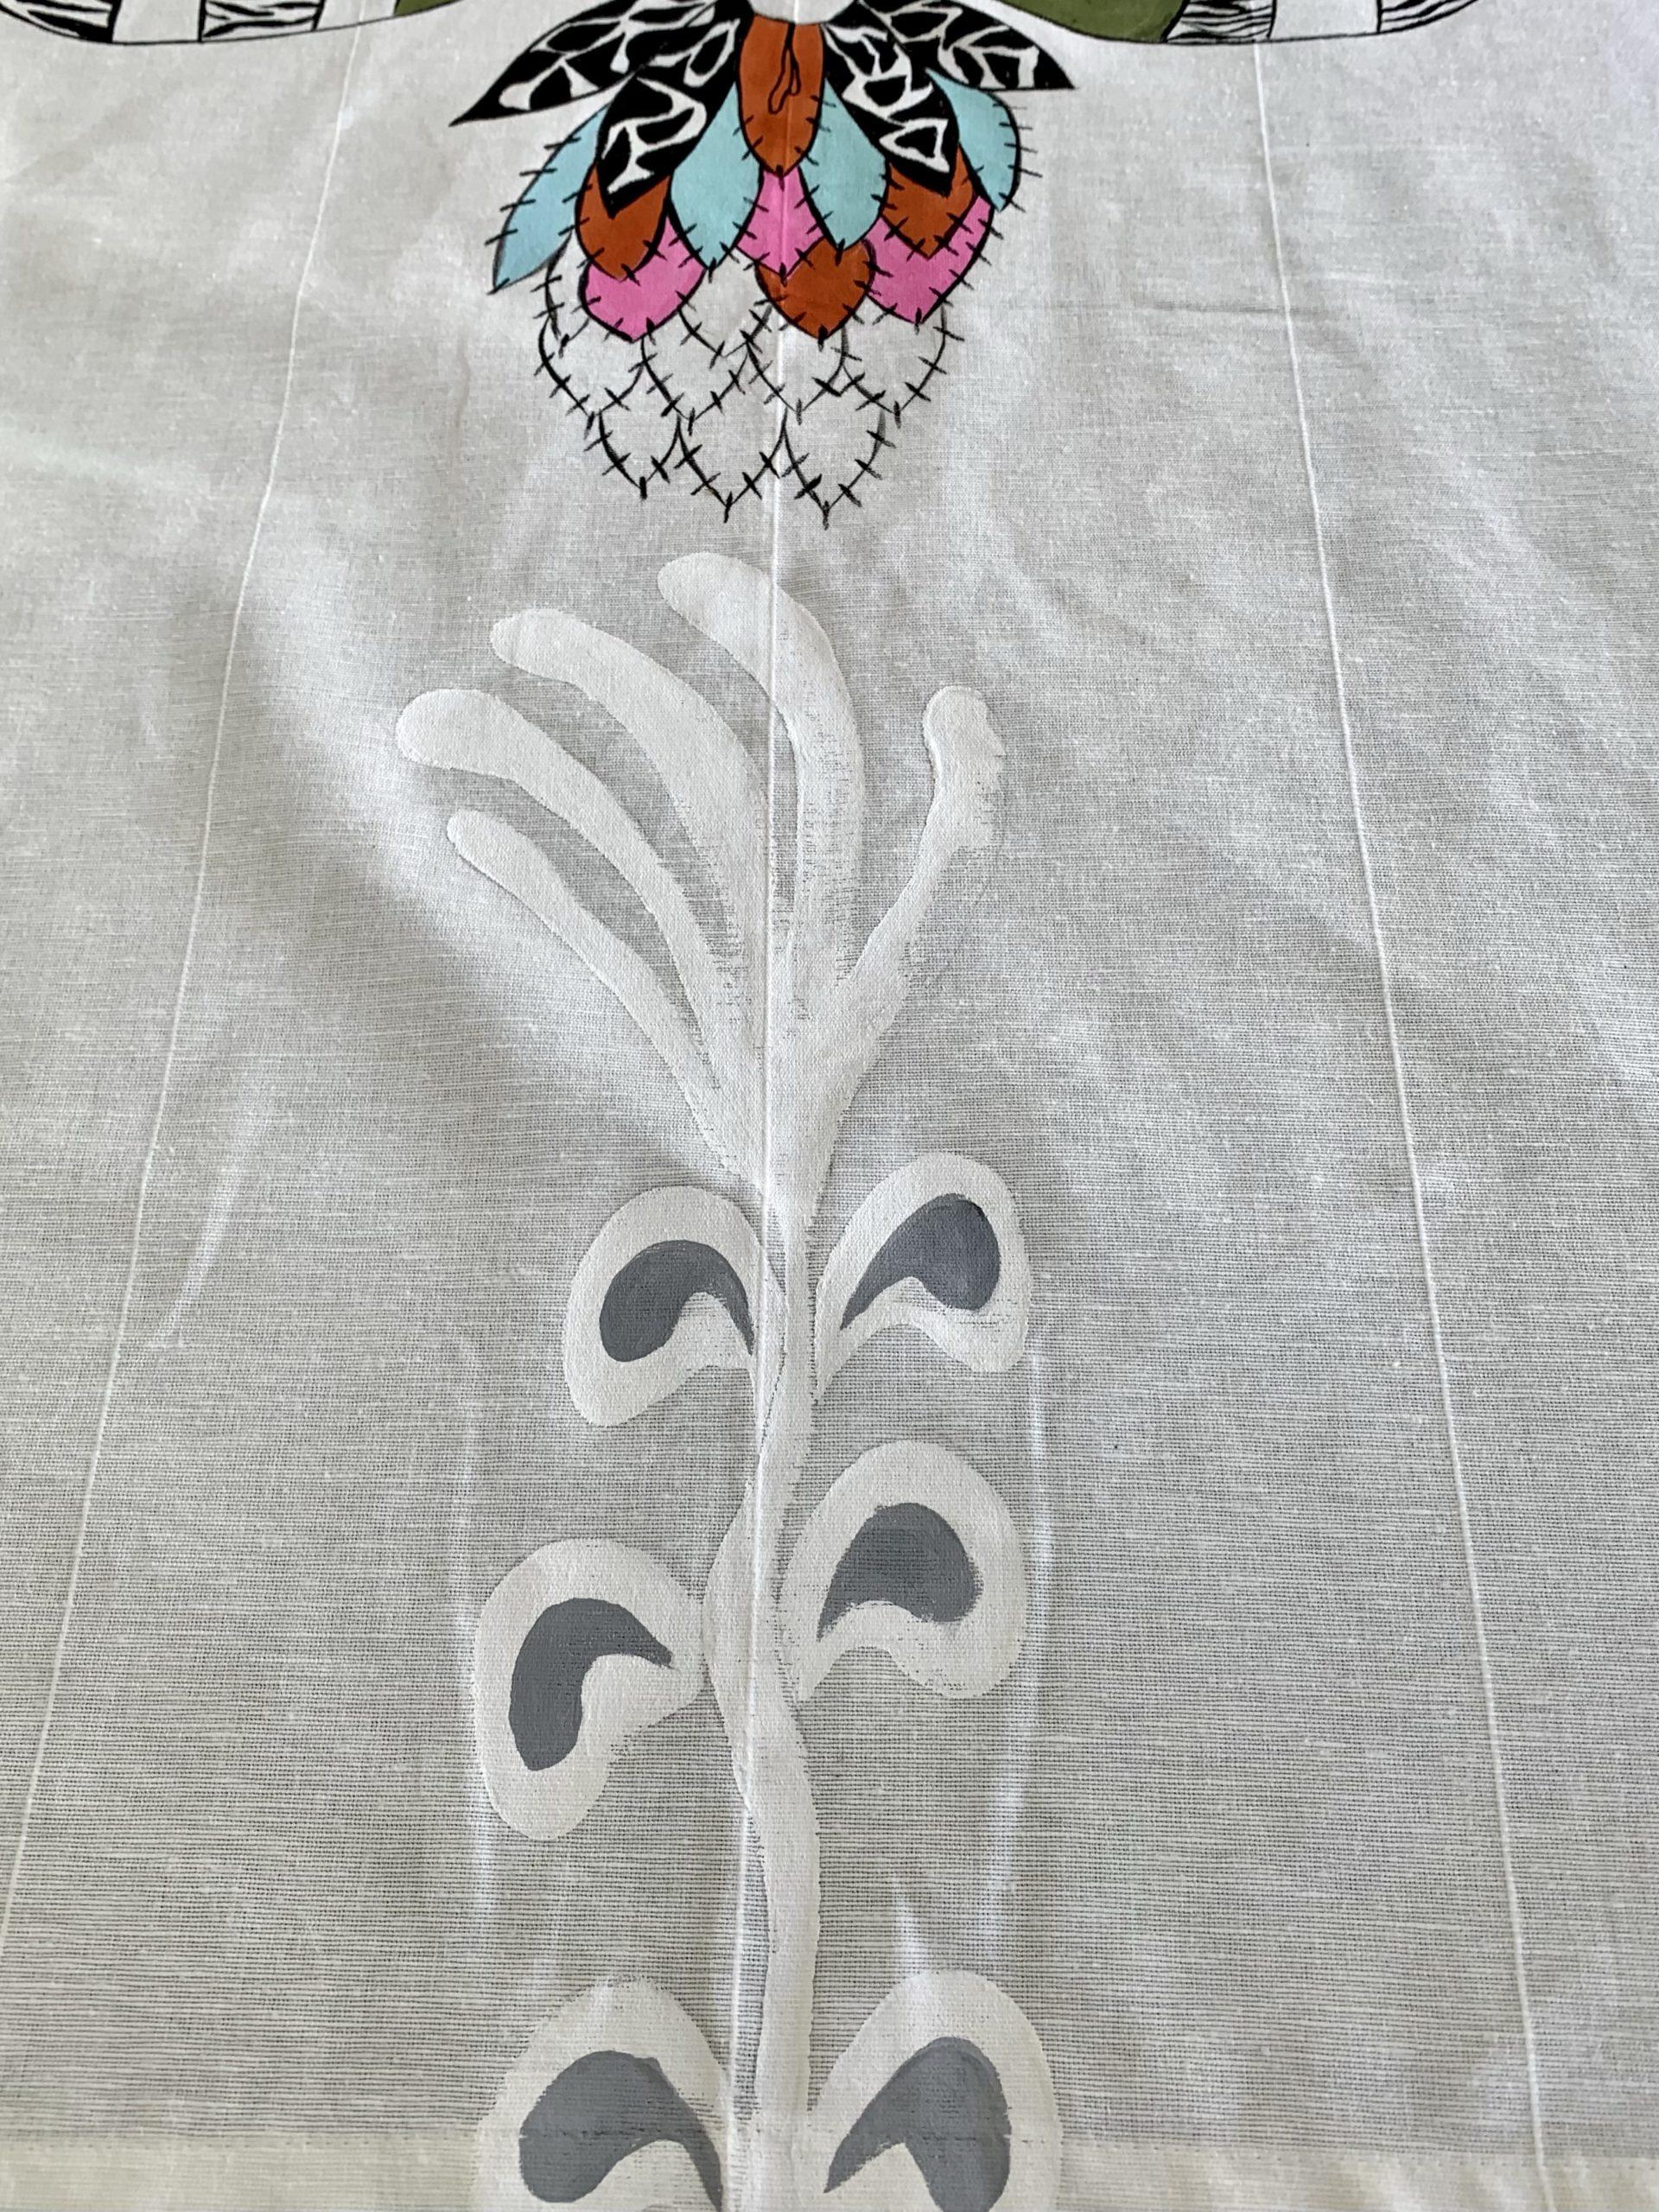
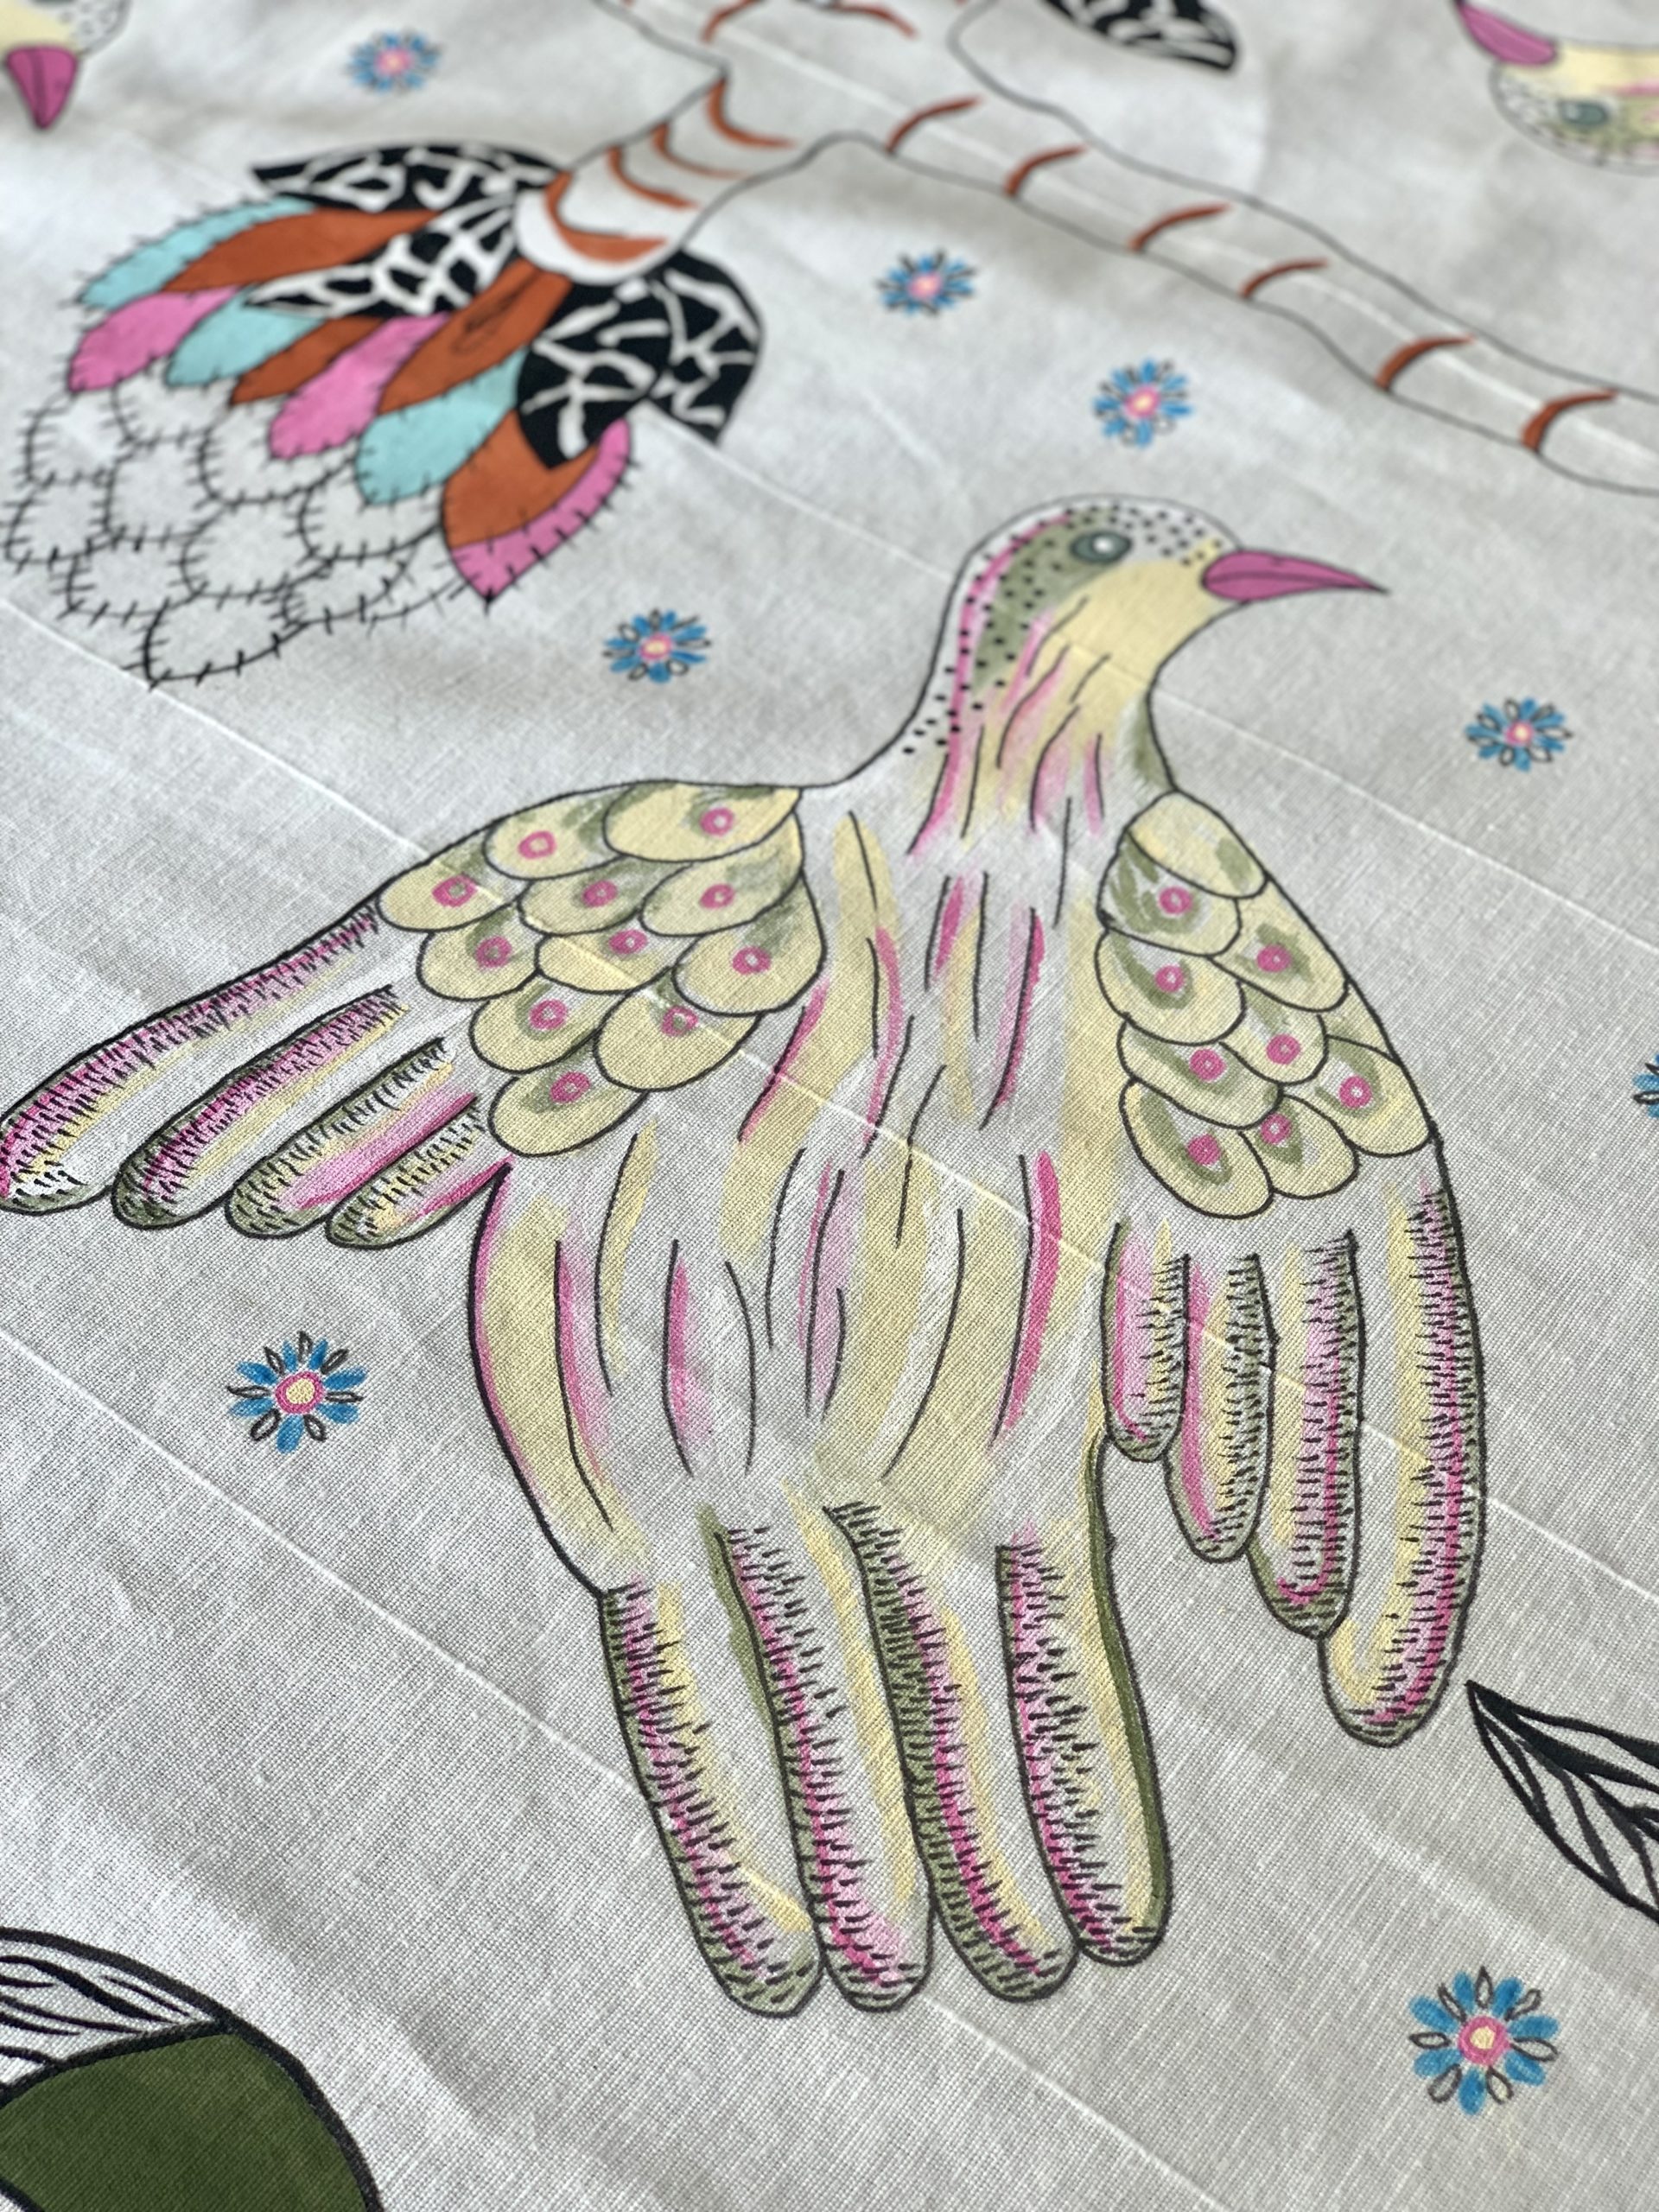
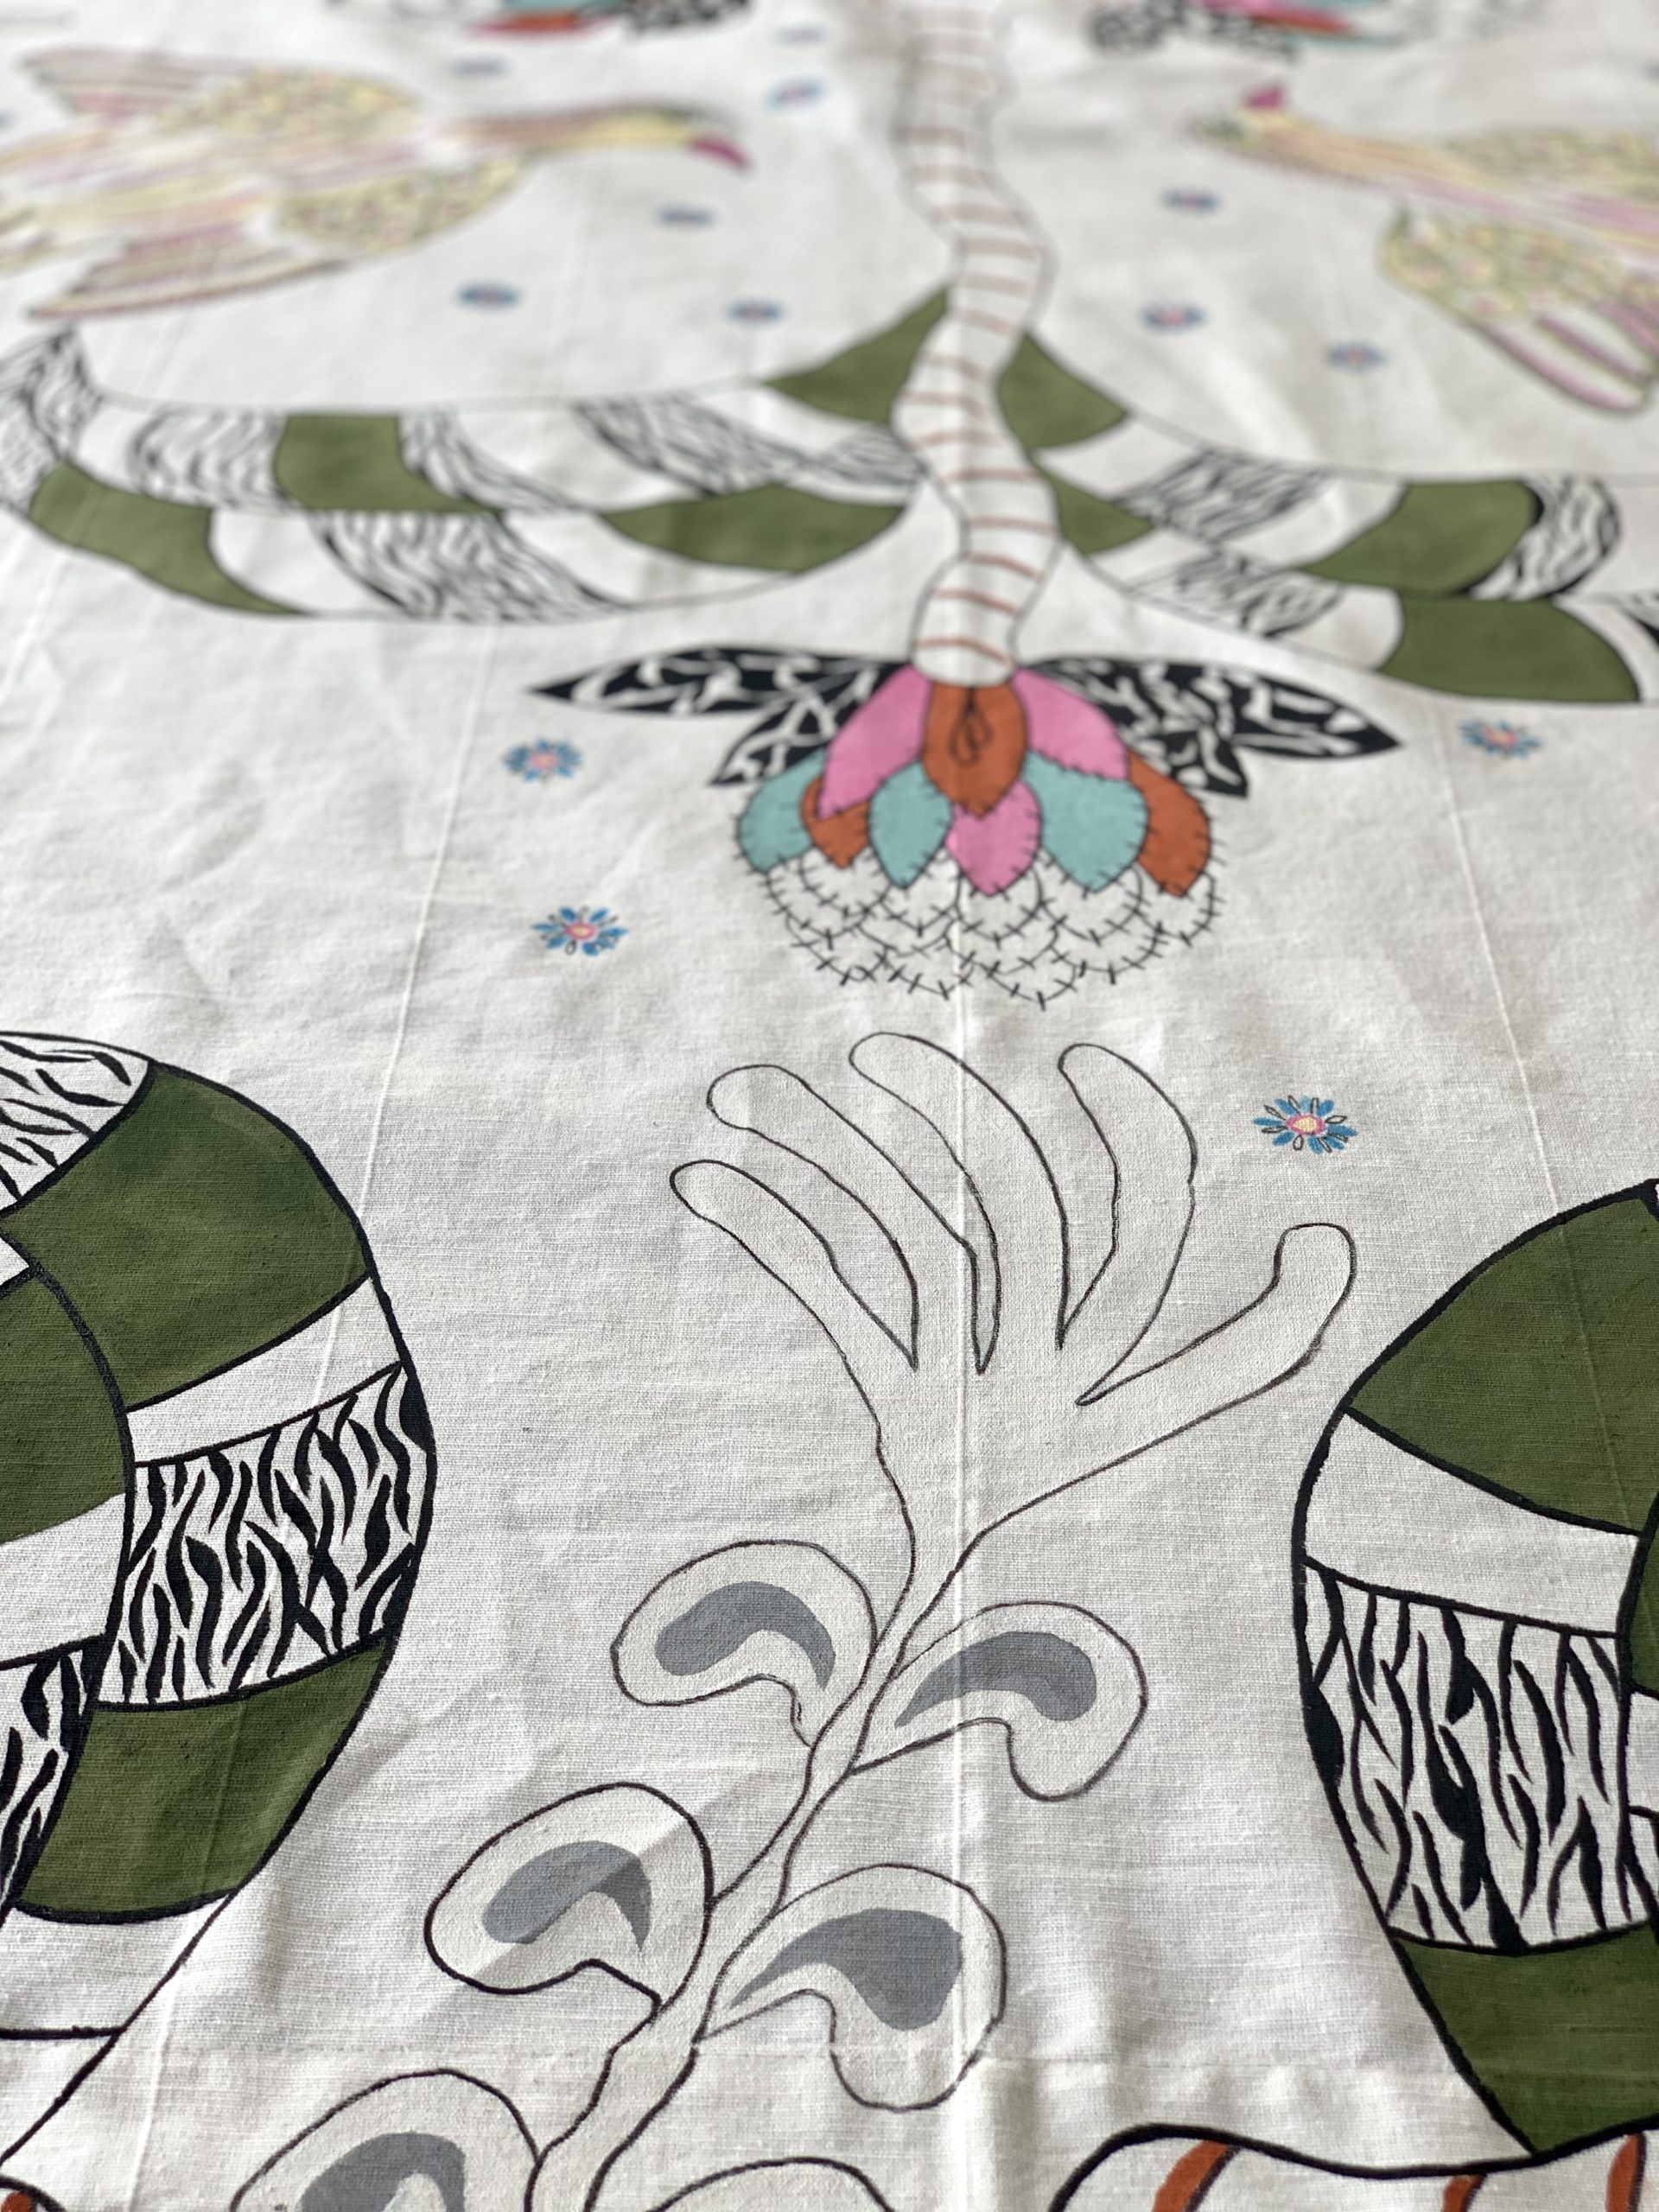
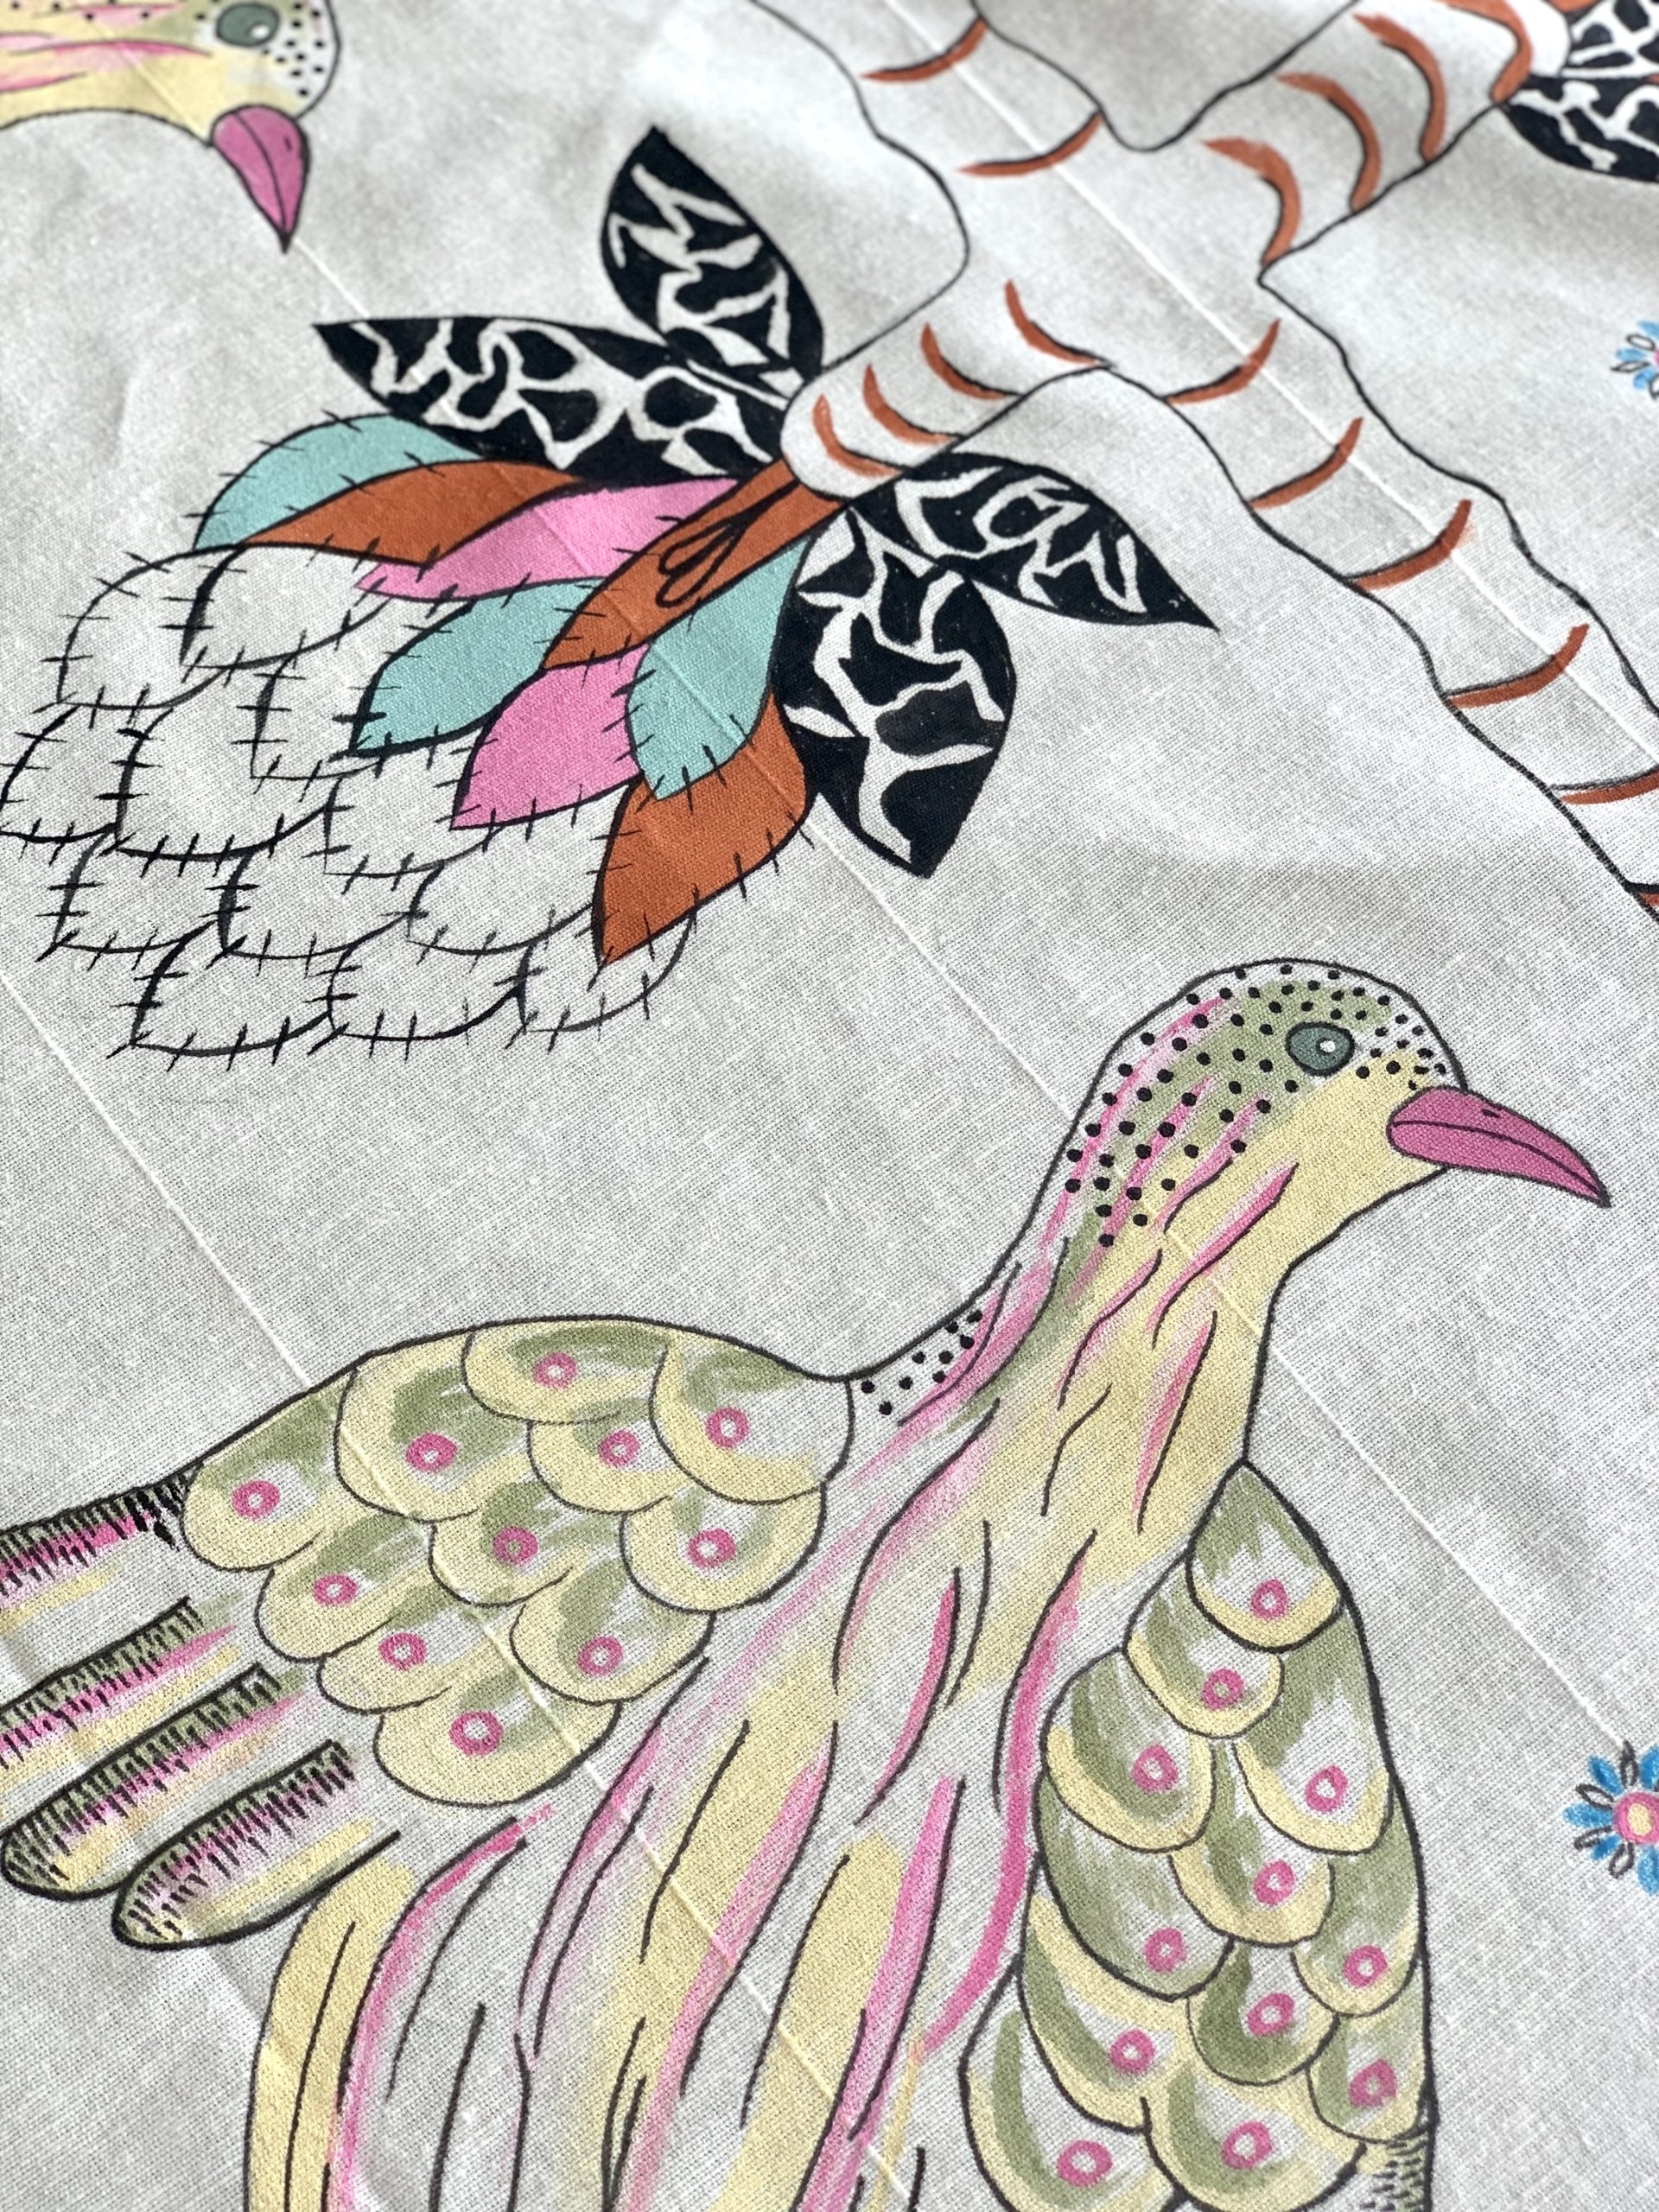
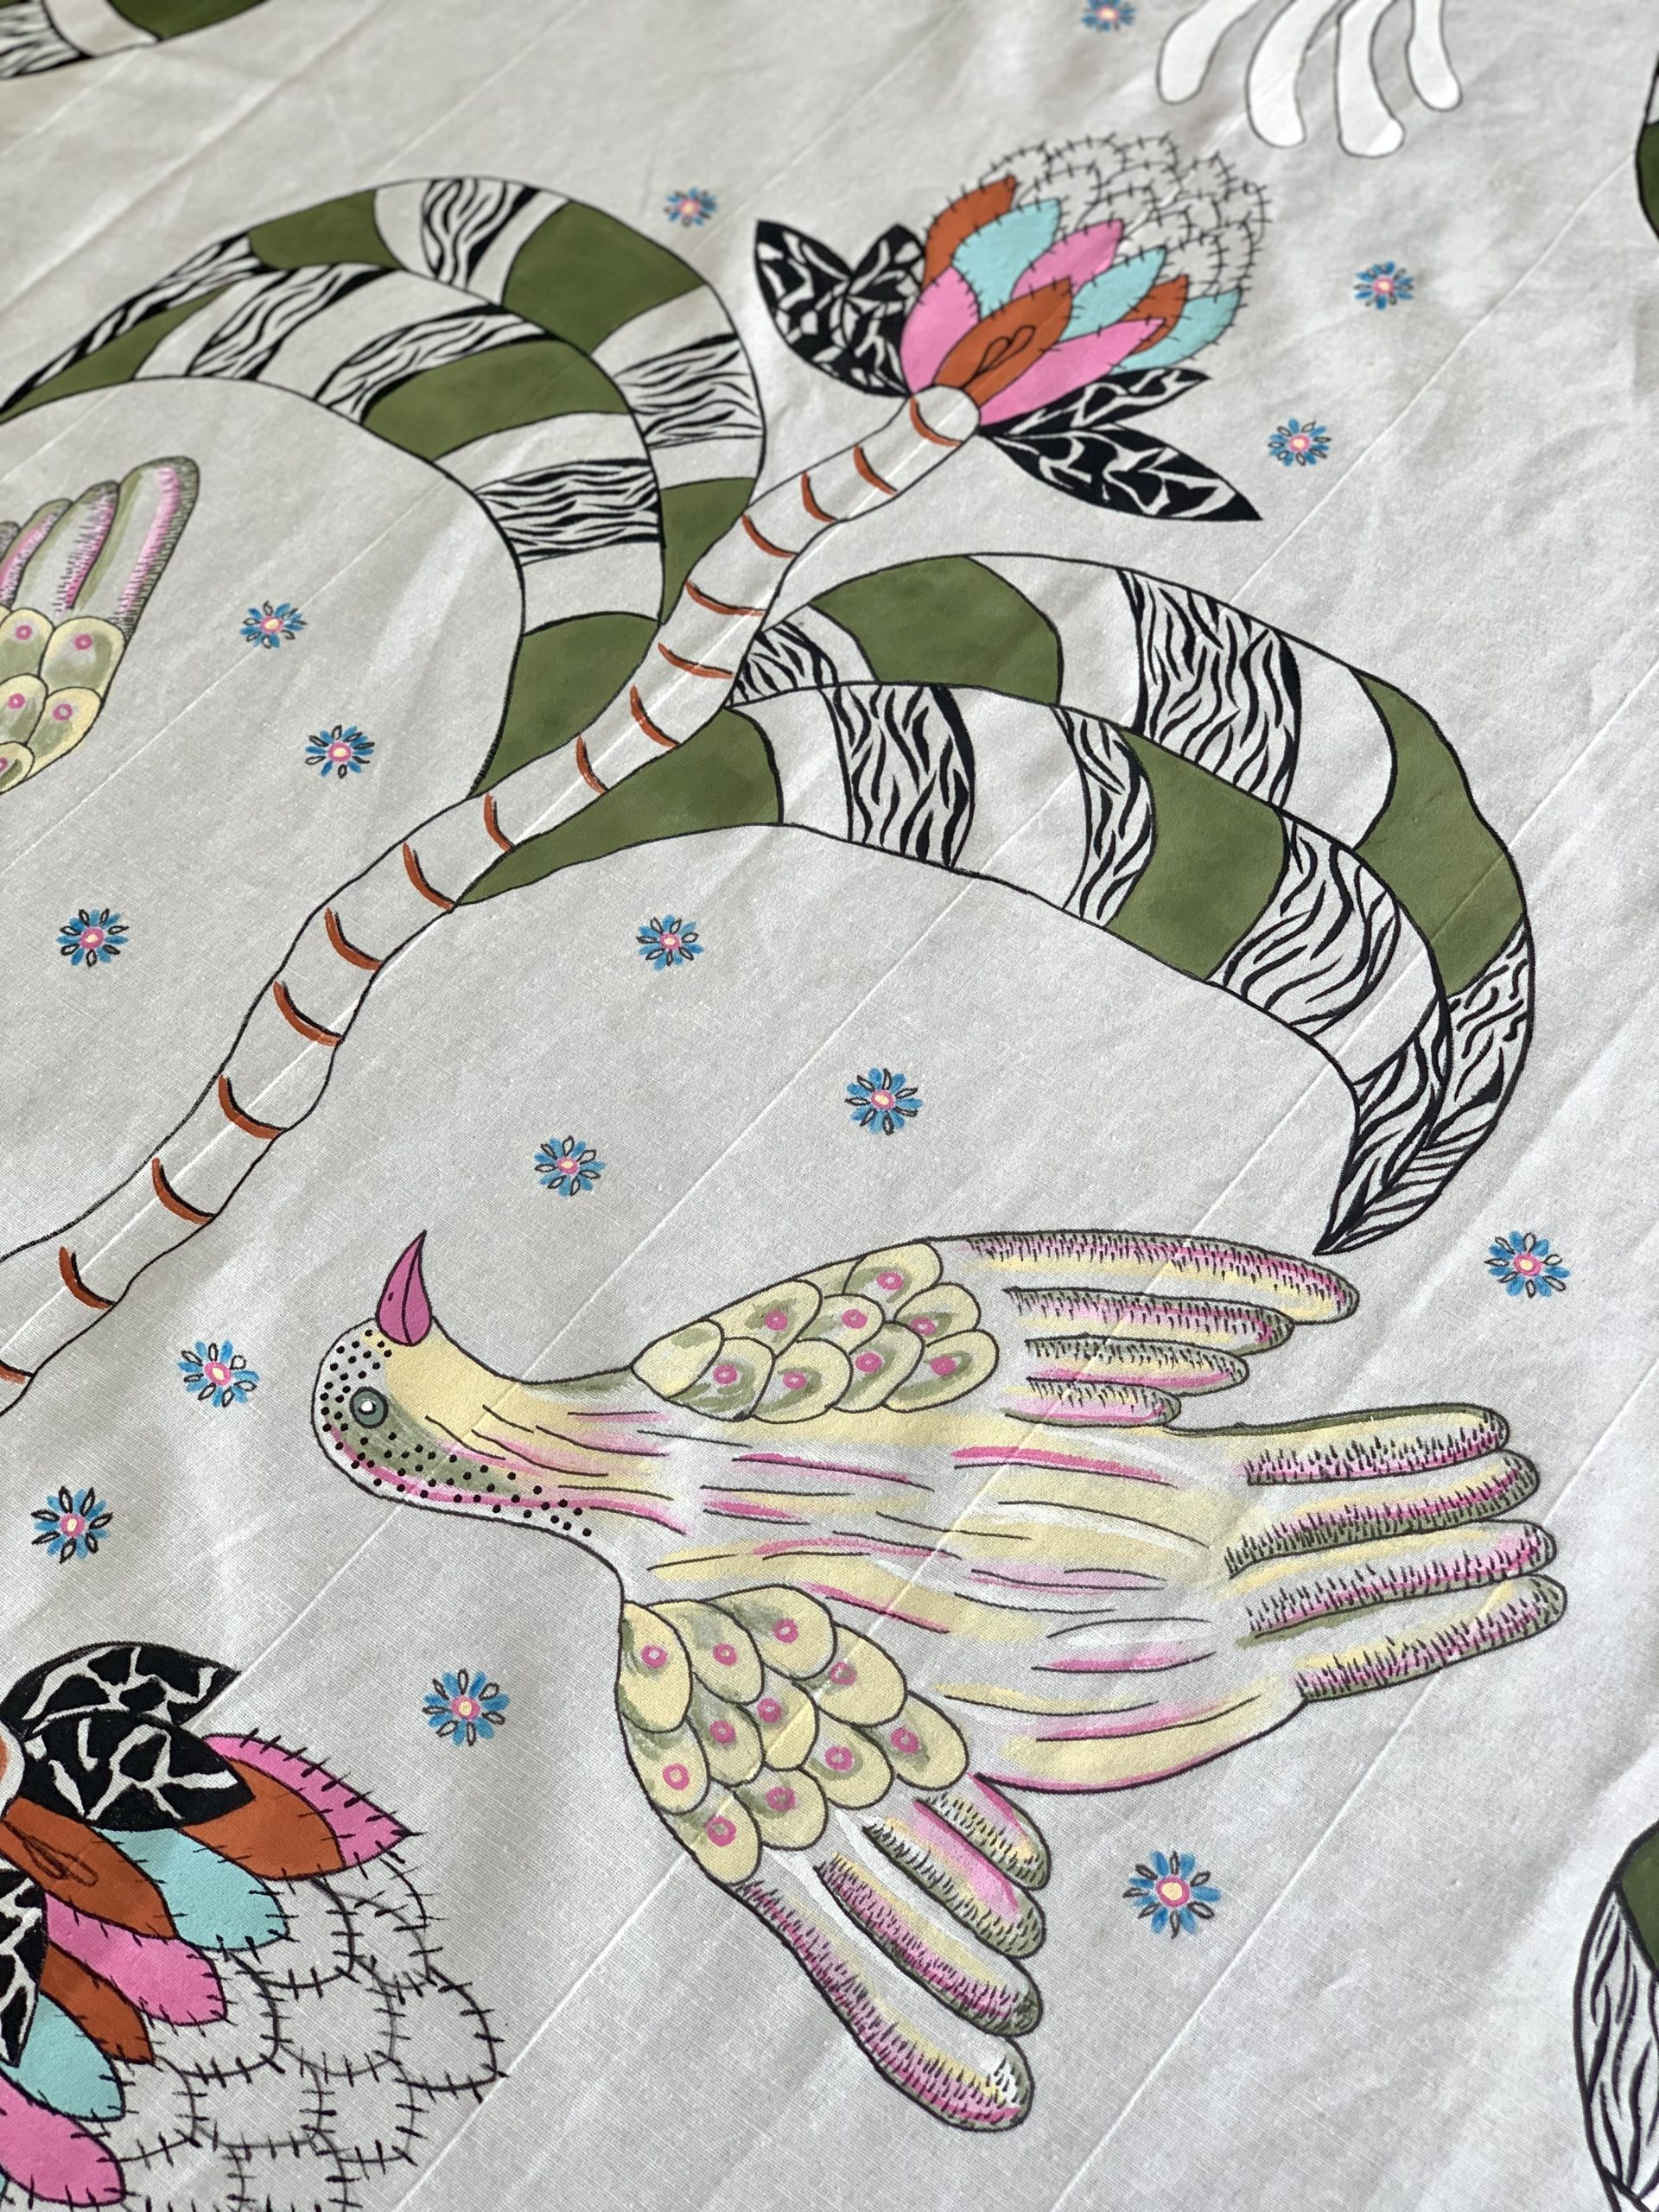
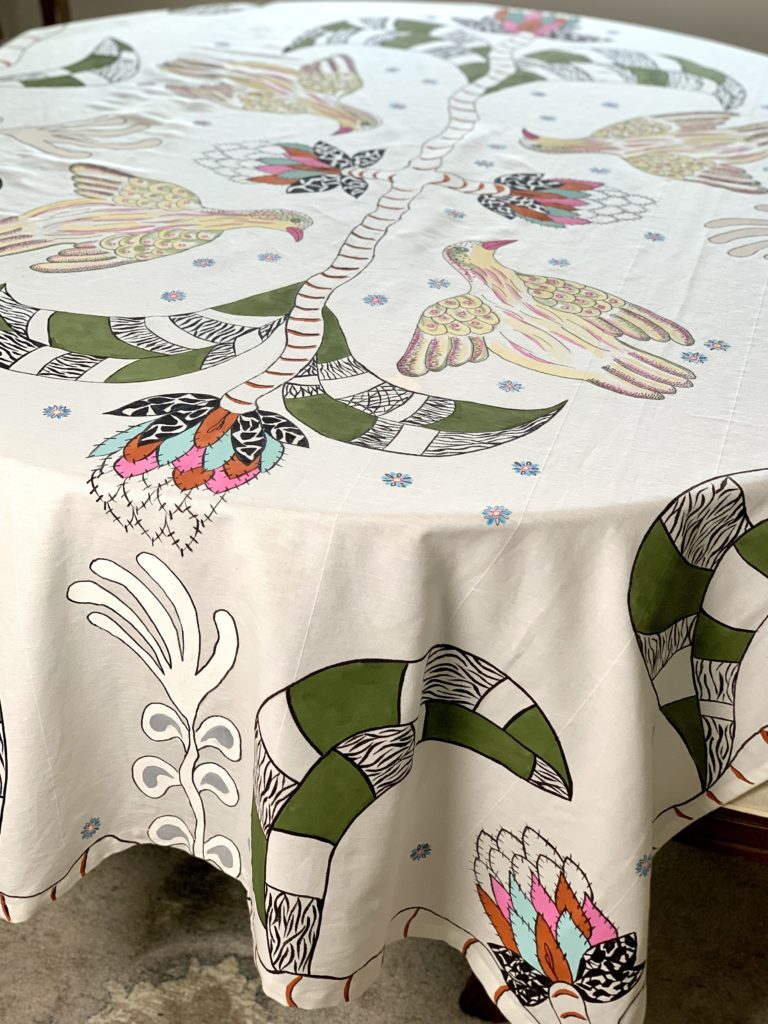
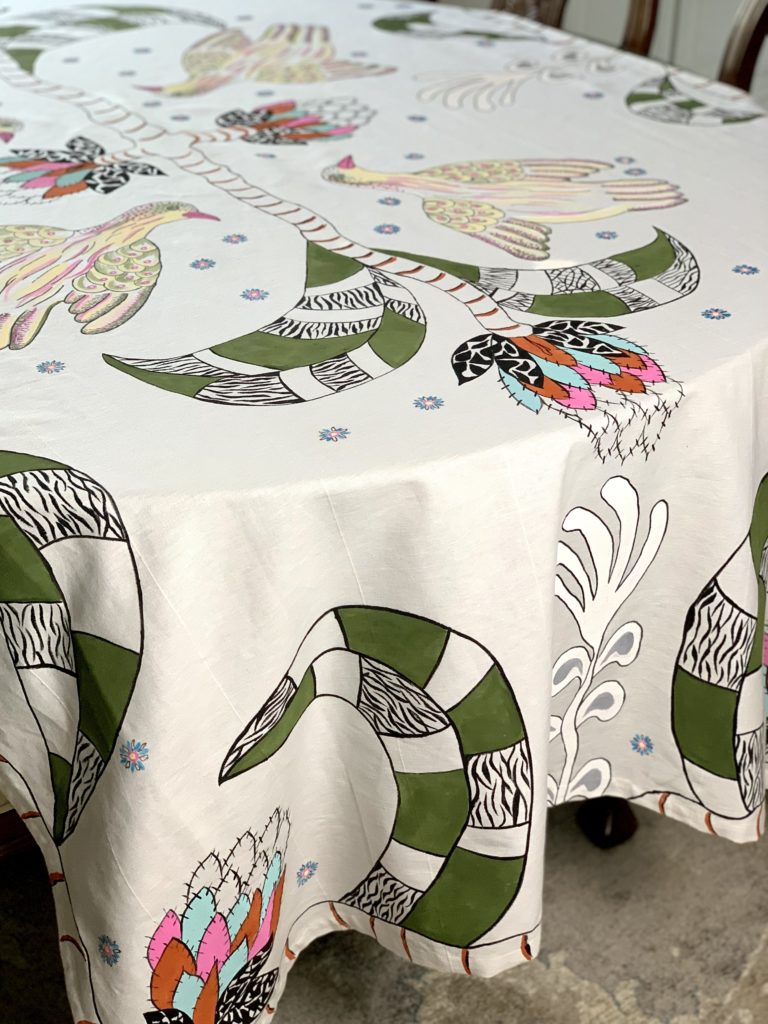
Browsing through Pinterest, I came across a gorgeous Eclectic Boho Glam Tablesetting from Kimberly at Swoon Worthy. I fell in love with her styling and the gorgeous haute linens. Pictured below are the two inspiration images from Swoon Worthy’s website – napkins on the left and the tablecloth on the right. Unable to afford Ardmore Designs, I decided to paint my own version of this tablecloth and take a creative leap. In this post, I’ll share with you how I approached this project step-by-step. I also have a few video clips in my Instagram Stories, if you wish to see them.
Please note I’ve never taken any art classes beyond high school. I’ve painted walls, furniture and over 20 years ago I painted my daughter’s bedroom in a Beatrix Potter inspired garden theme. Maybe someday I’ll dig up the photos and share them.
This post is all about challenging yourself and trying to learn a new skill. You might love it, hate it or at the very least appreciate it. I spent 4 days hand painting this tablecloth and although it was tedious, I found it to be relaxing and rewarding. Listening to the wind chimes while painting was very peaceful and I welcomed the creative, quiet time. I encourage you to try painting something, even if it’s not a tablecloth. I’m sure you’ll be equally pleased with the process and results.
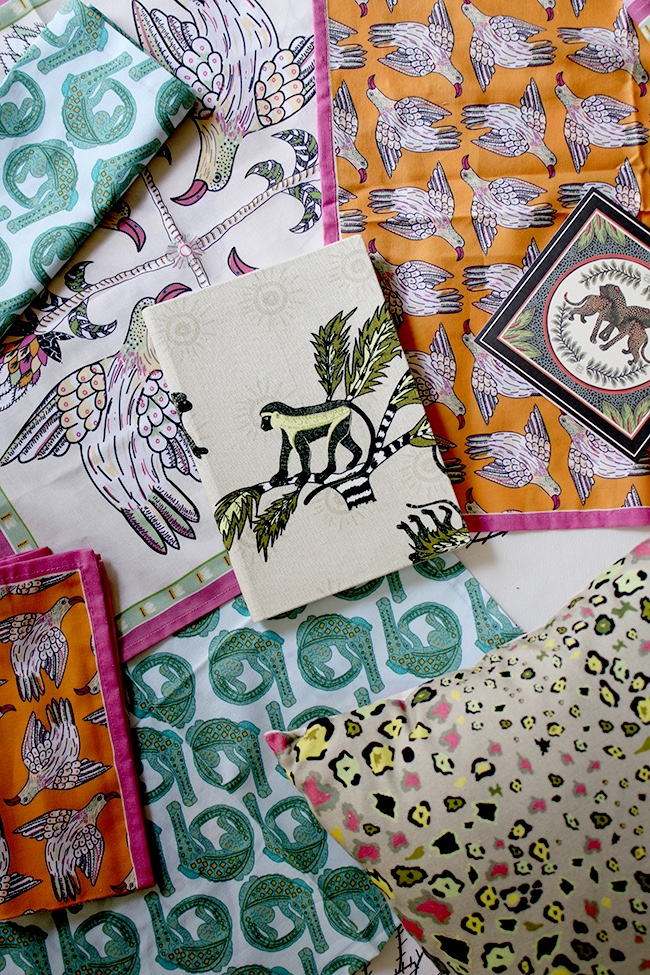
Photo Credit: Swoon Worthy 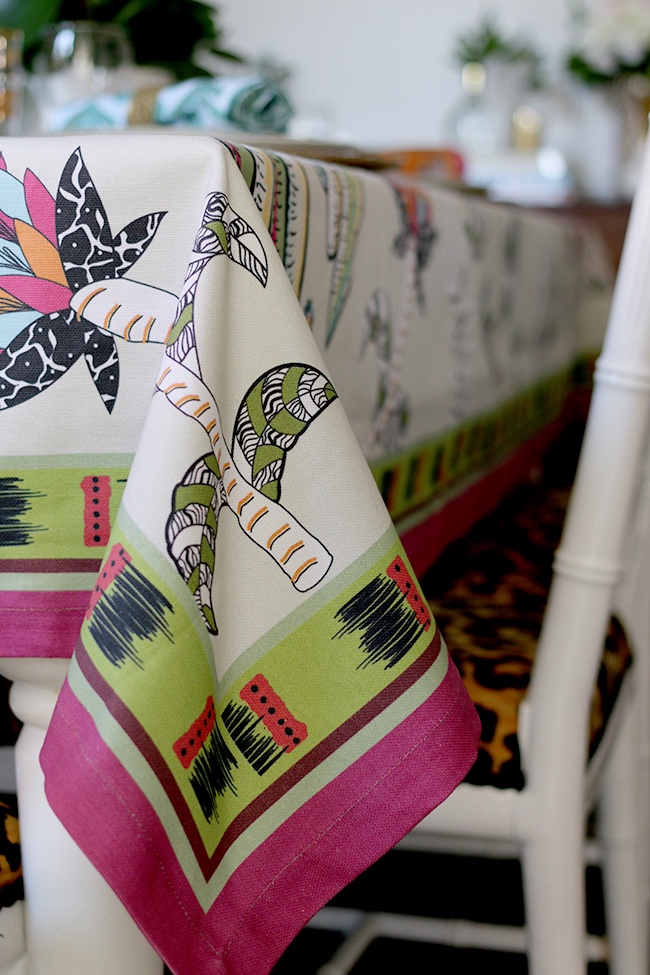
Photo Credit: Swoon Worthy
HOW I HAND PAINTED A TABLECLOTH
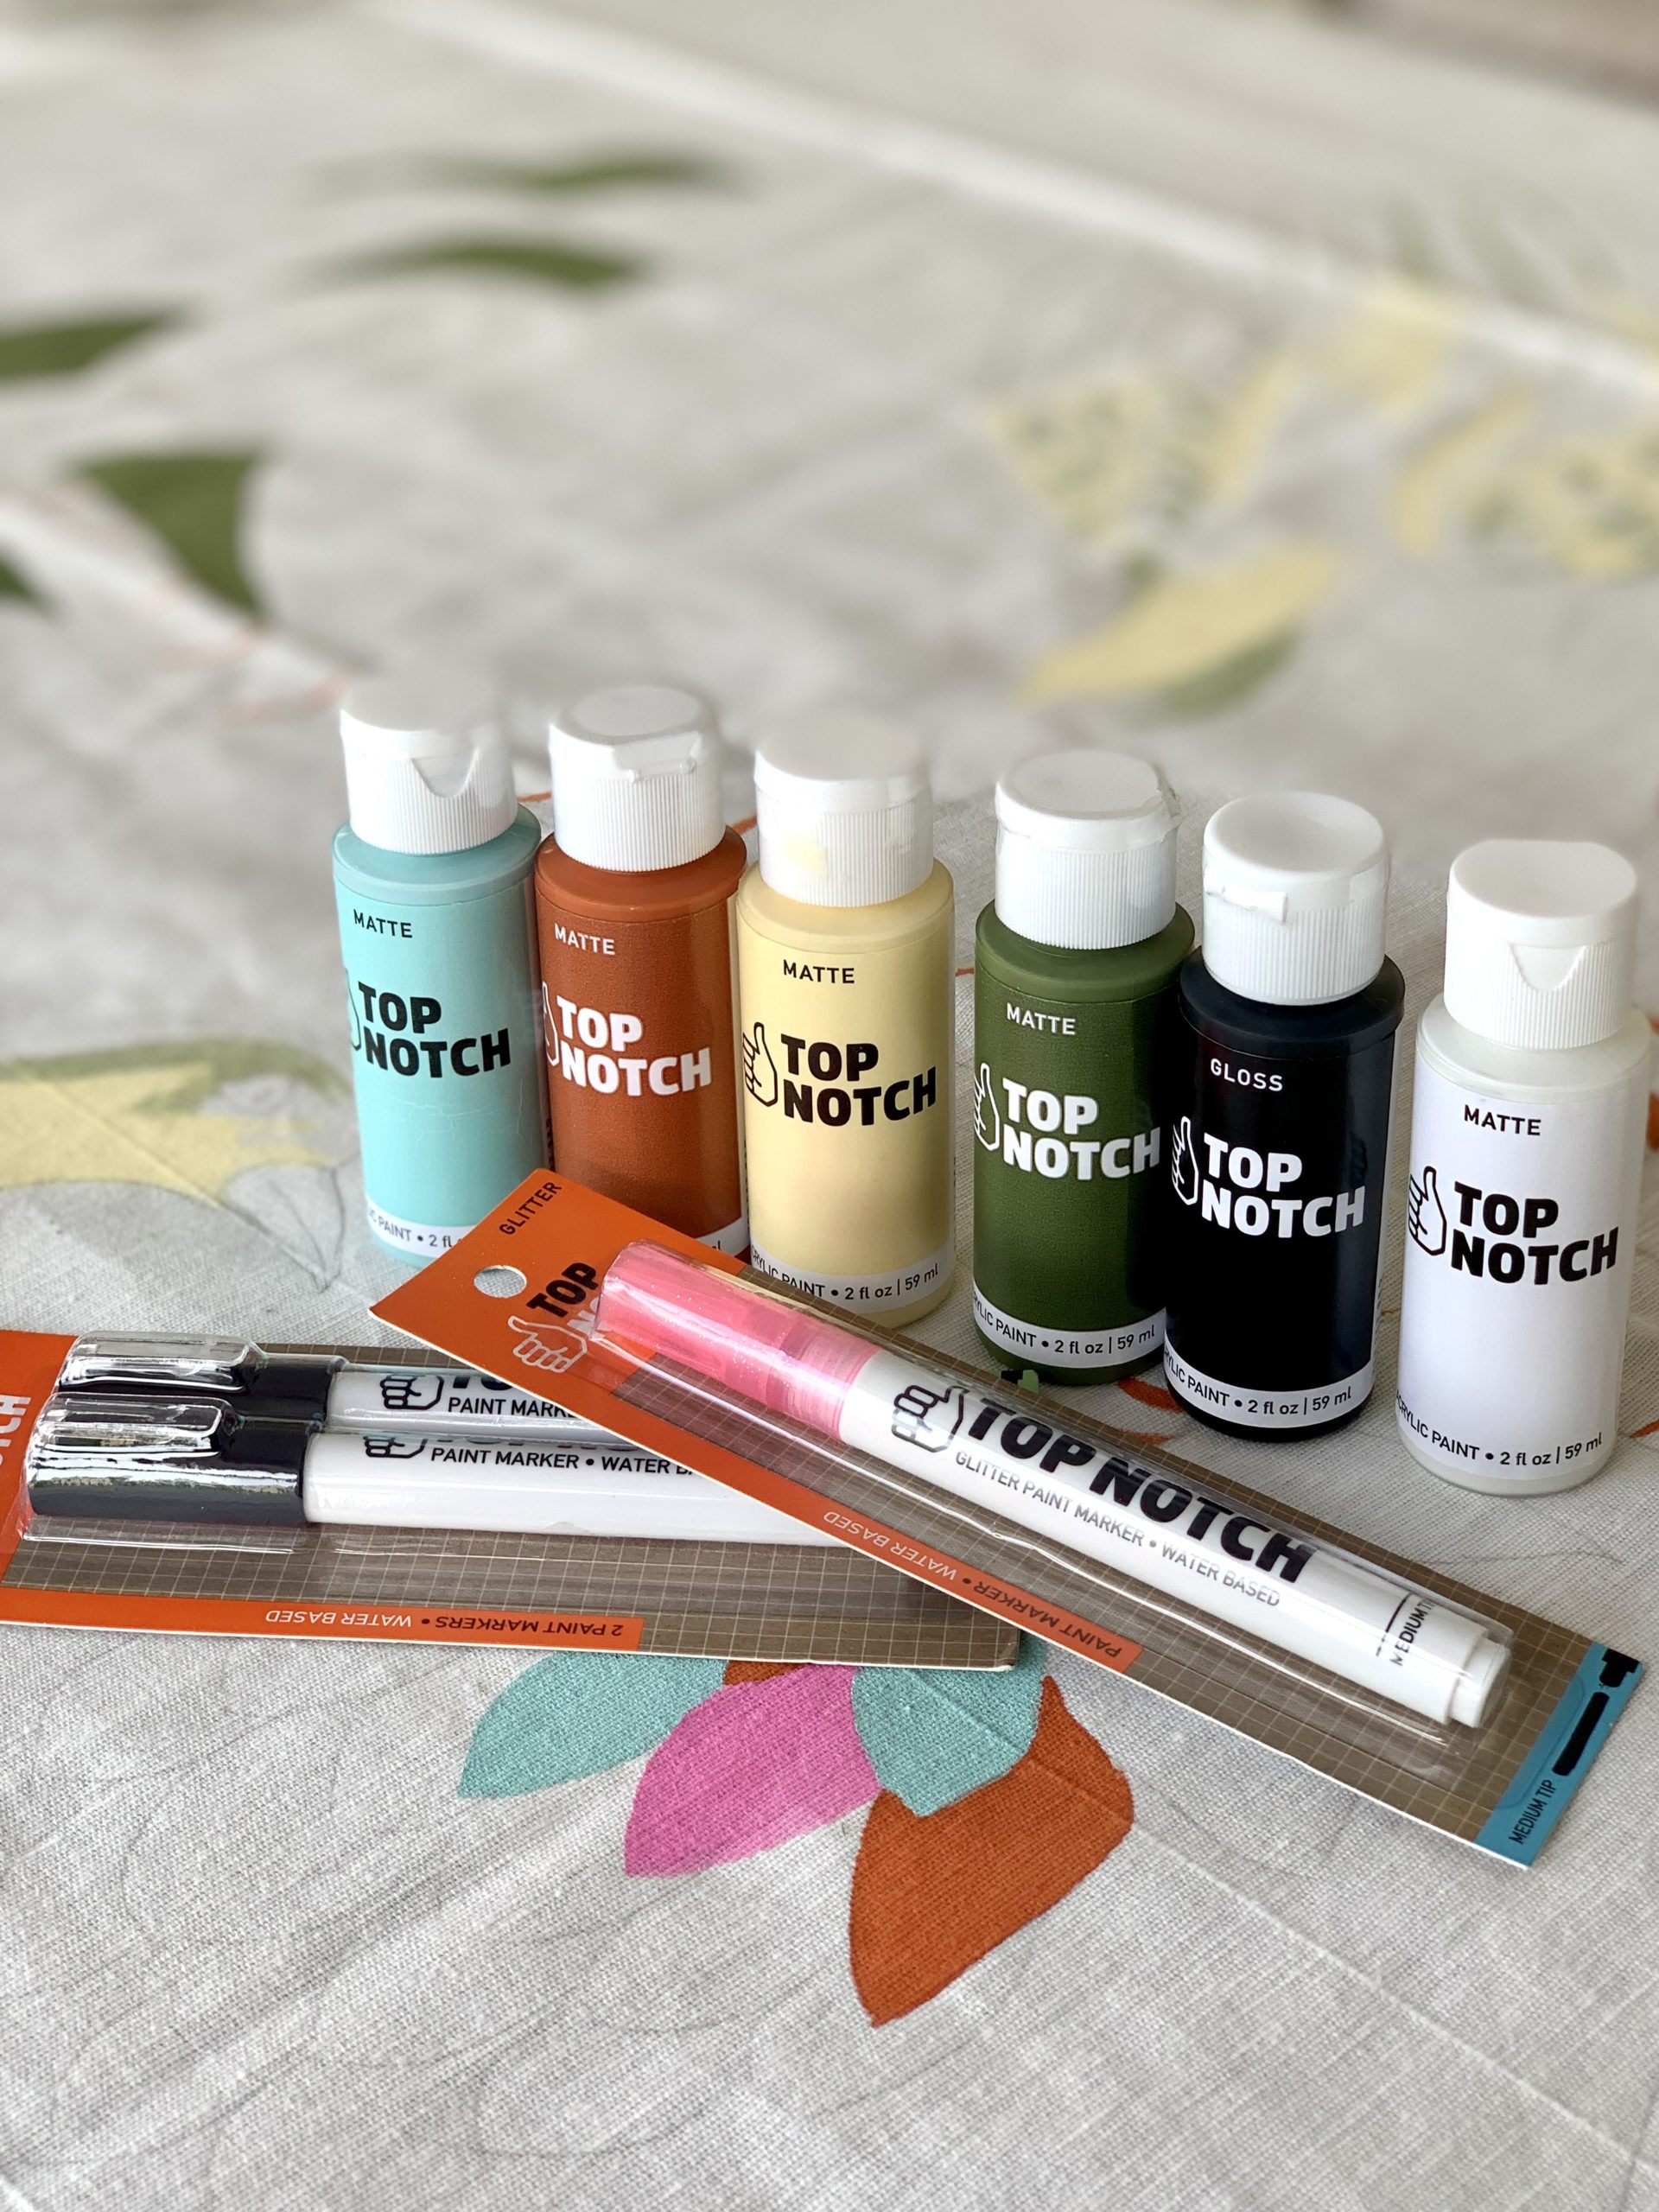
Because my art skills are limited, I didn’t want to invest a lot of money on this project. To be honest, I was very doubtful I could pull it off. I had a set of unused paint brushes and a new IKEA outdoor drape panel sitting in the garage, so I only purchased a few bottles of acrylic and fabric paint at JoAnn Fabrics, making my total investment less than $20. Why the mix of acrylic and fabric paint? No particular reason other than the matte colors I wanted were available in acrylic paint and not in fabric paint.
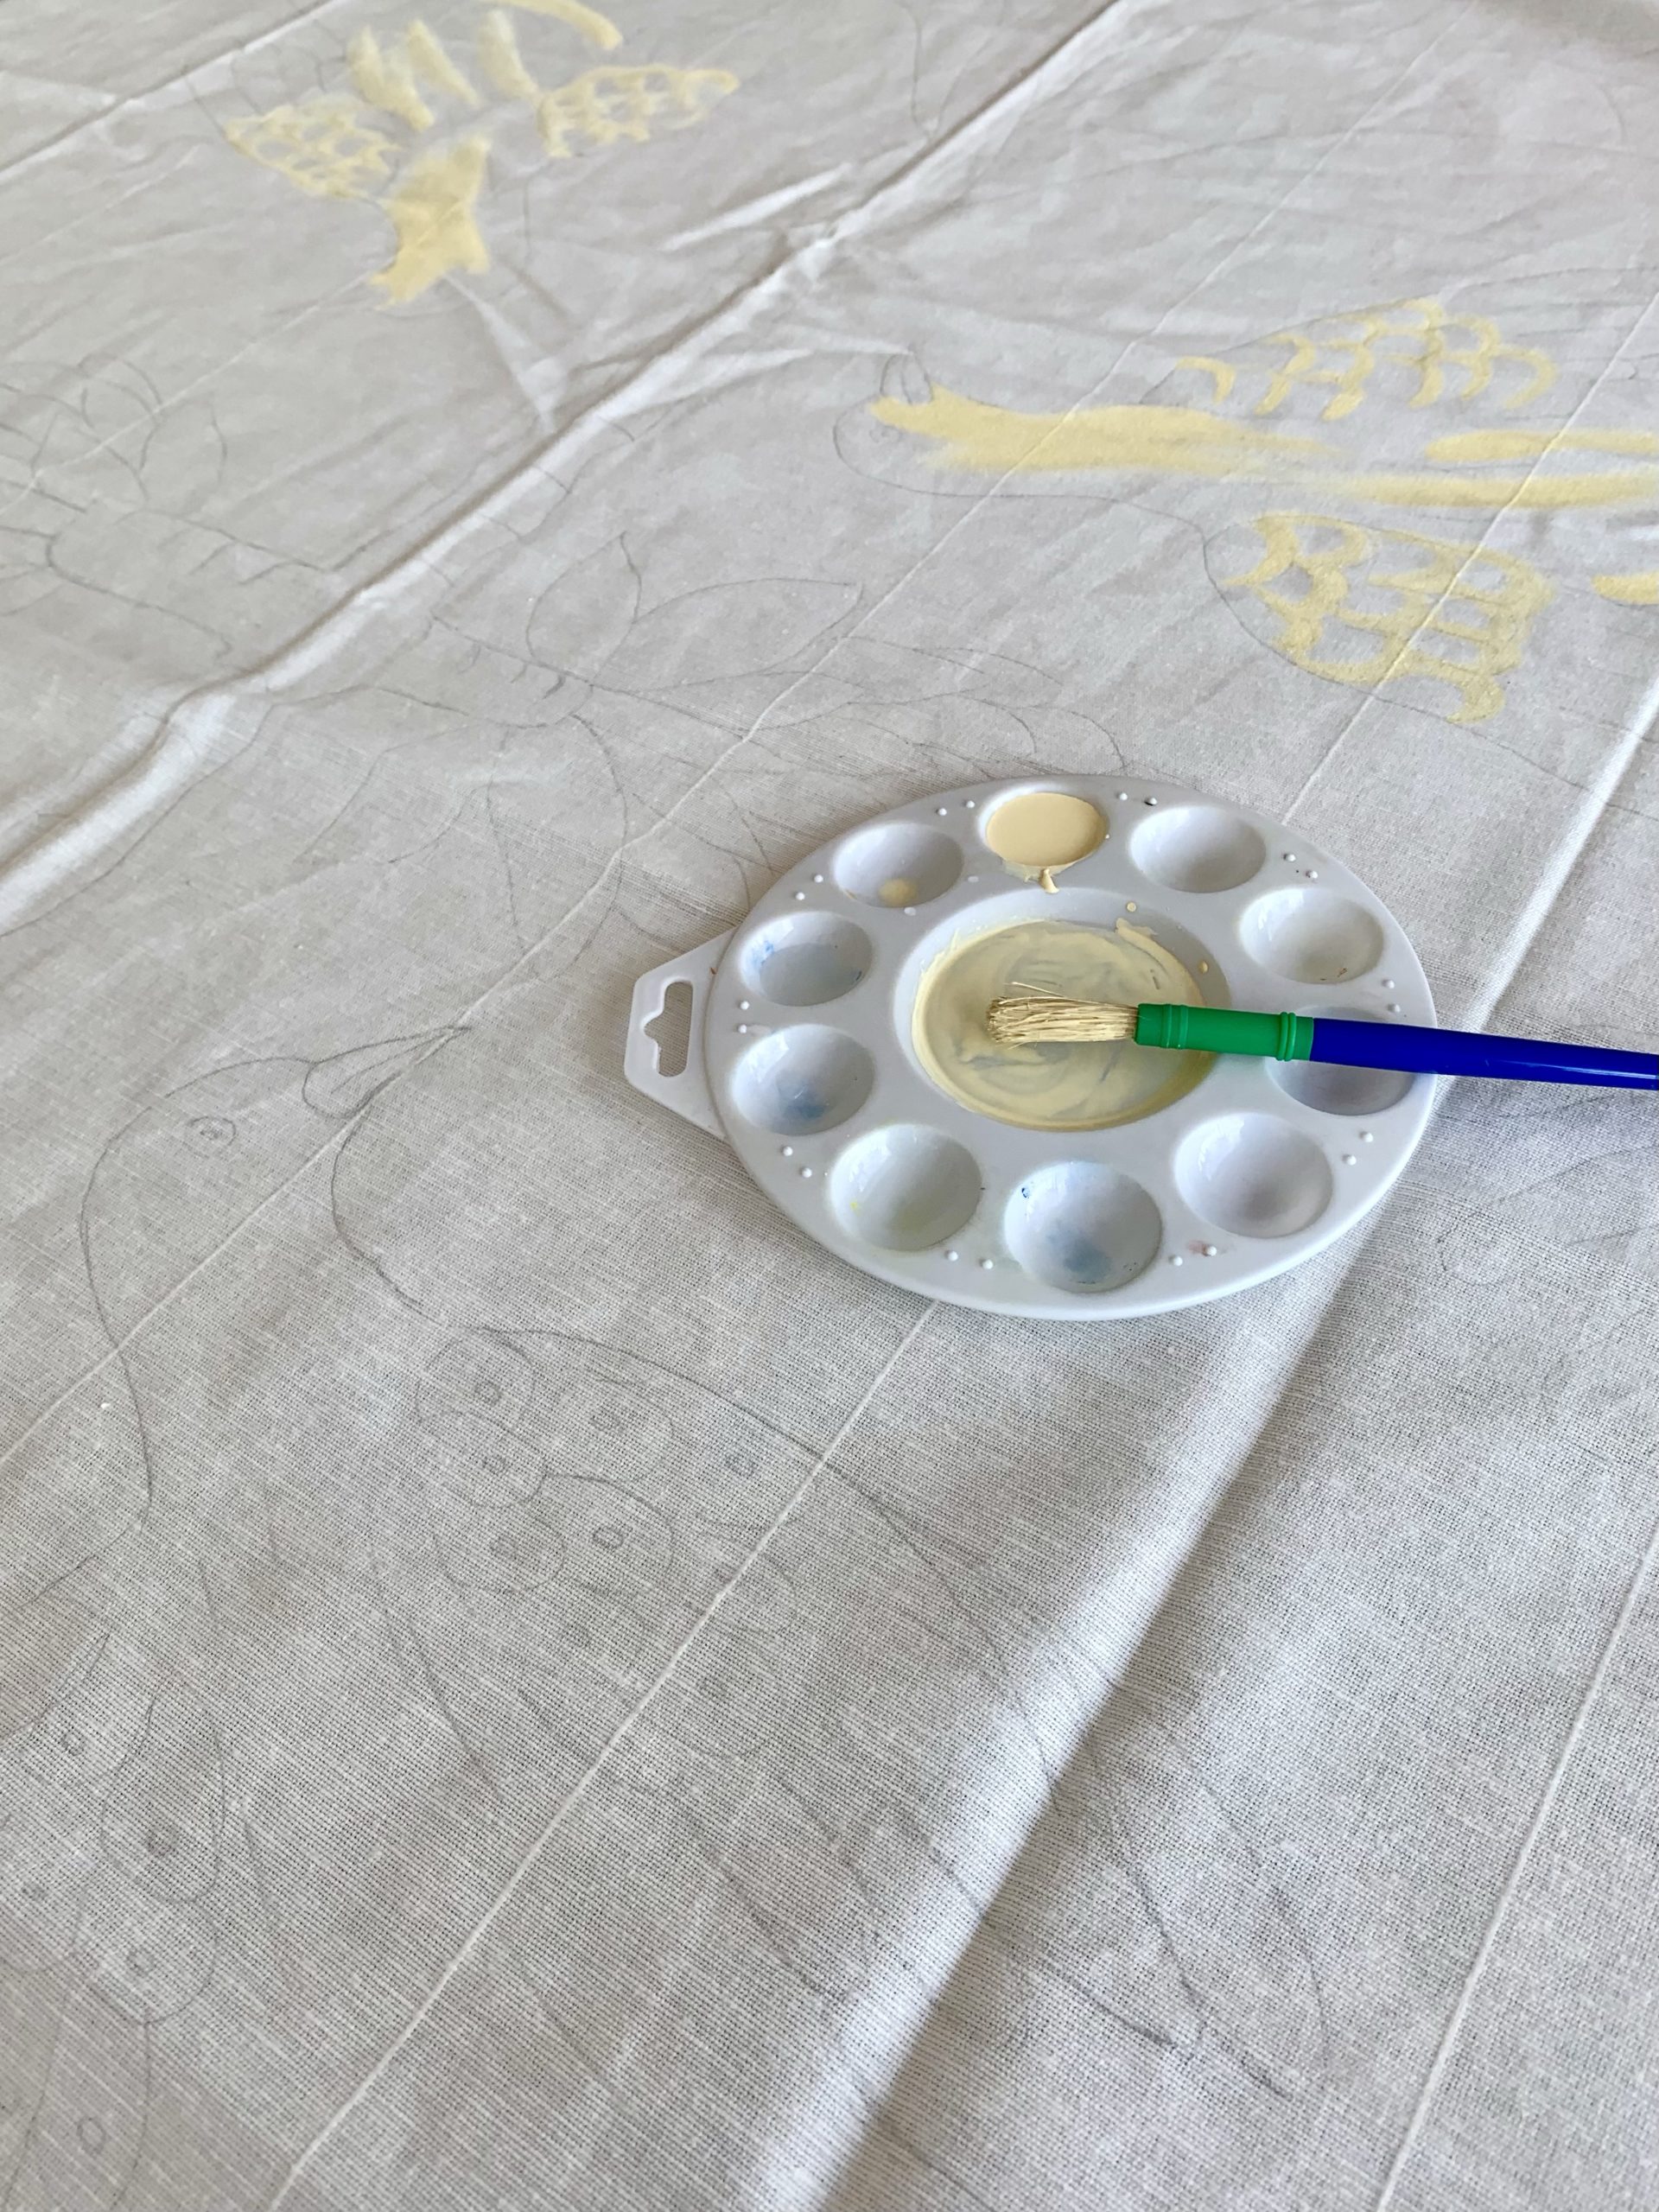
NOTE: The paint was thick so I mixed small amounts of paint with a few drops of water to thin out the paint. Thinning the paint made it easier to glide the brush on the canvas and apply the paint. Since acrylic paint dries quickly, I worked in small batches.
PREP WORK
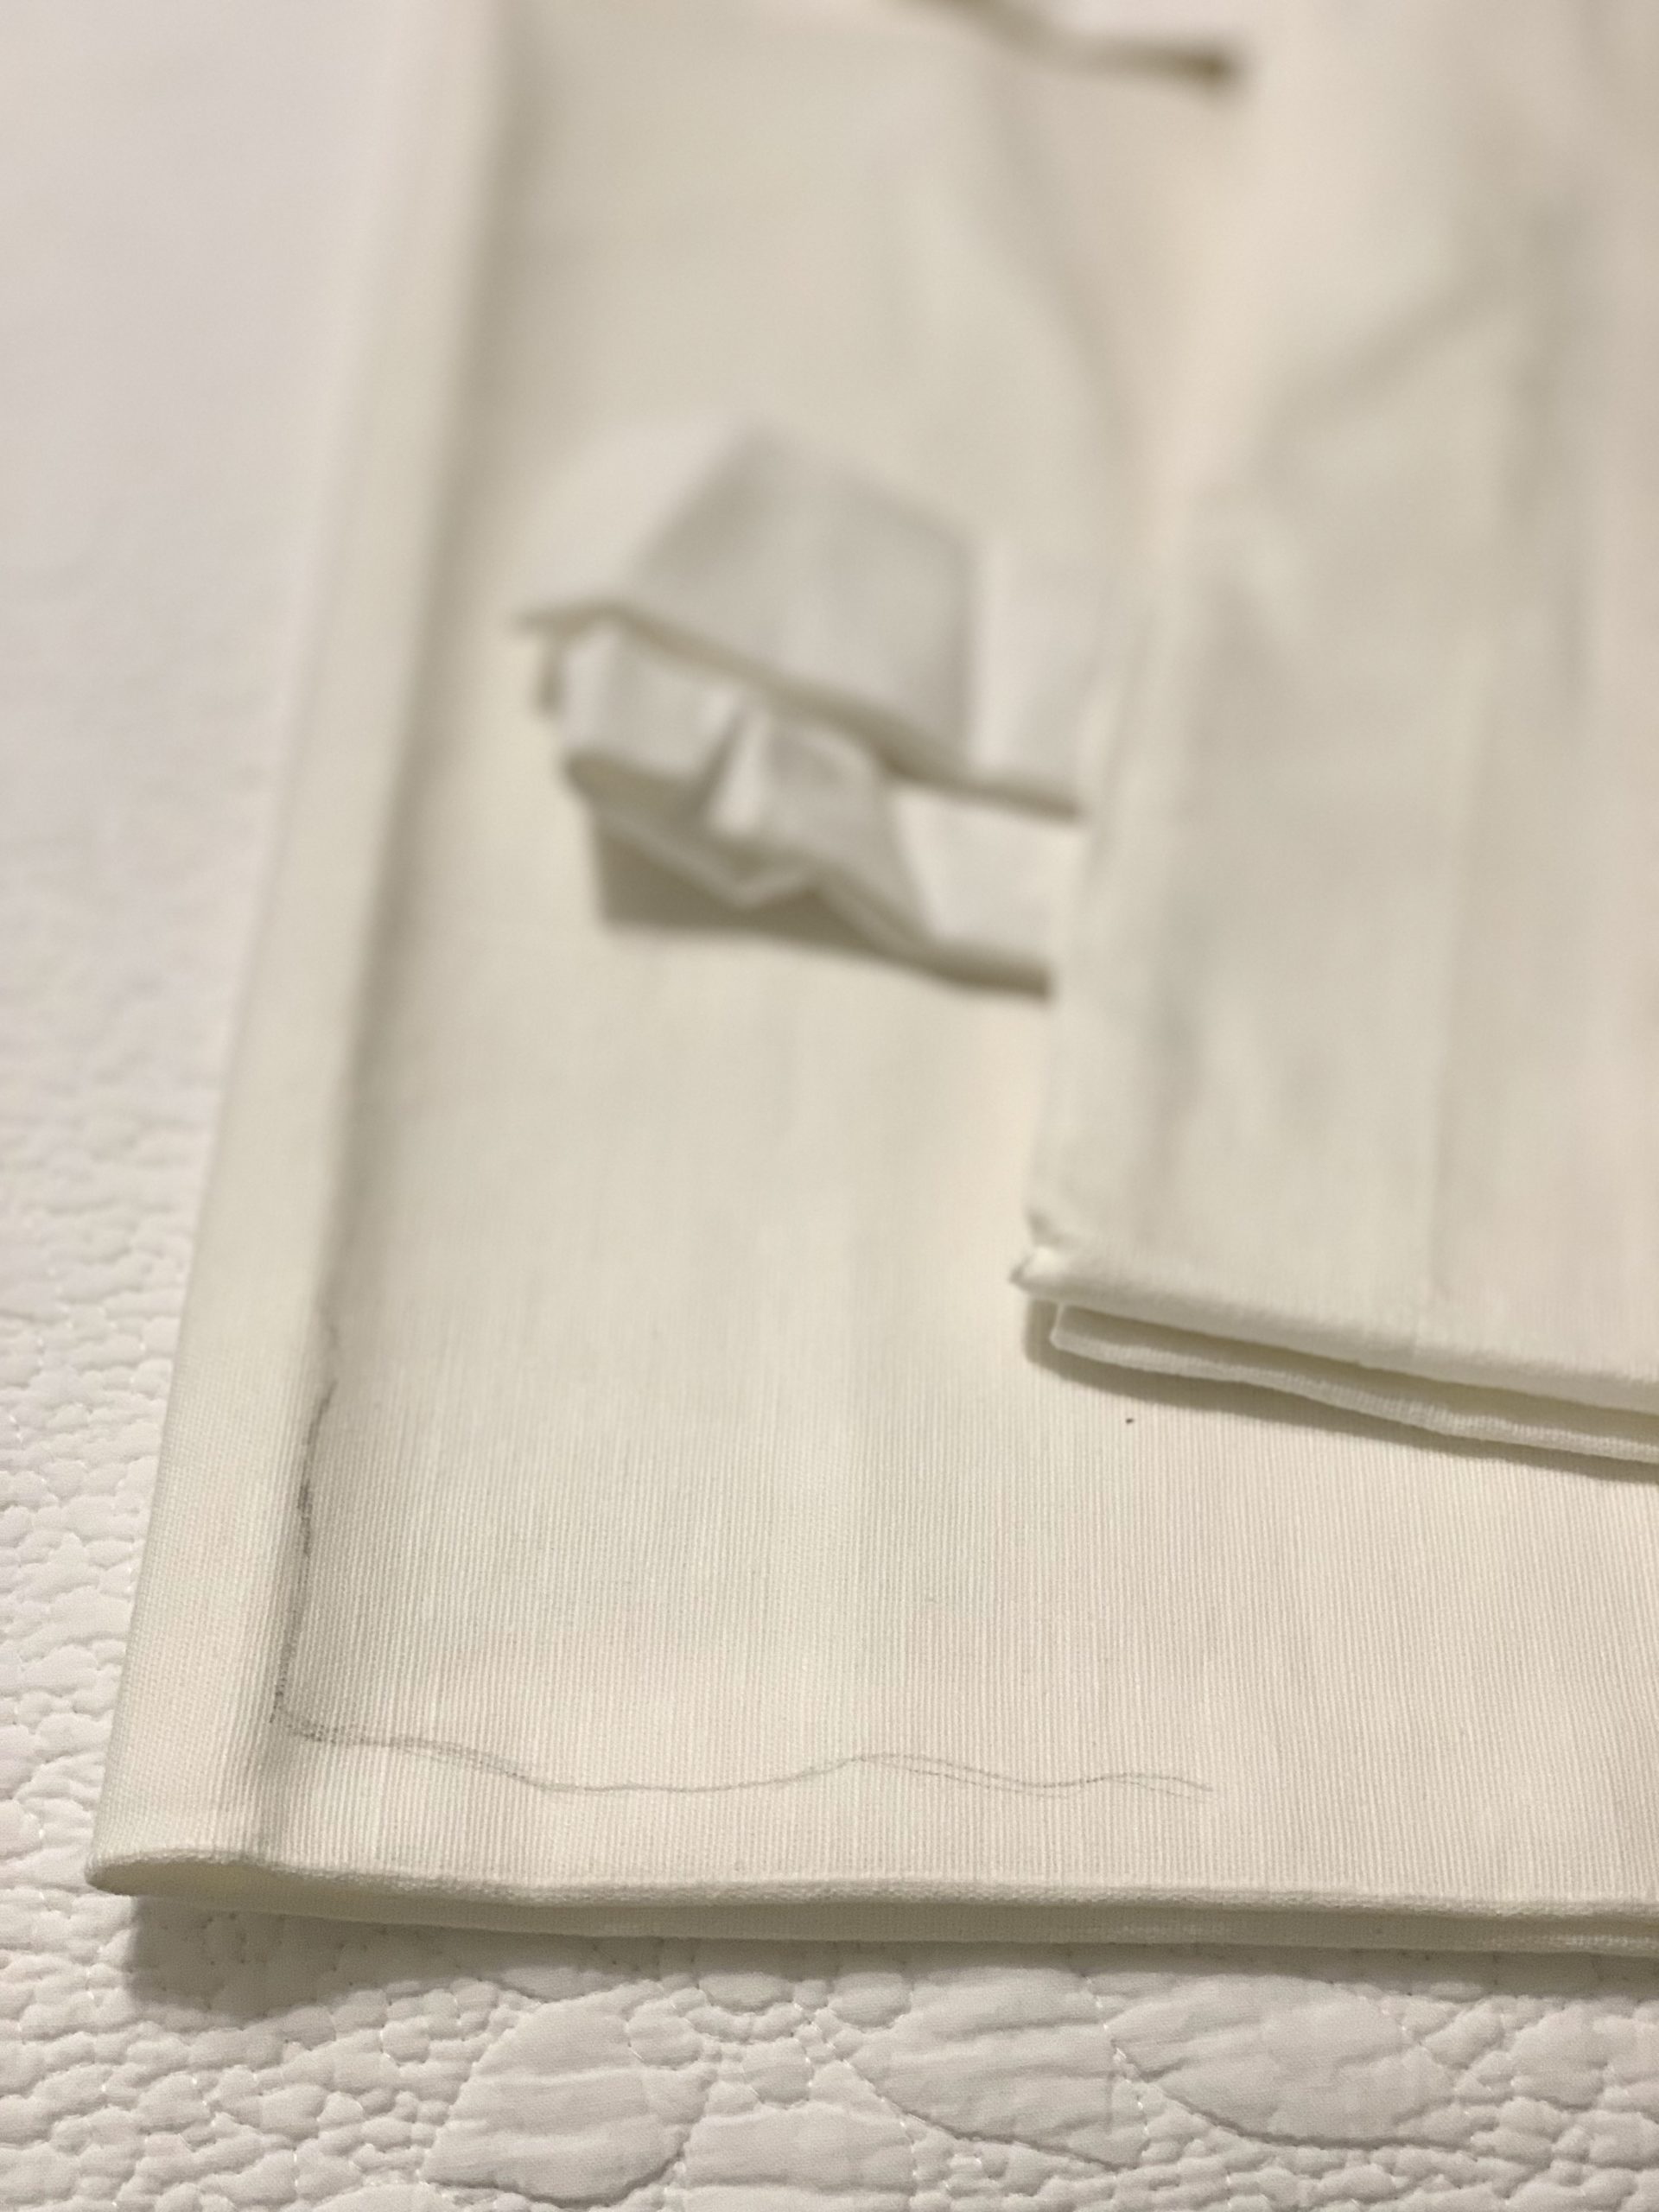
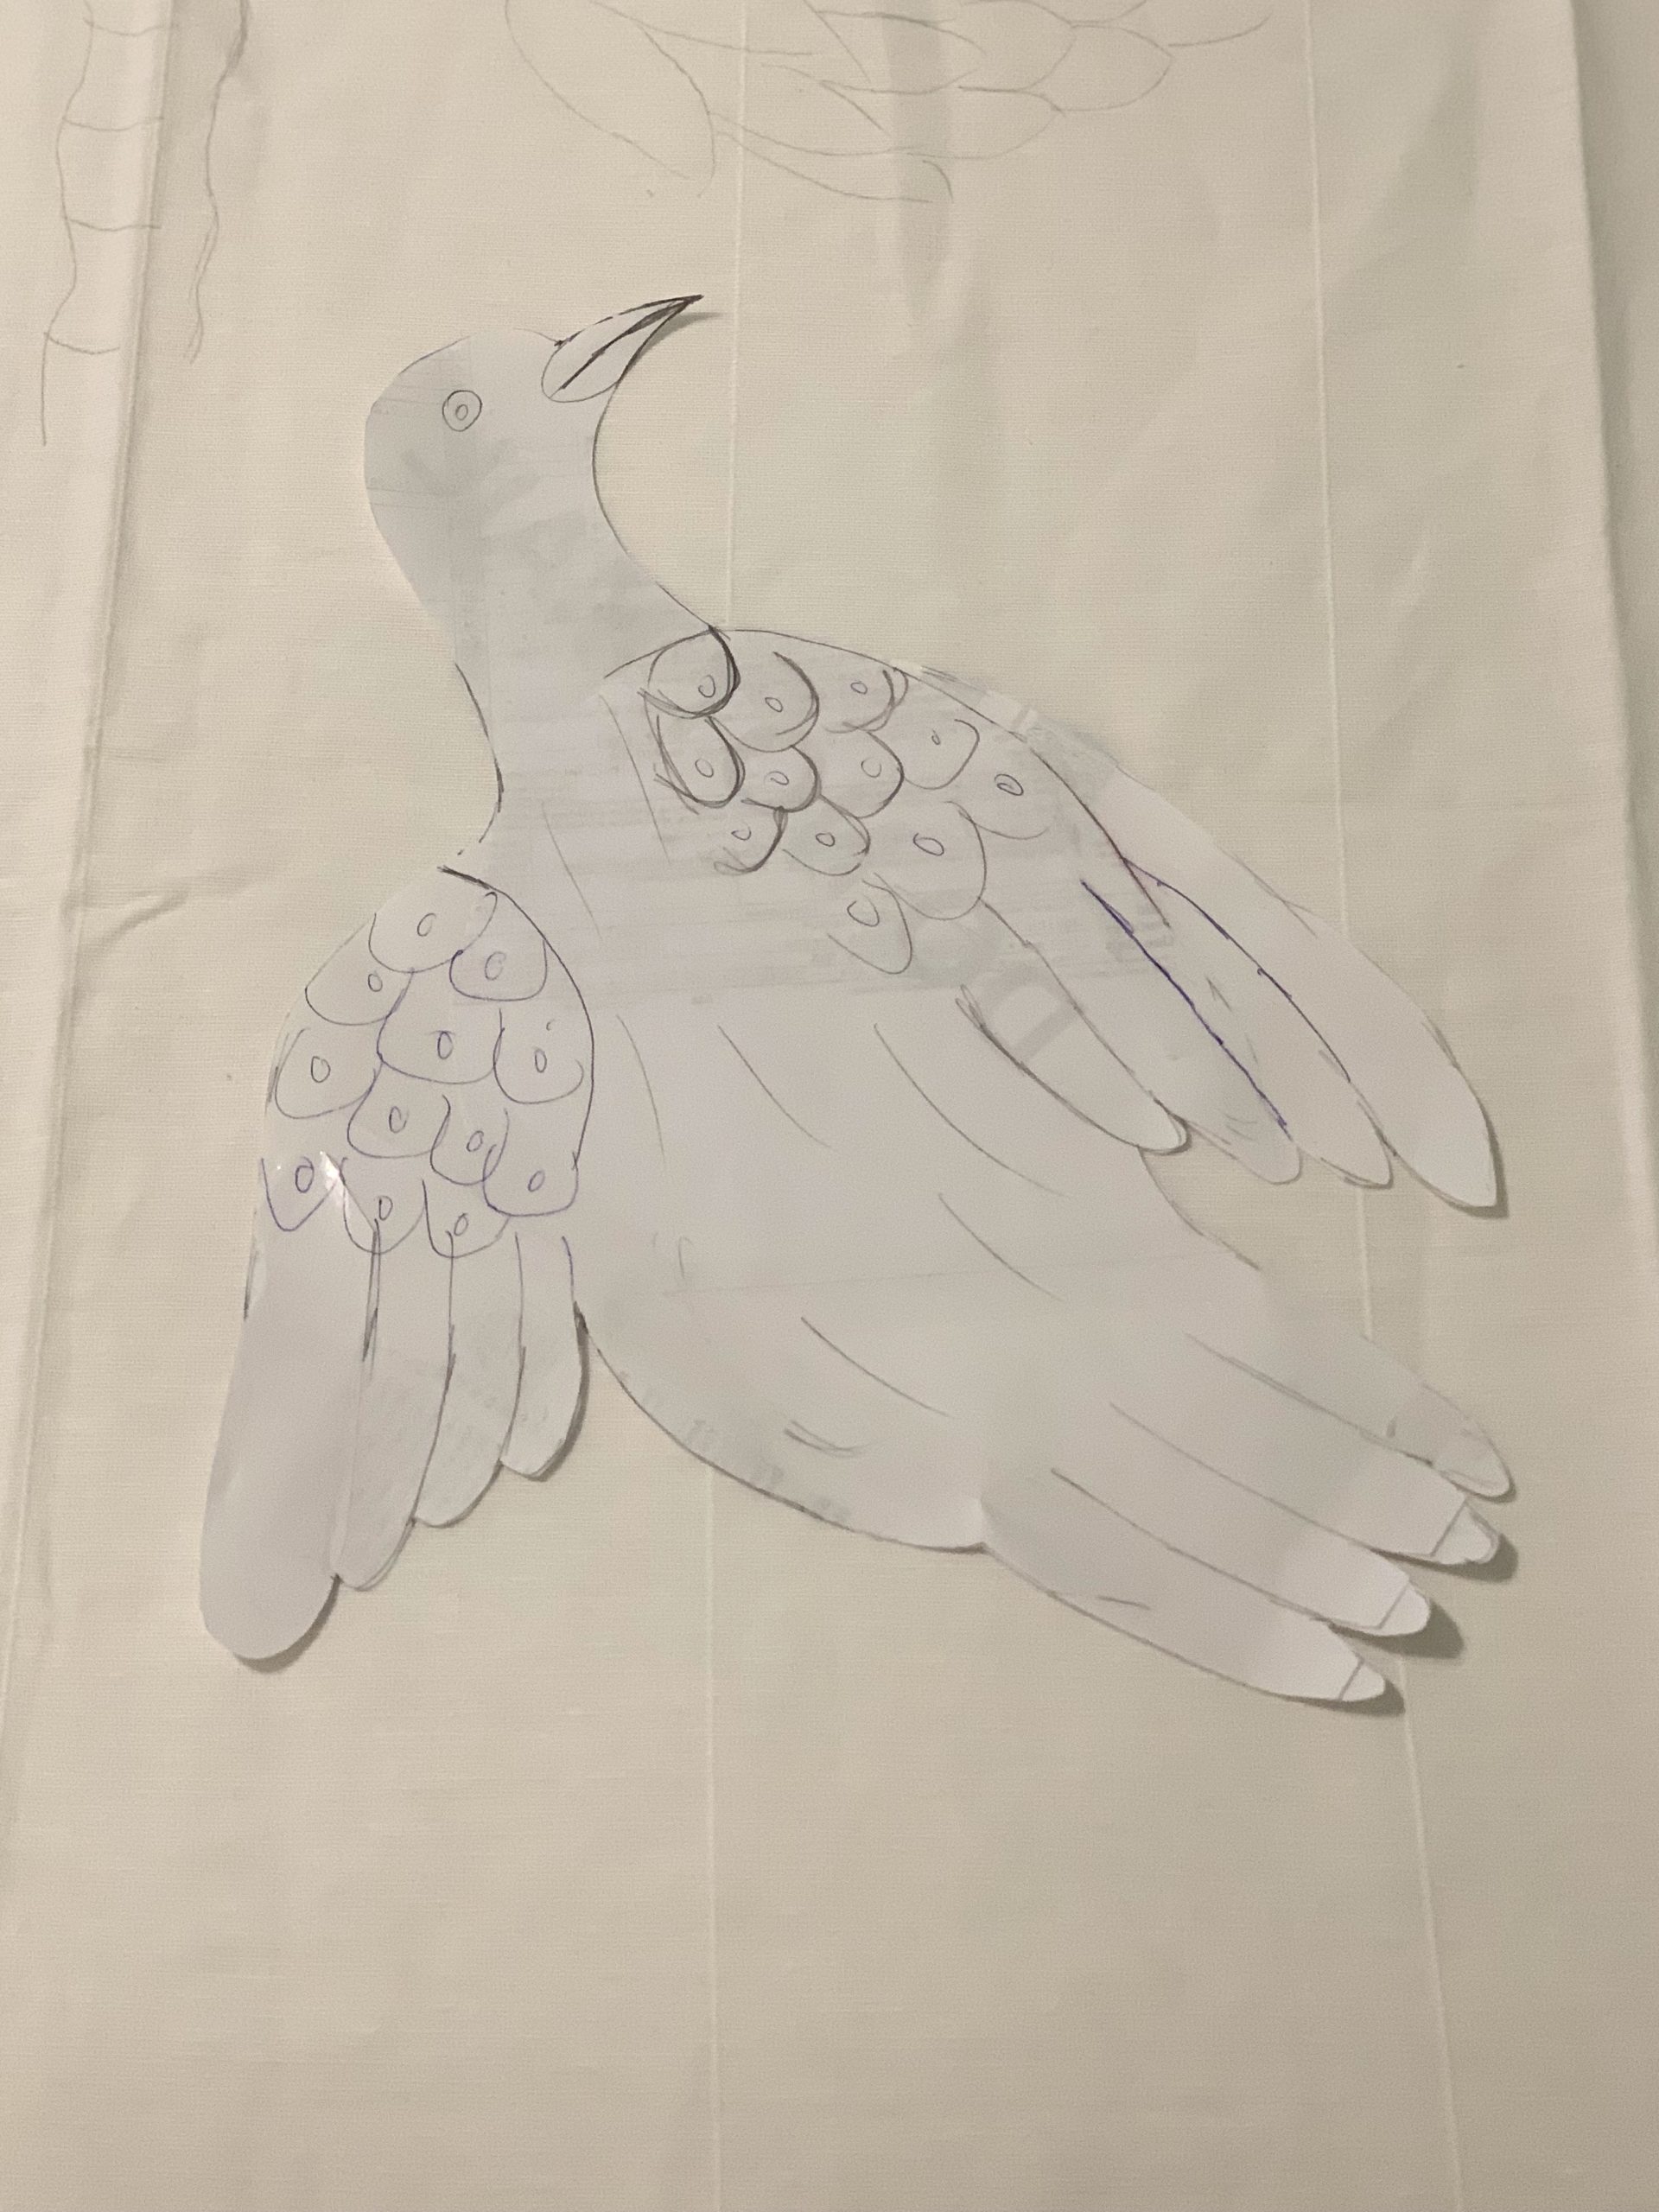
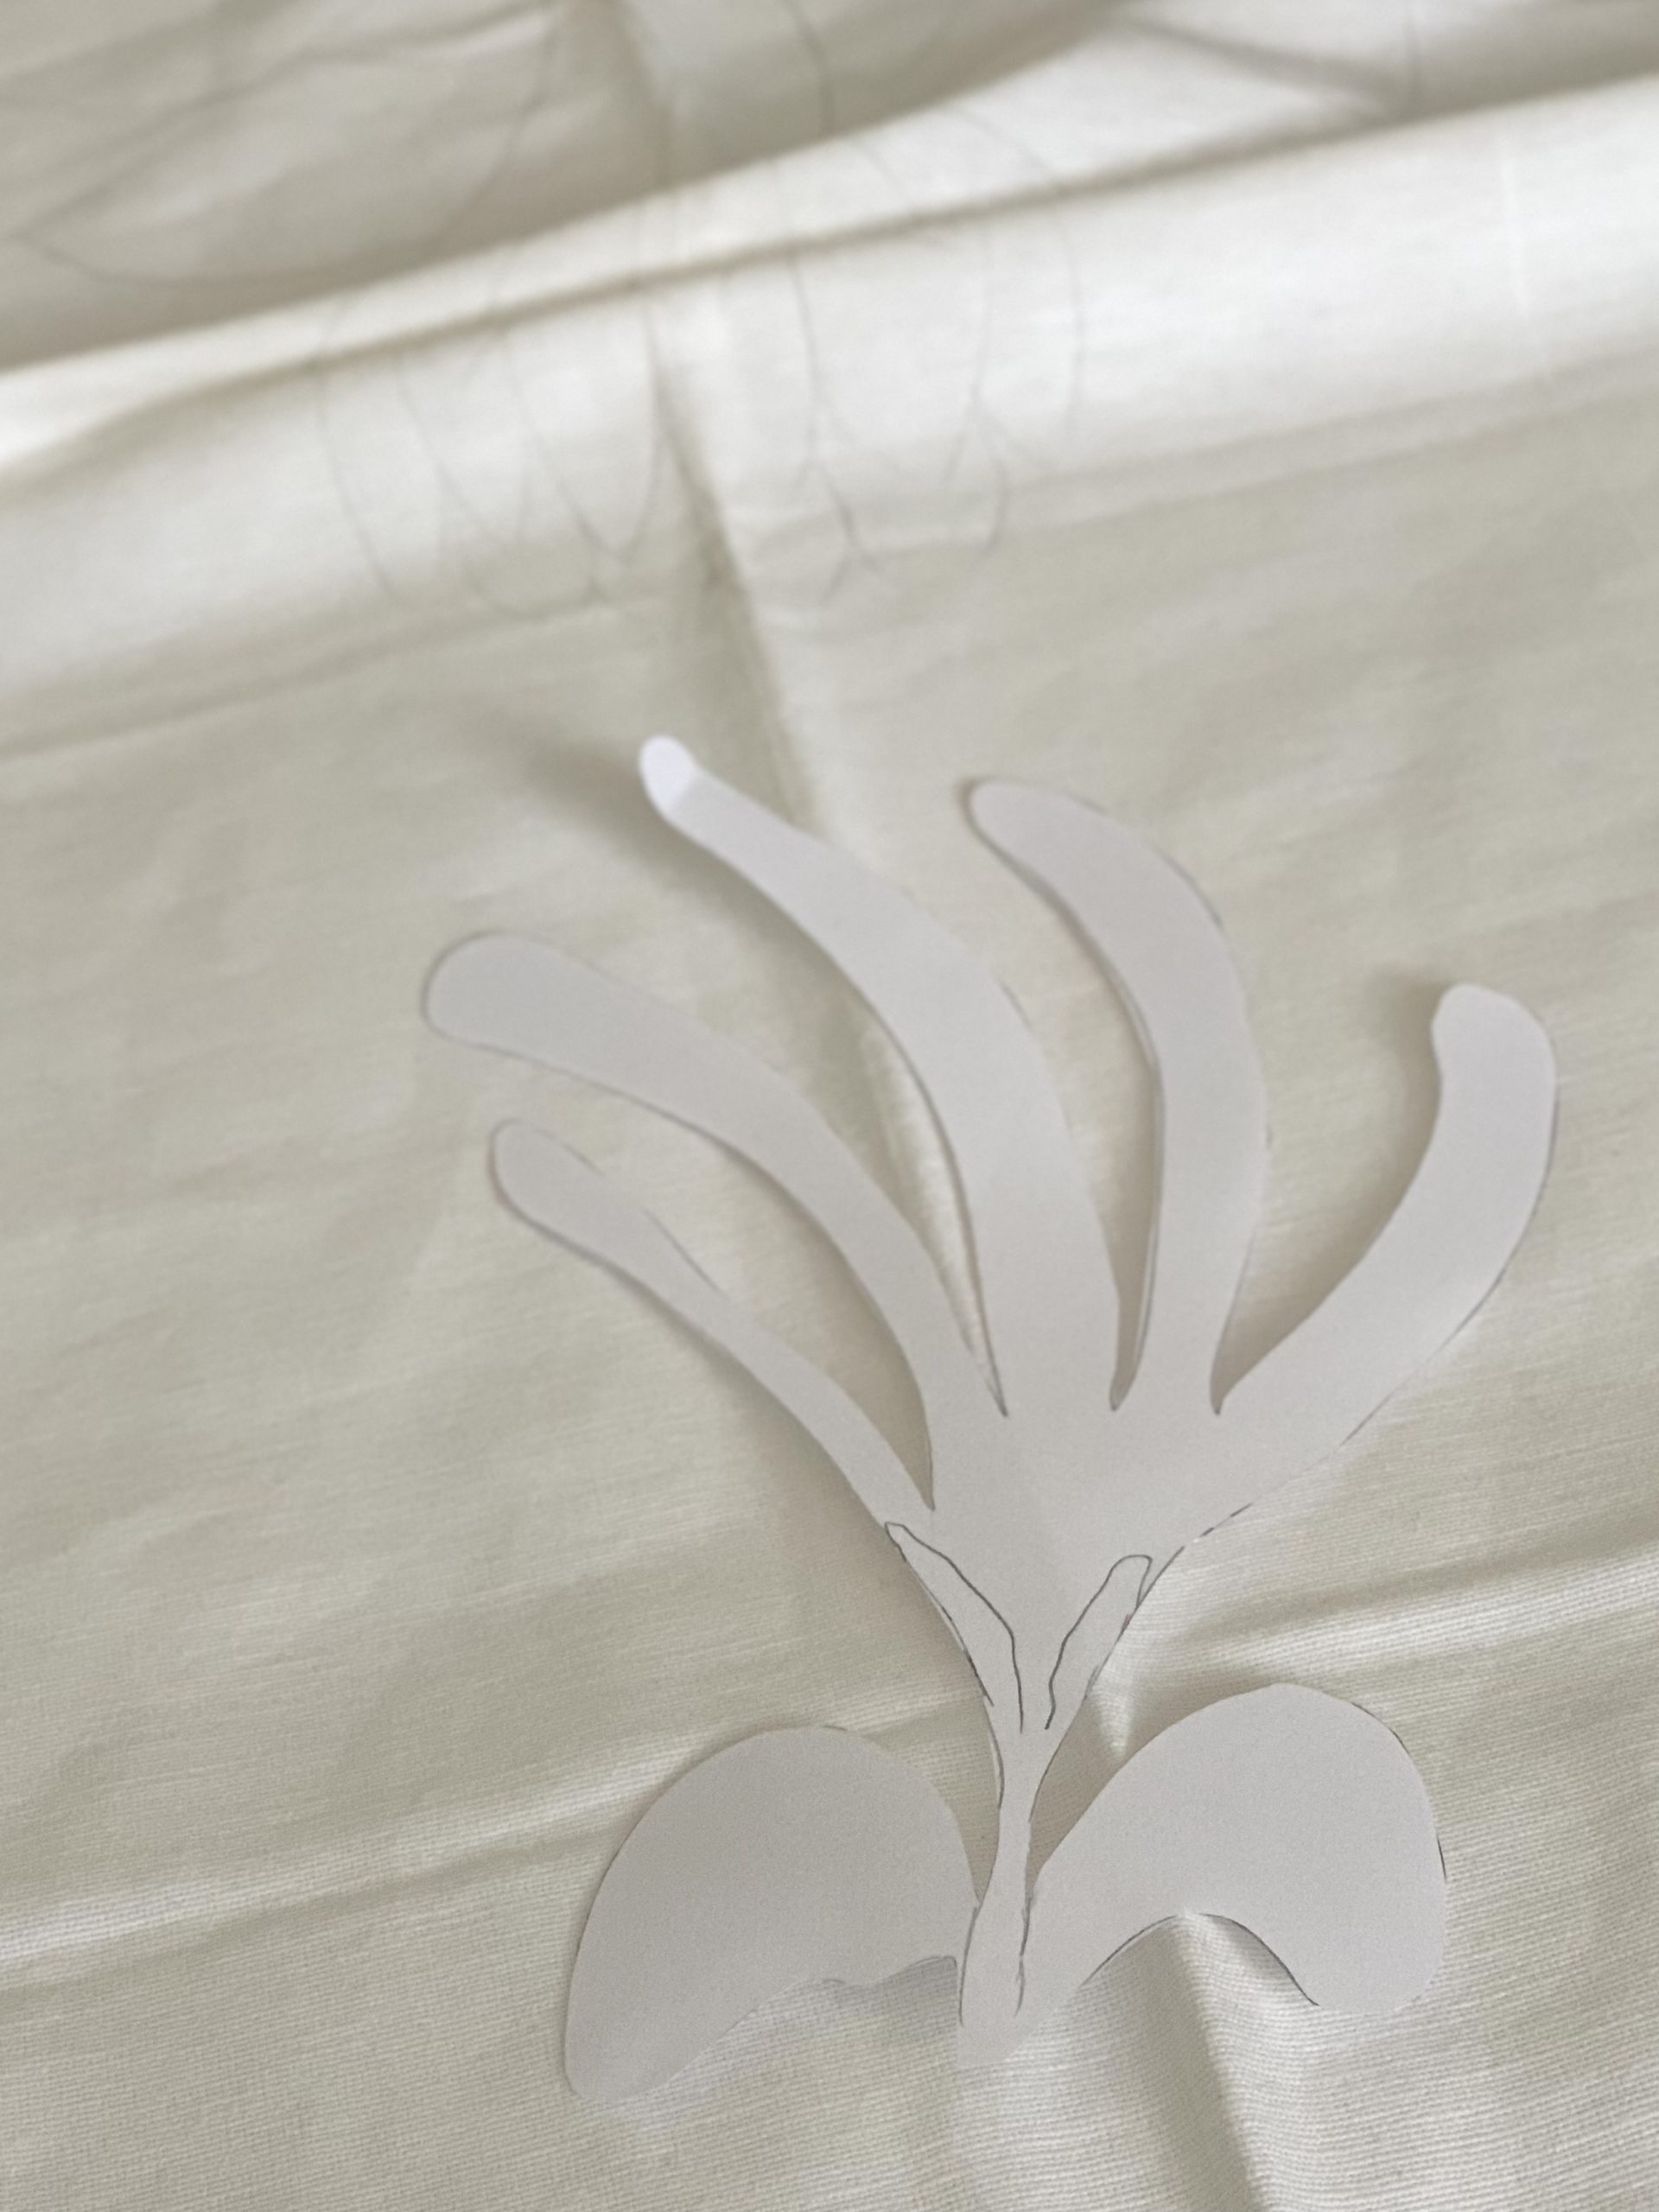
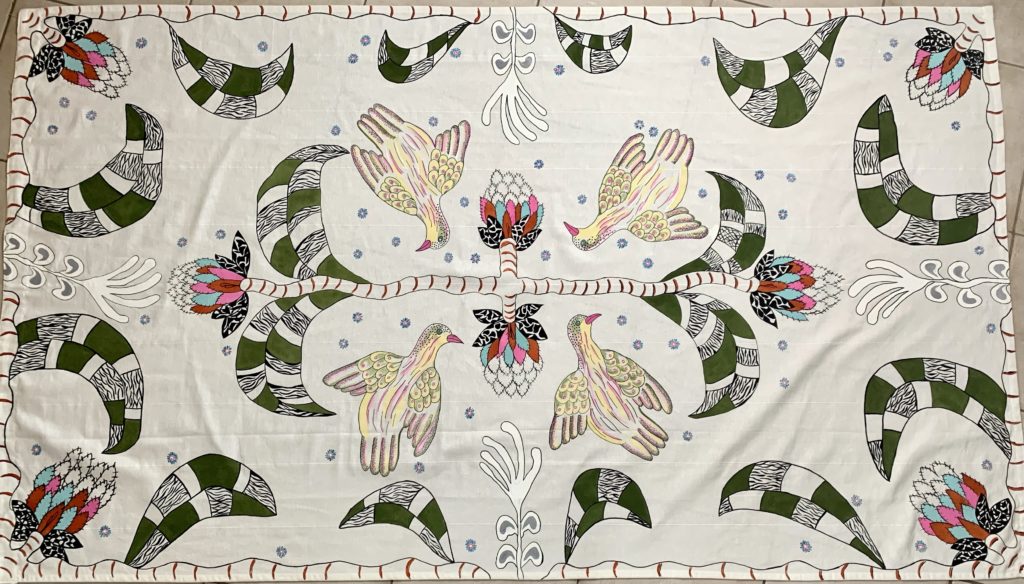
I set up outside, under the covered patio. I covered my large farm table with an inexpensive plastic painter’s tarp. I removed the drape tabs, folded the panel in half to determine the center and marked with a pencil, as shown below. I decided to have a tree branch extending outward from the center, essentially dividing the tablecloth in four sections. I only created two templates from and 8 X 11 copy paper – a bird and a plant with a hand-like top. This took some time, but it was worth it.
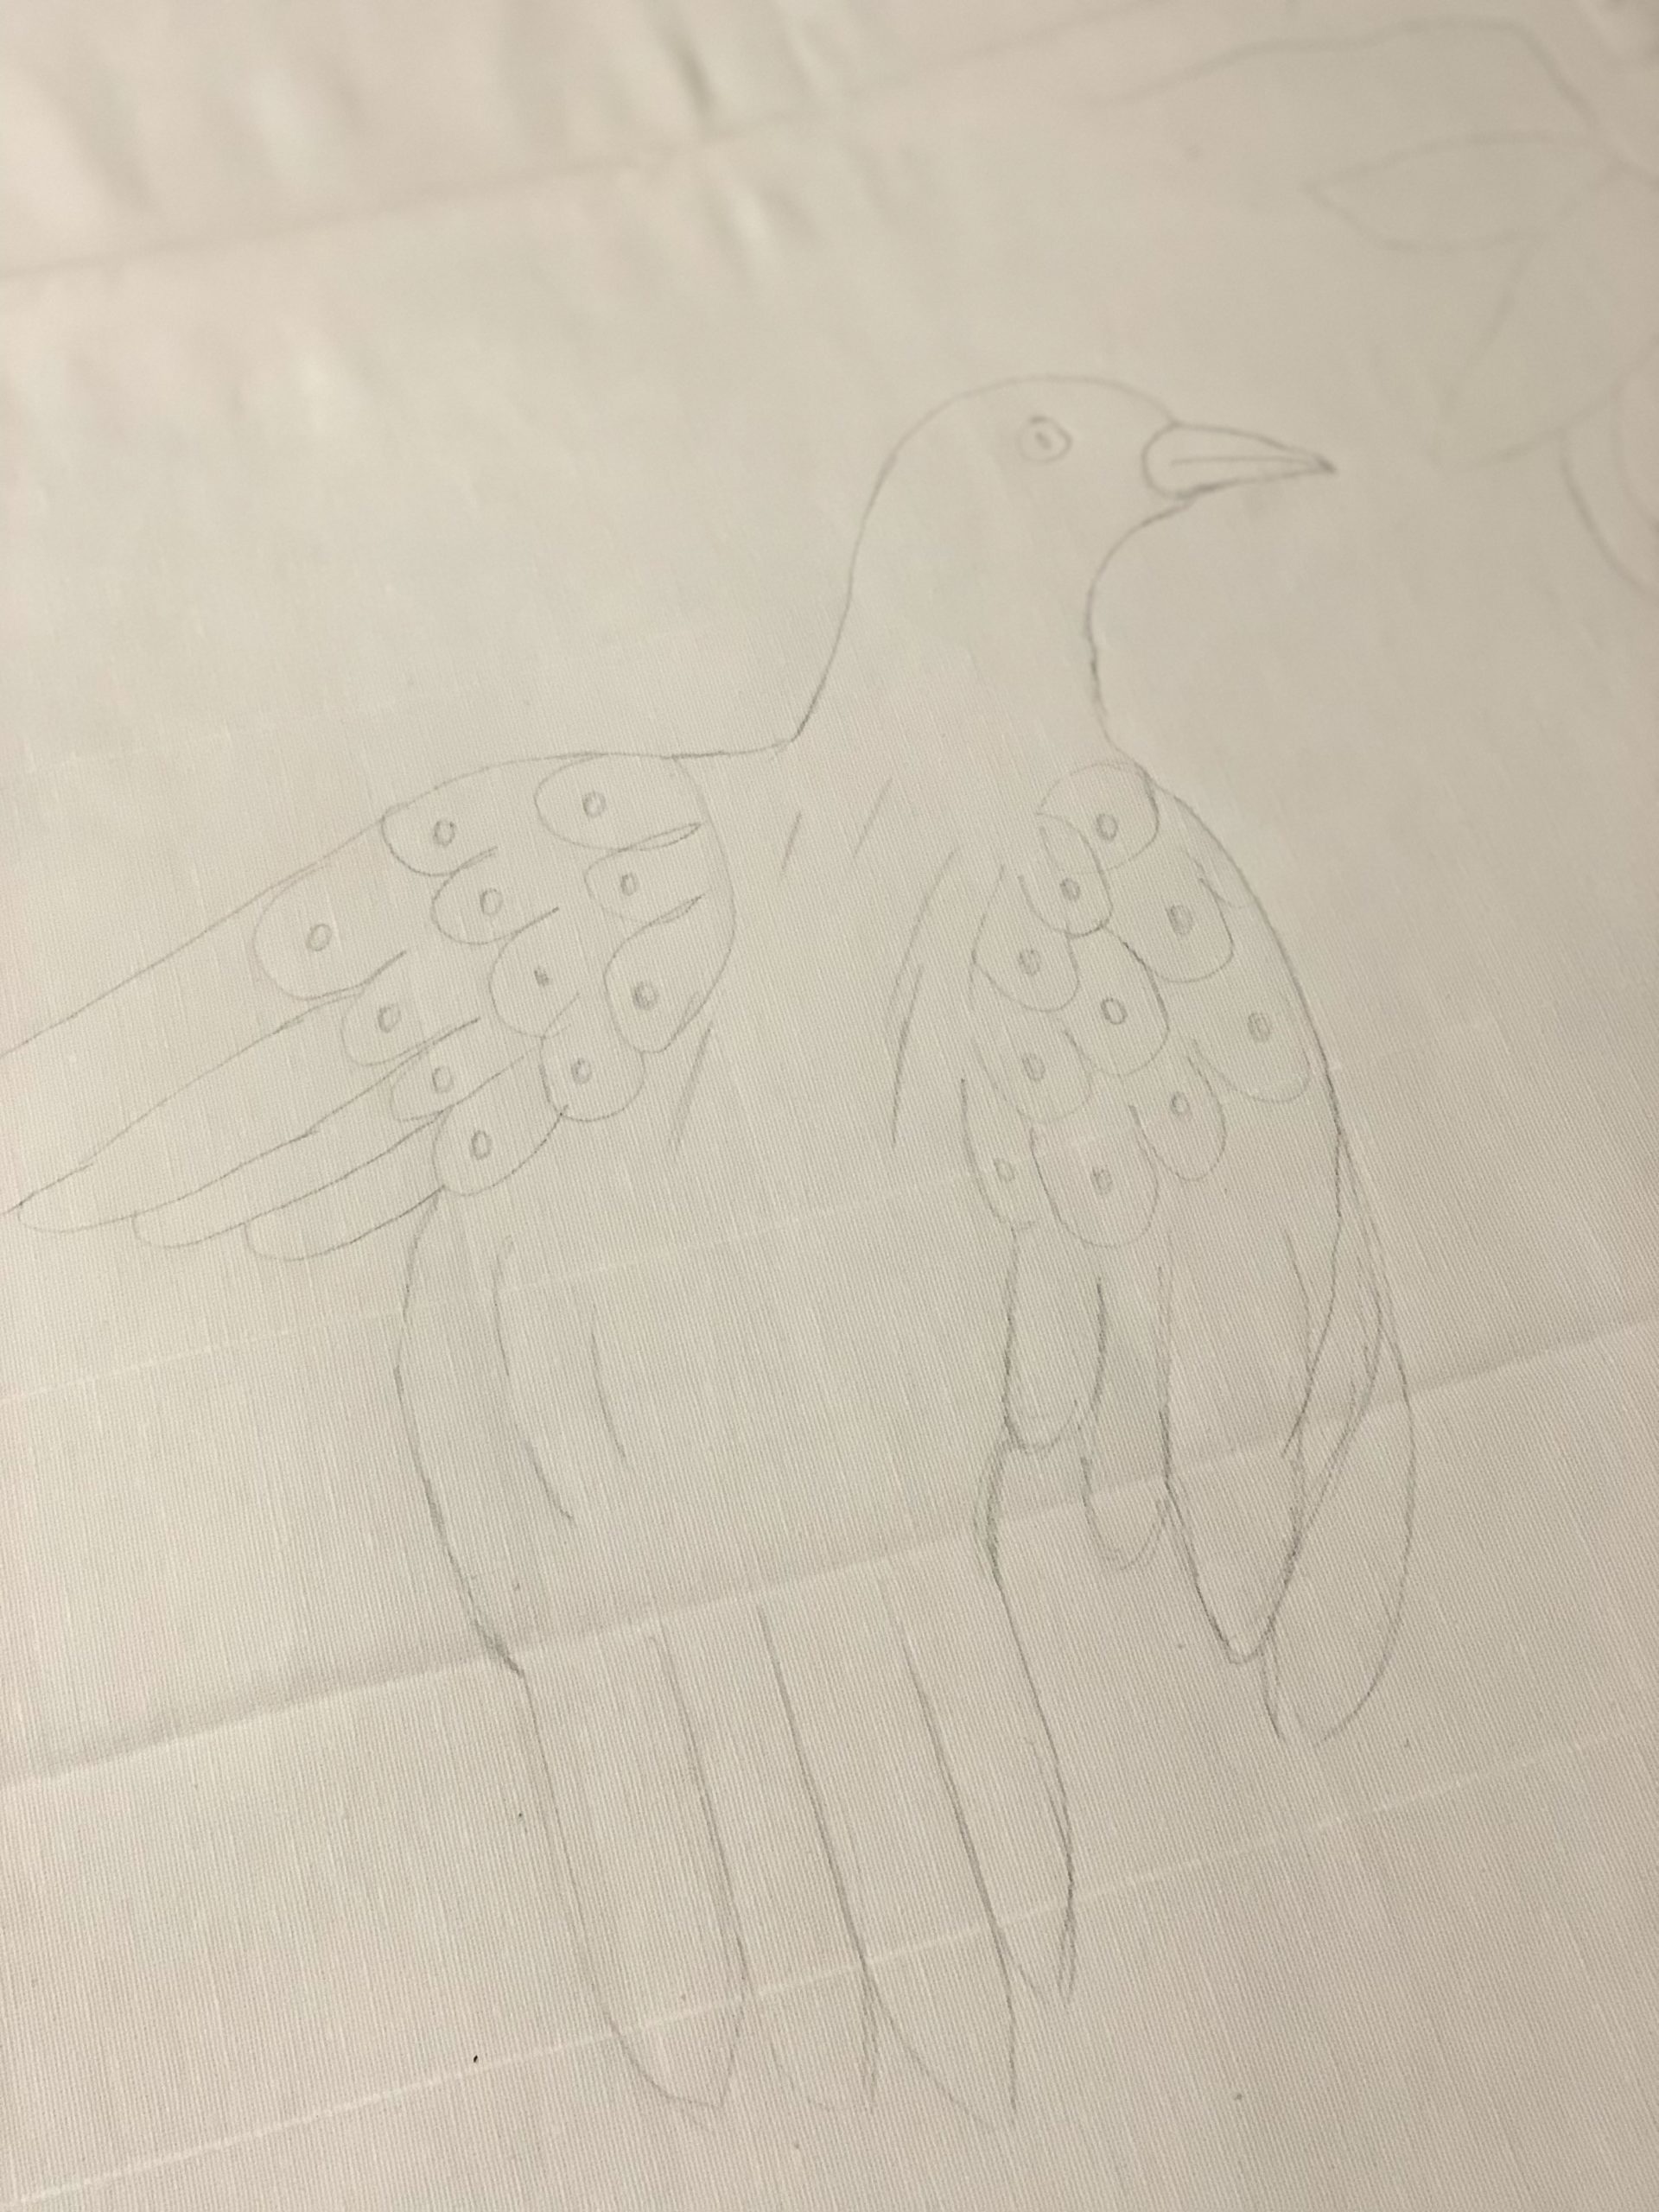
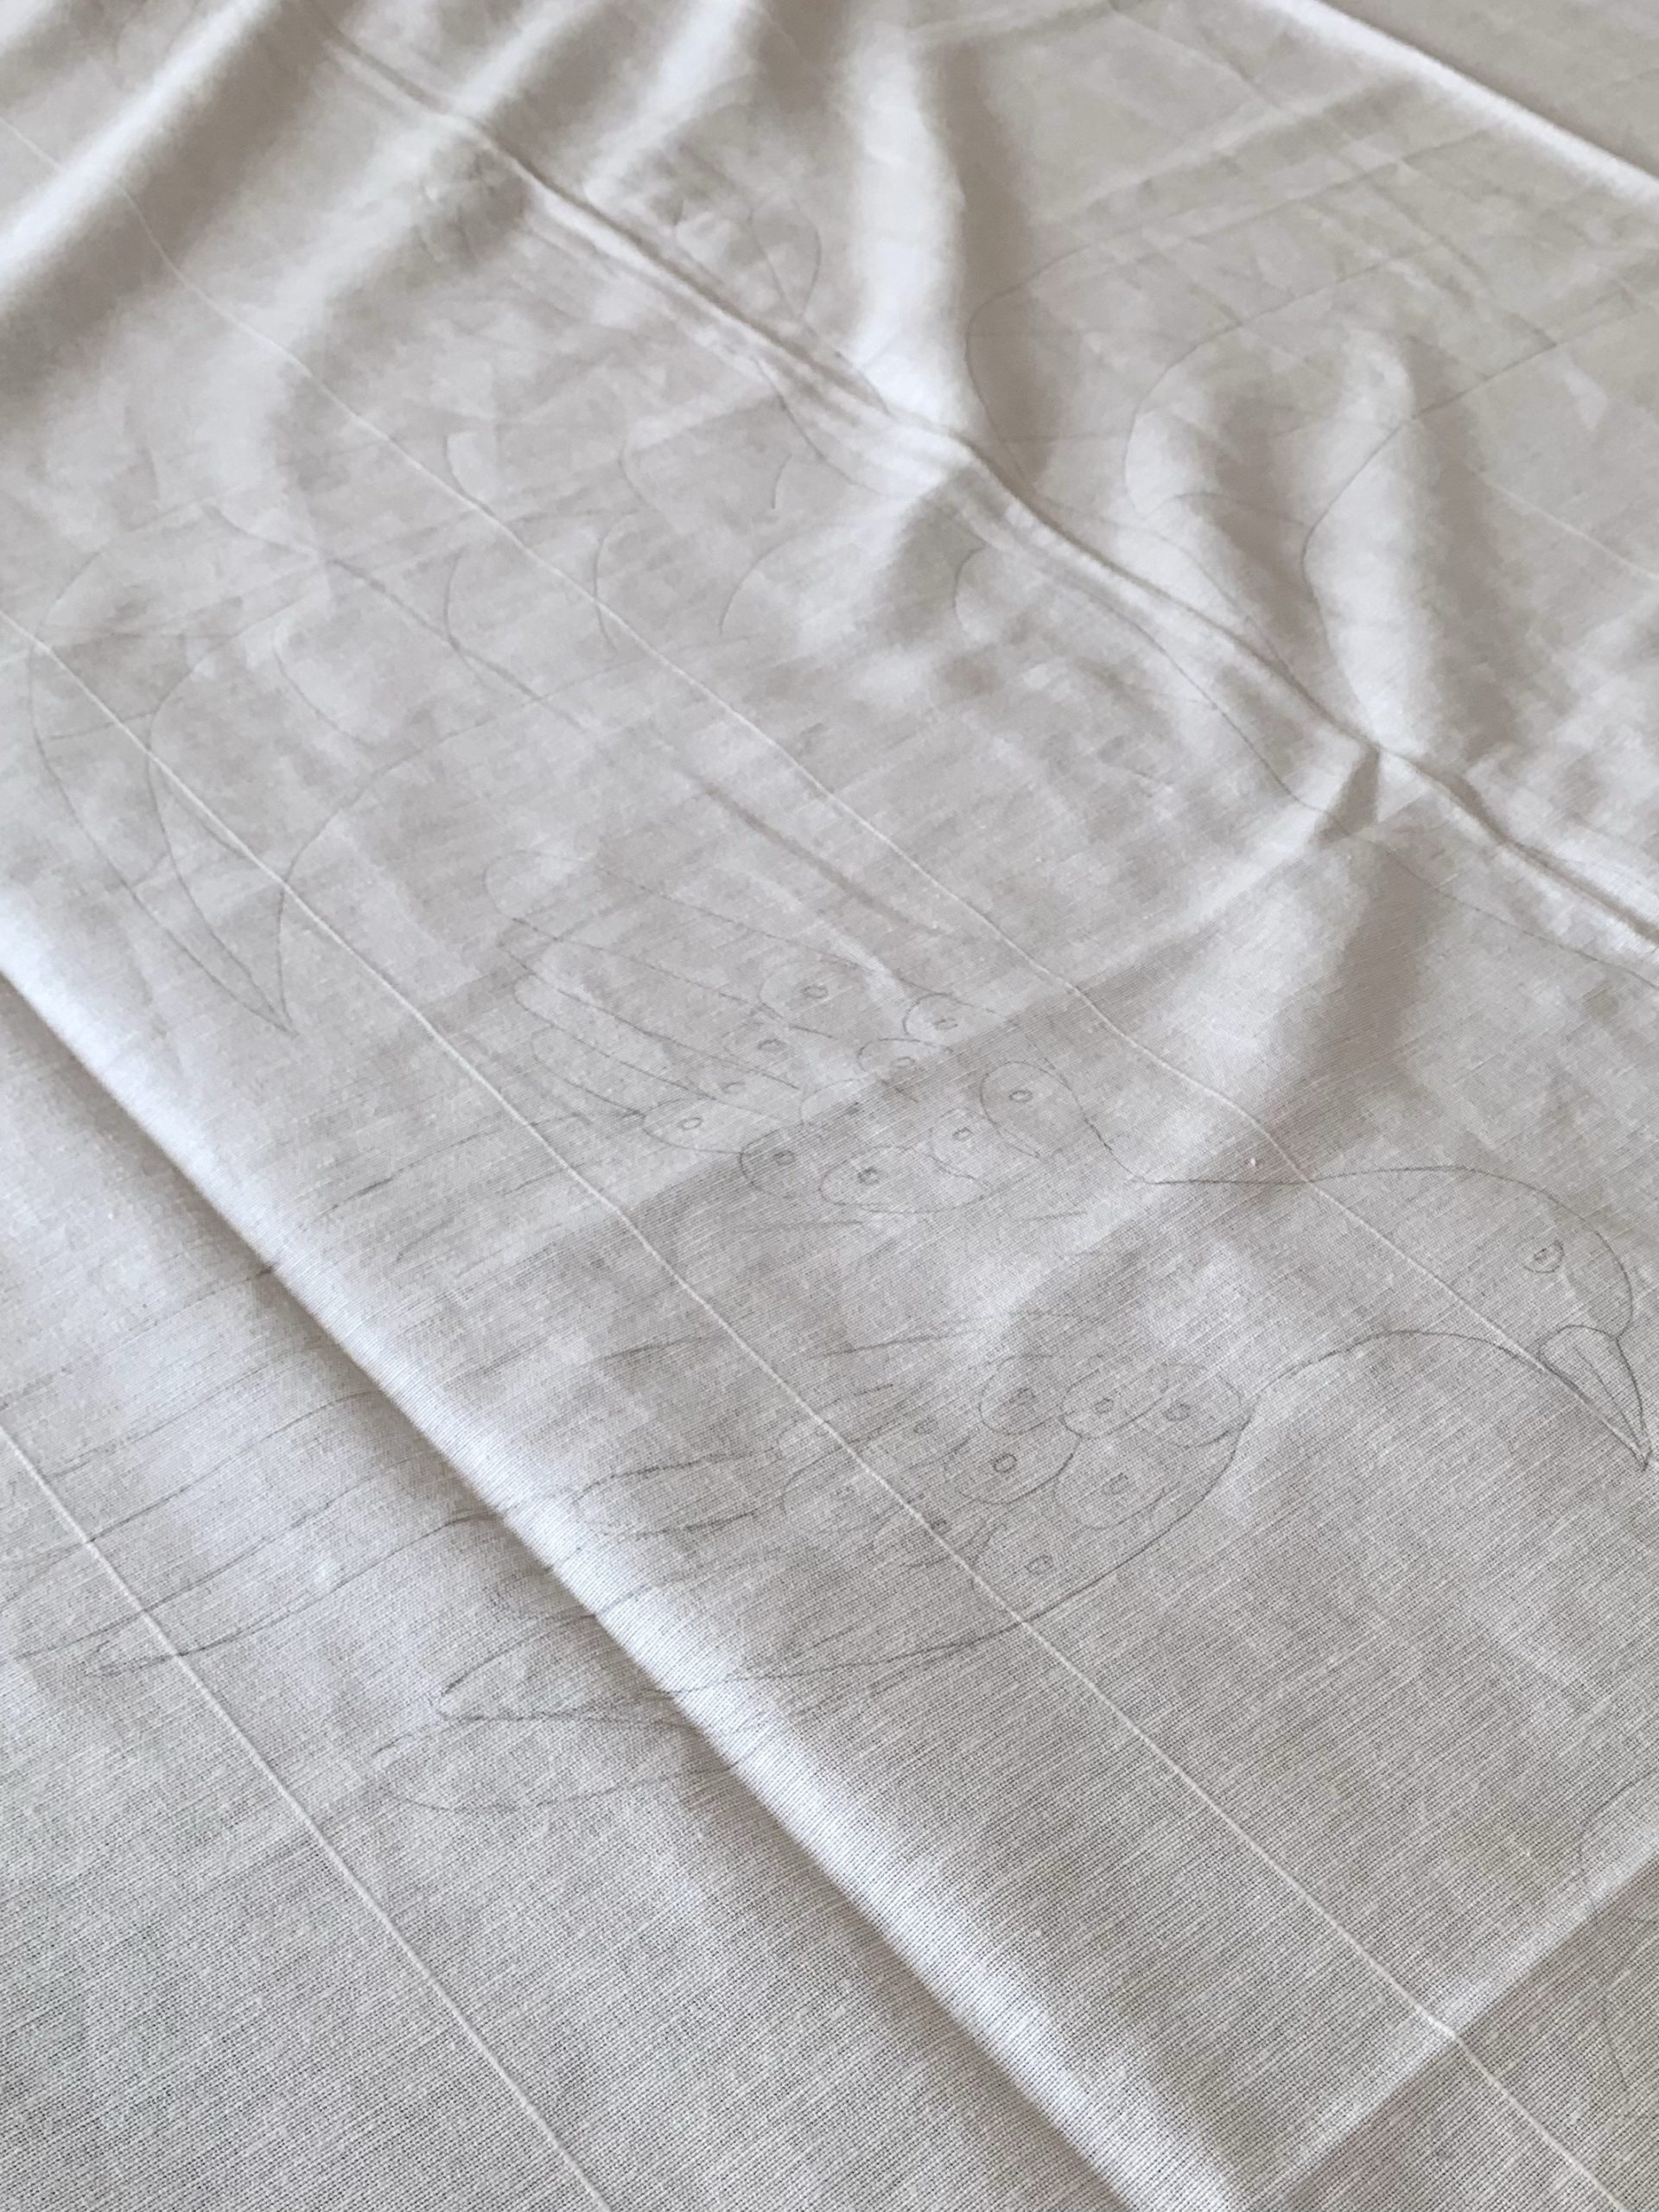
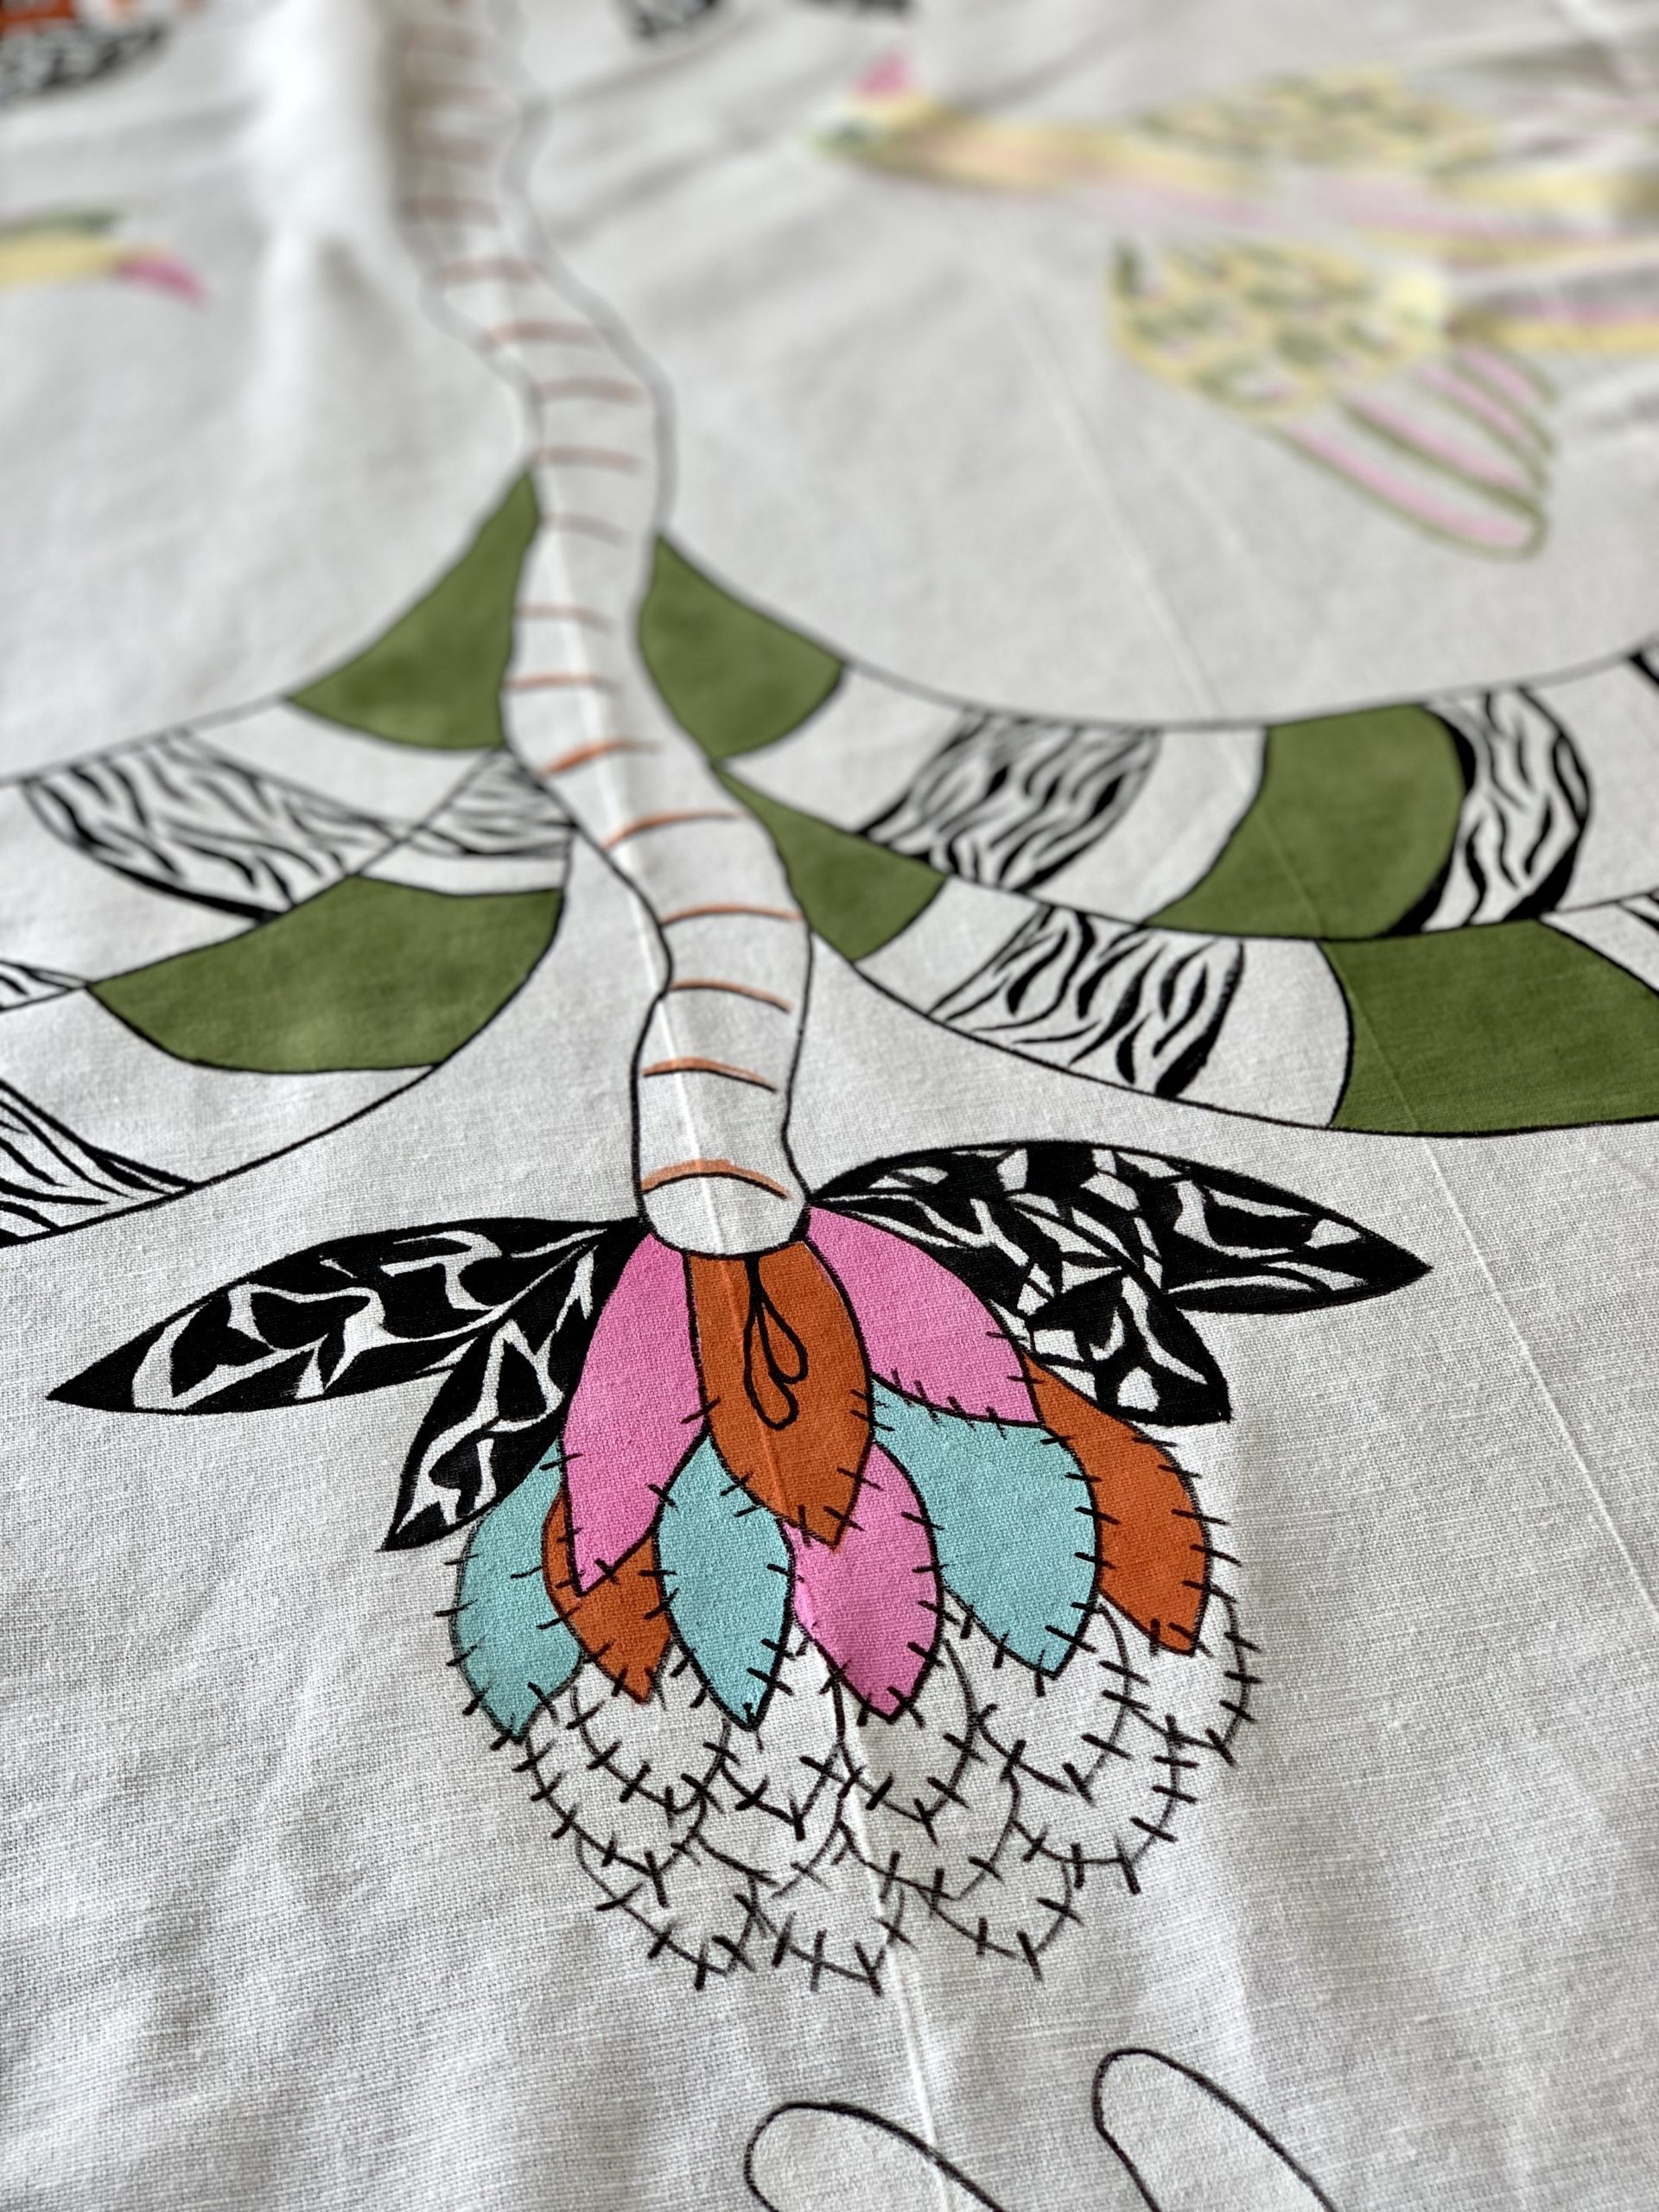
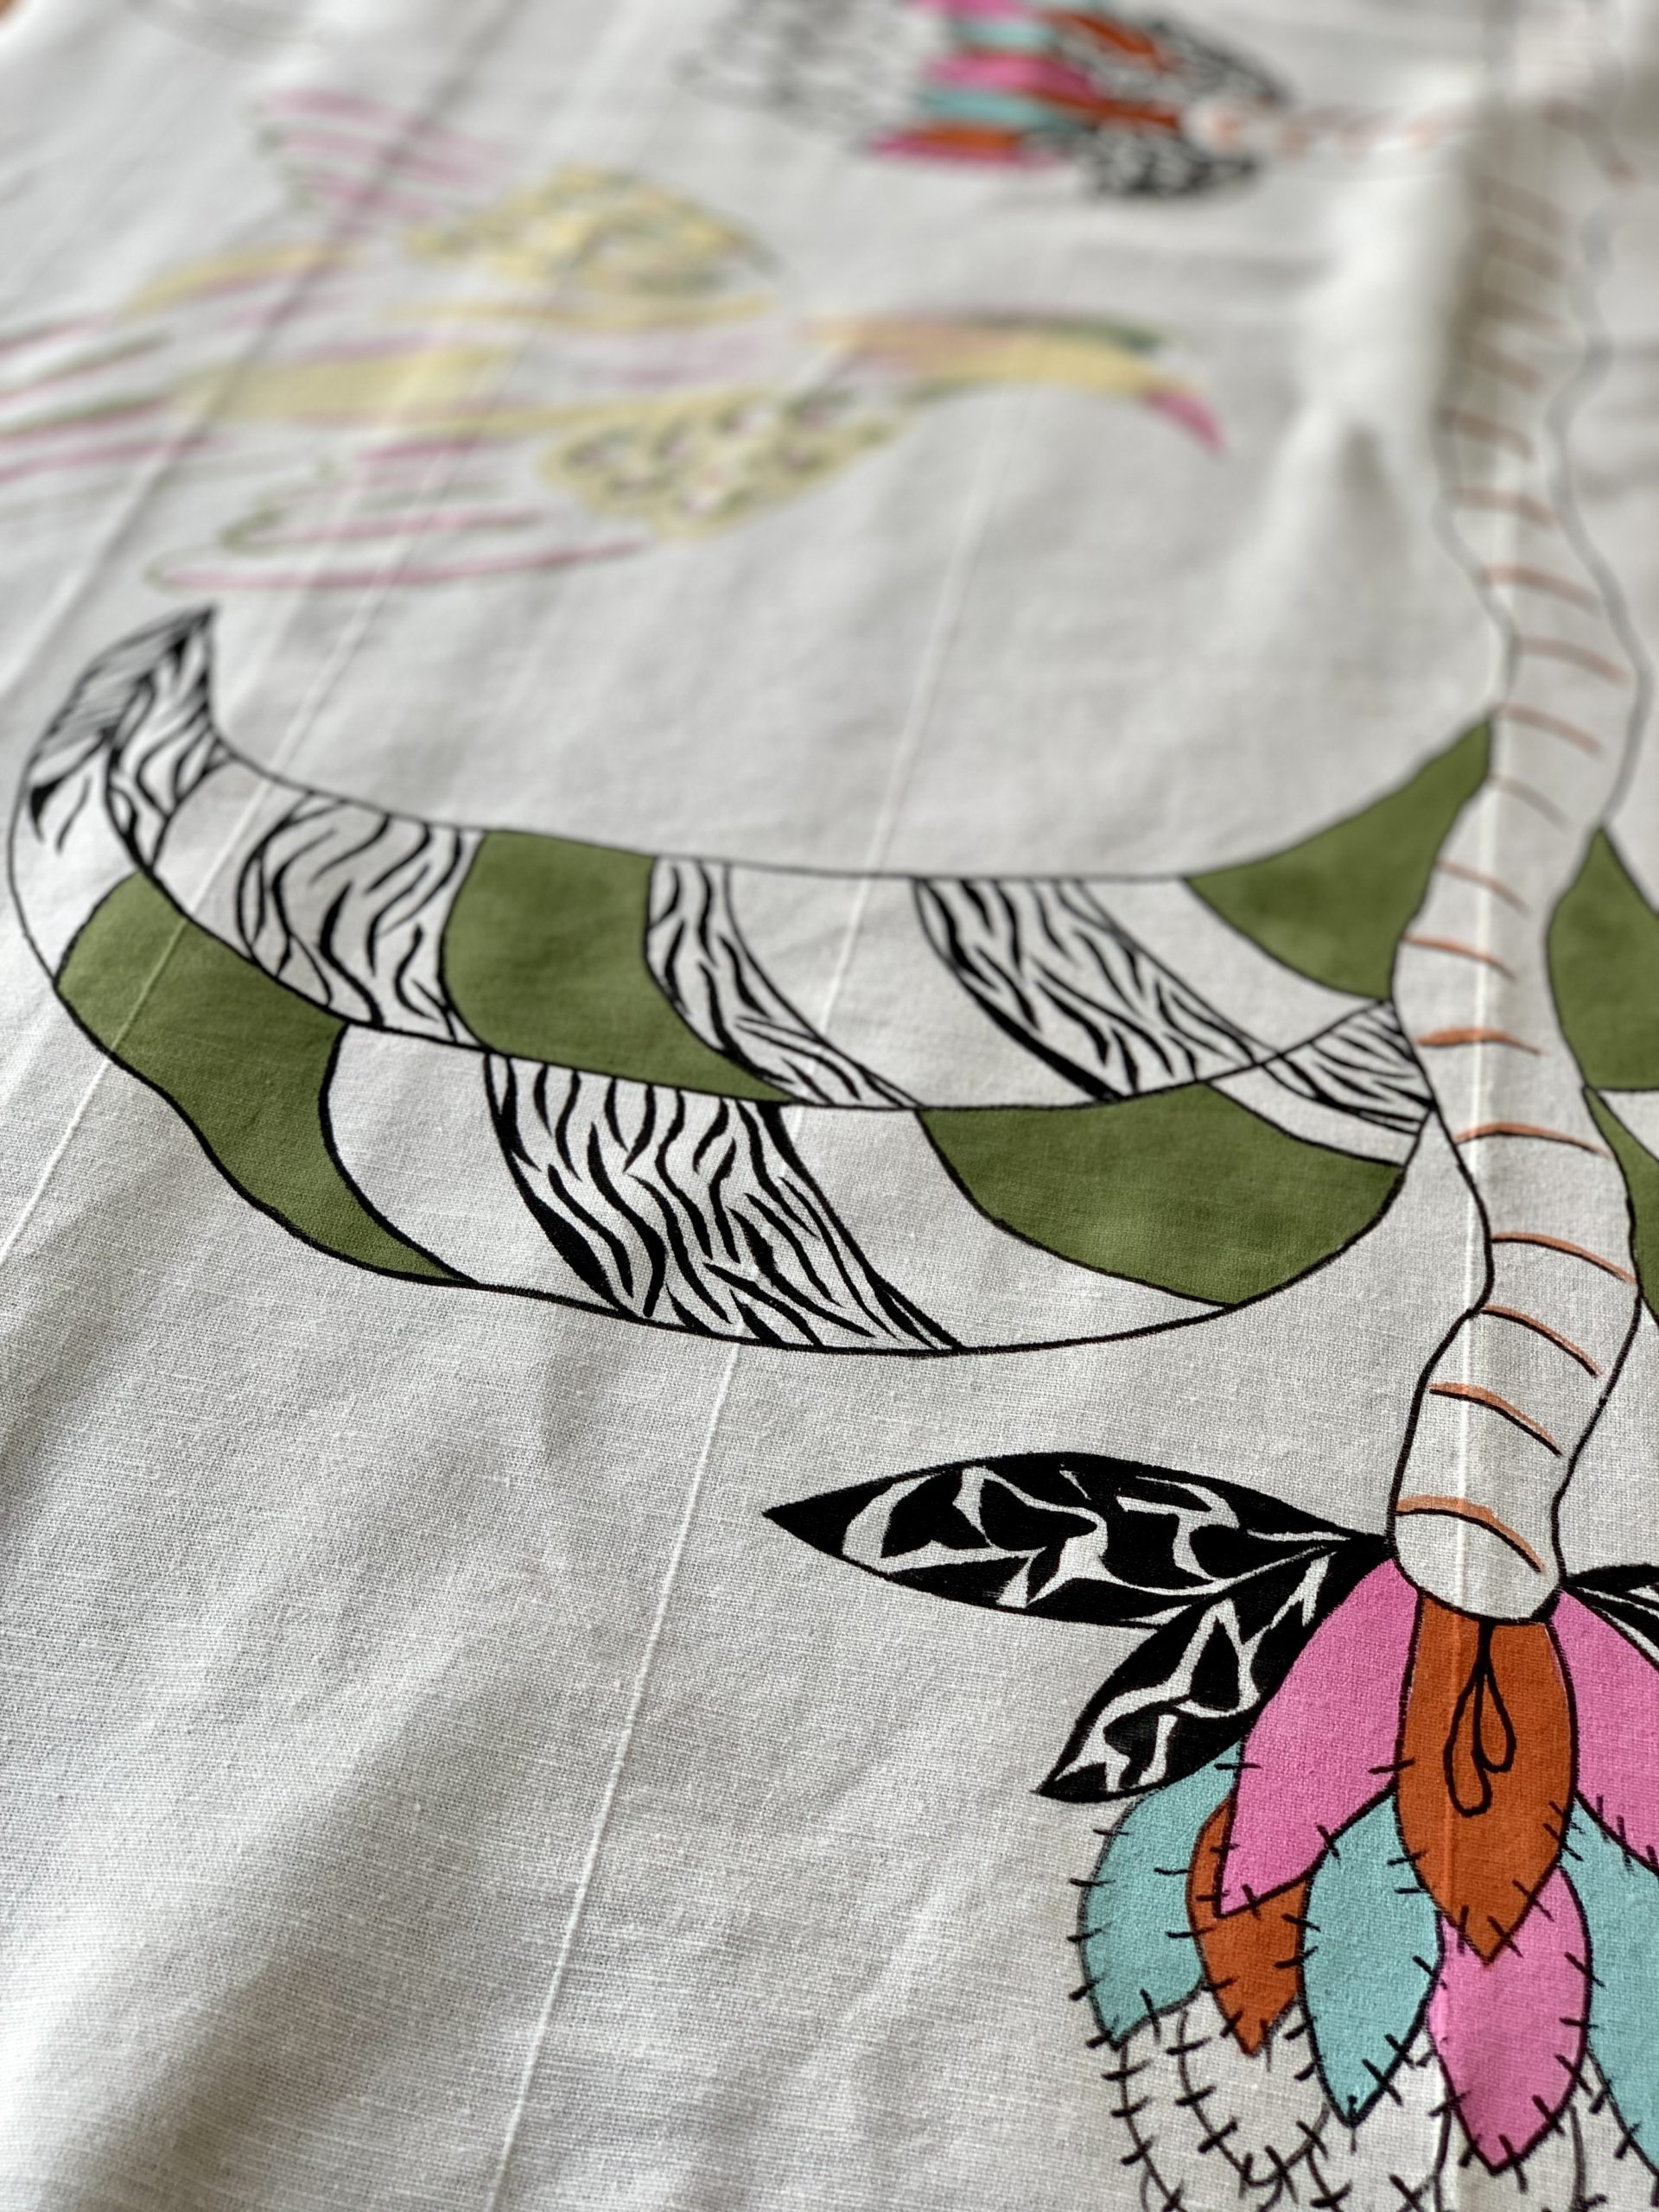
I focused on the center, leaving the border for last simply because I didn’t know what I wanted to do with the border. From the center markings I made, I drew wavy tree branches and large prickly flowers. This was freehand because it was easier for me to draw. Any pencil mistakes could be erased or covered up with paint. Once I penciled the tree branches design in the center of the panel, I positioned and outline the birds in pencil using the templates. The pencil markings are faint, but still visible.
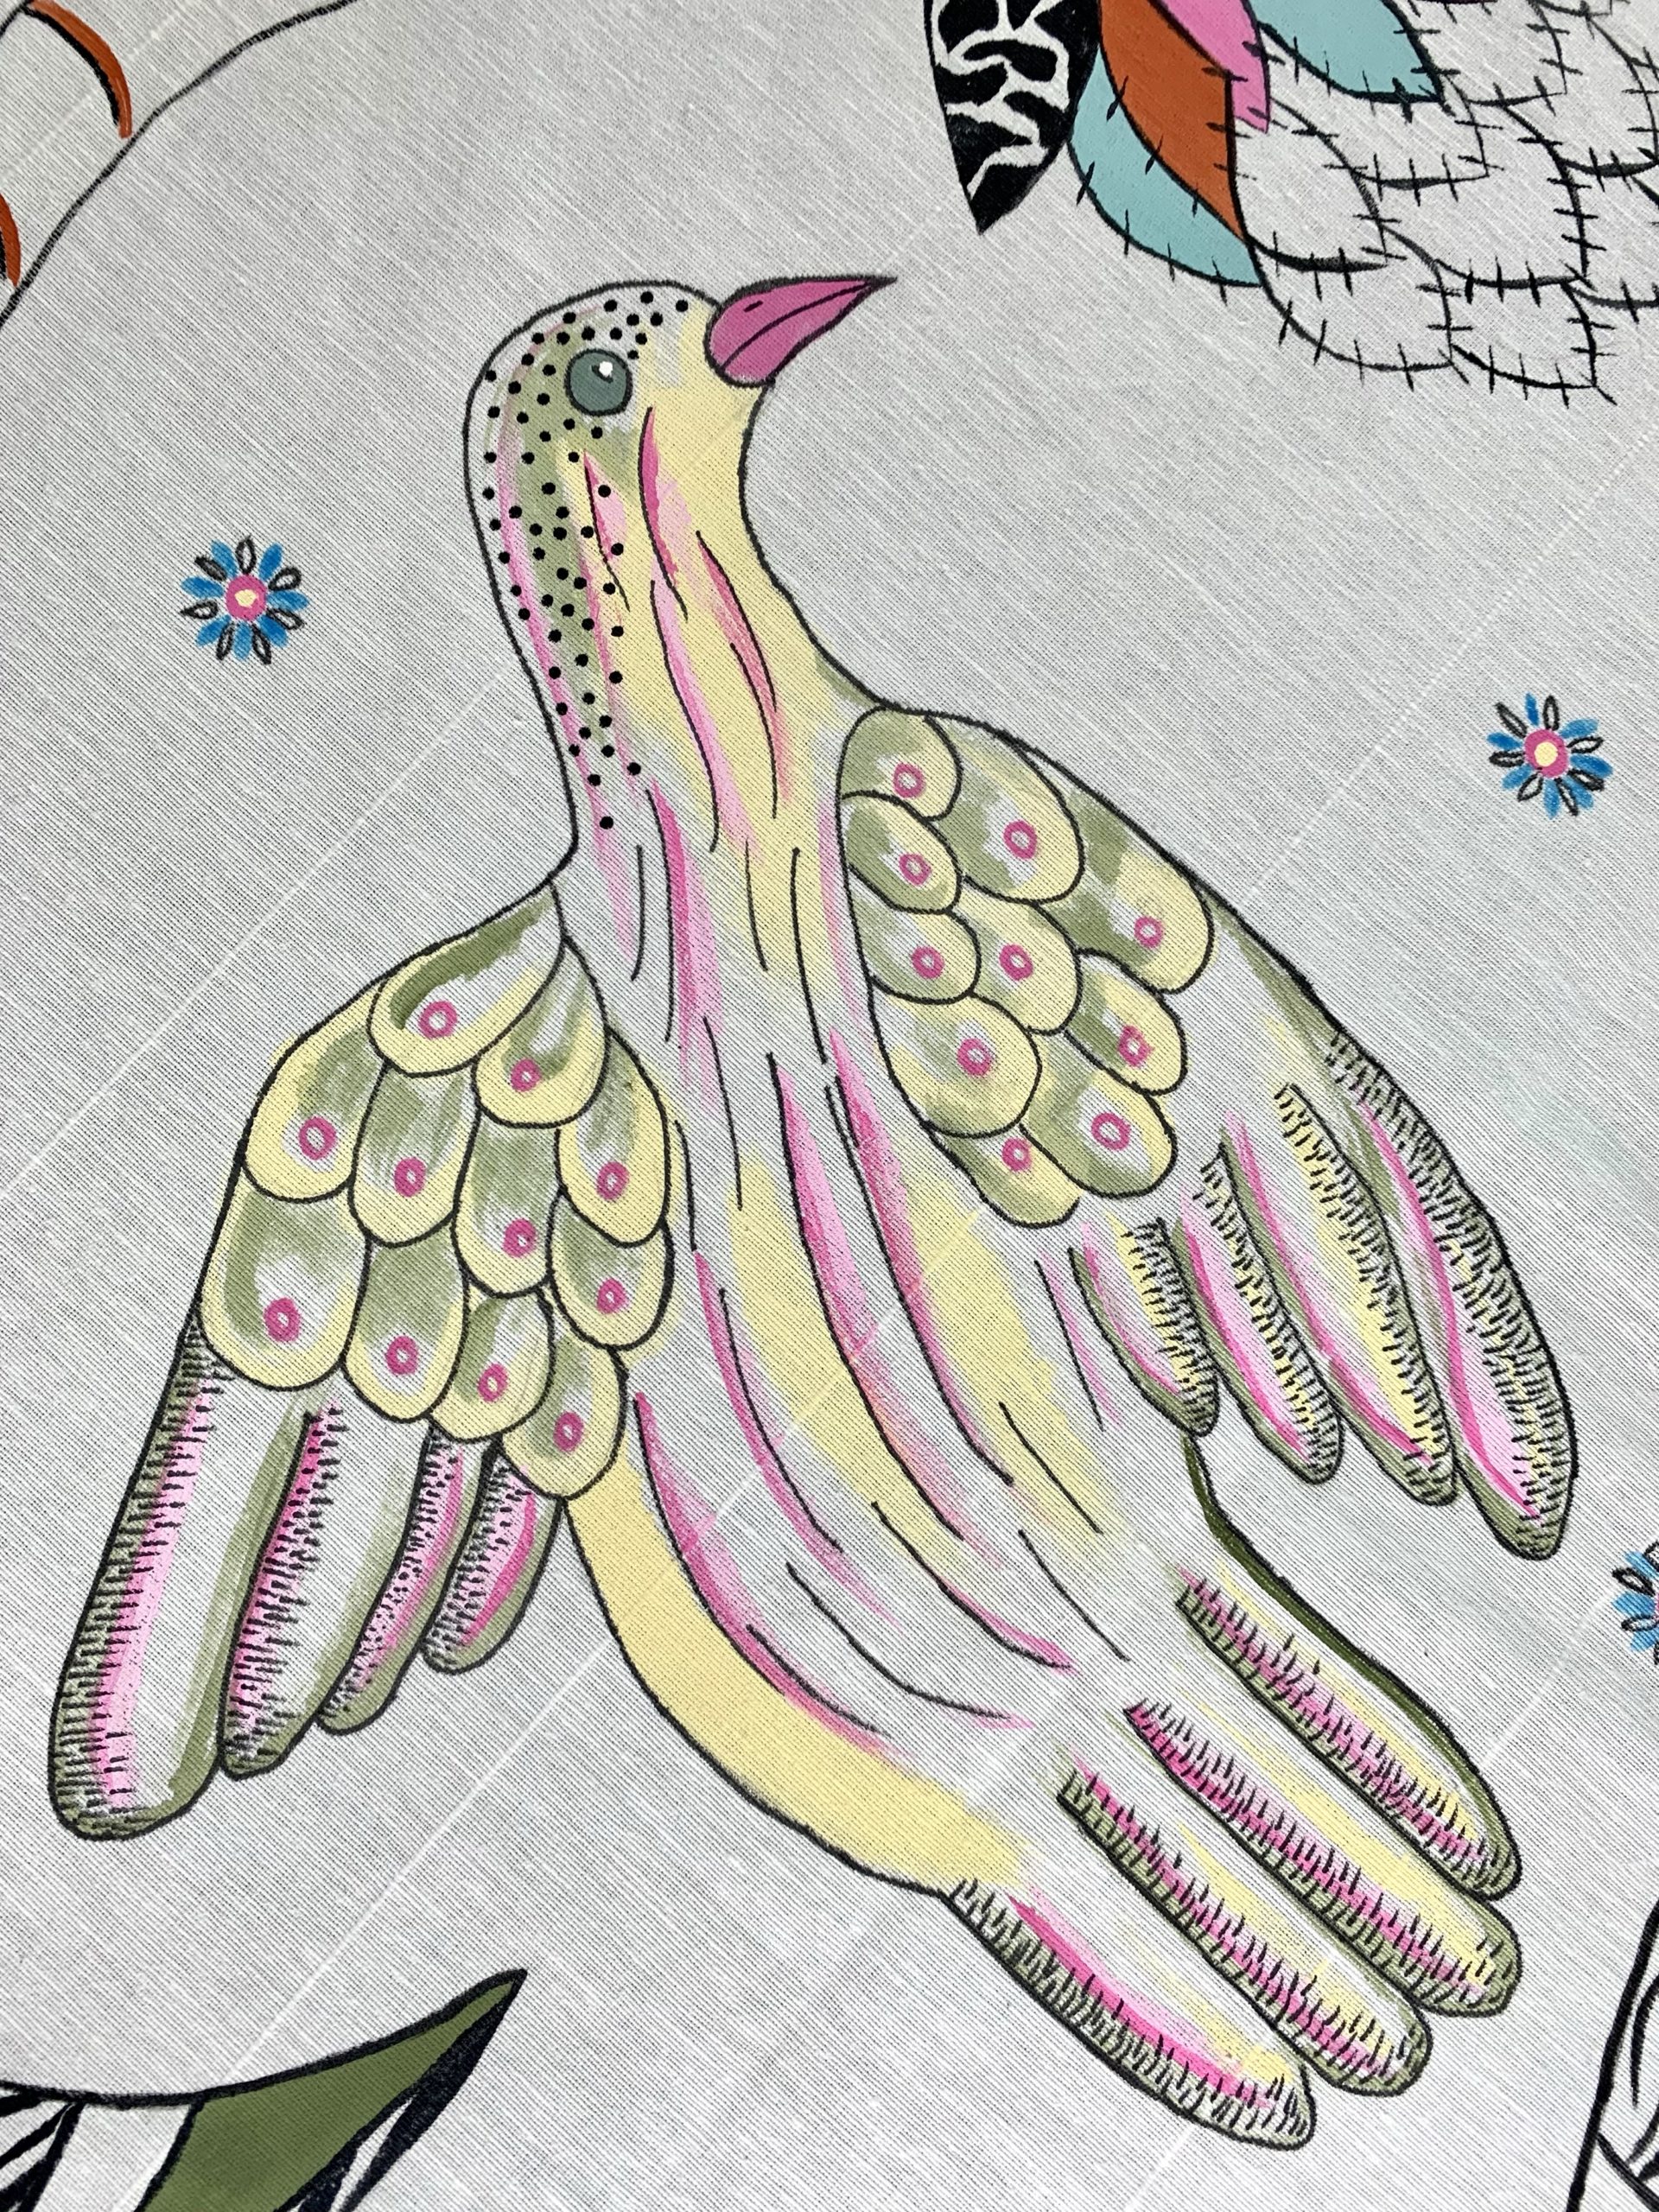
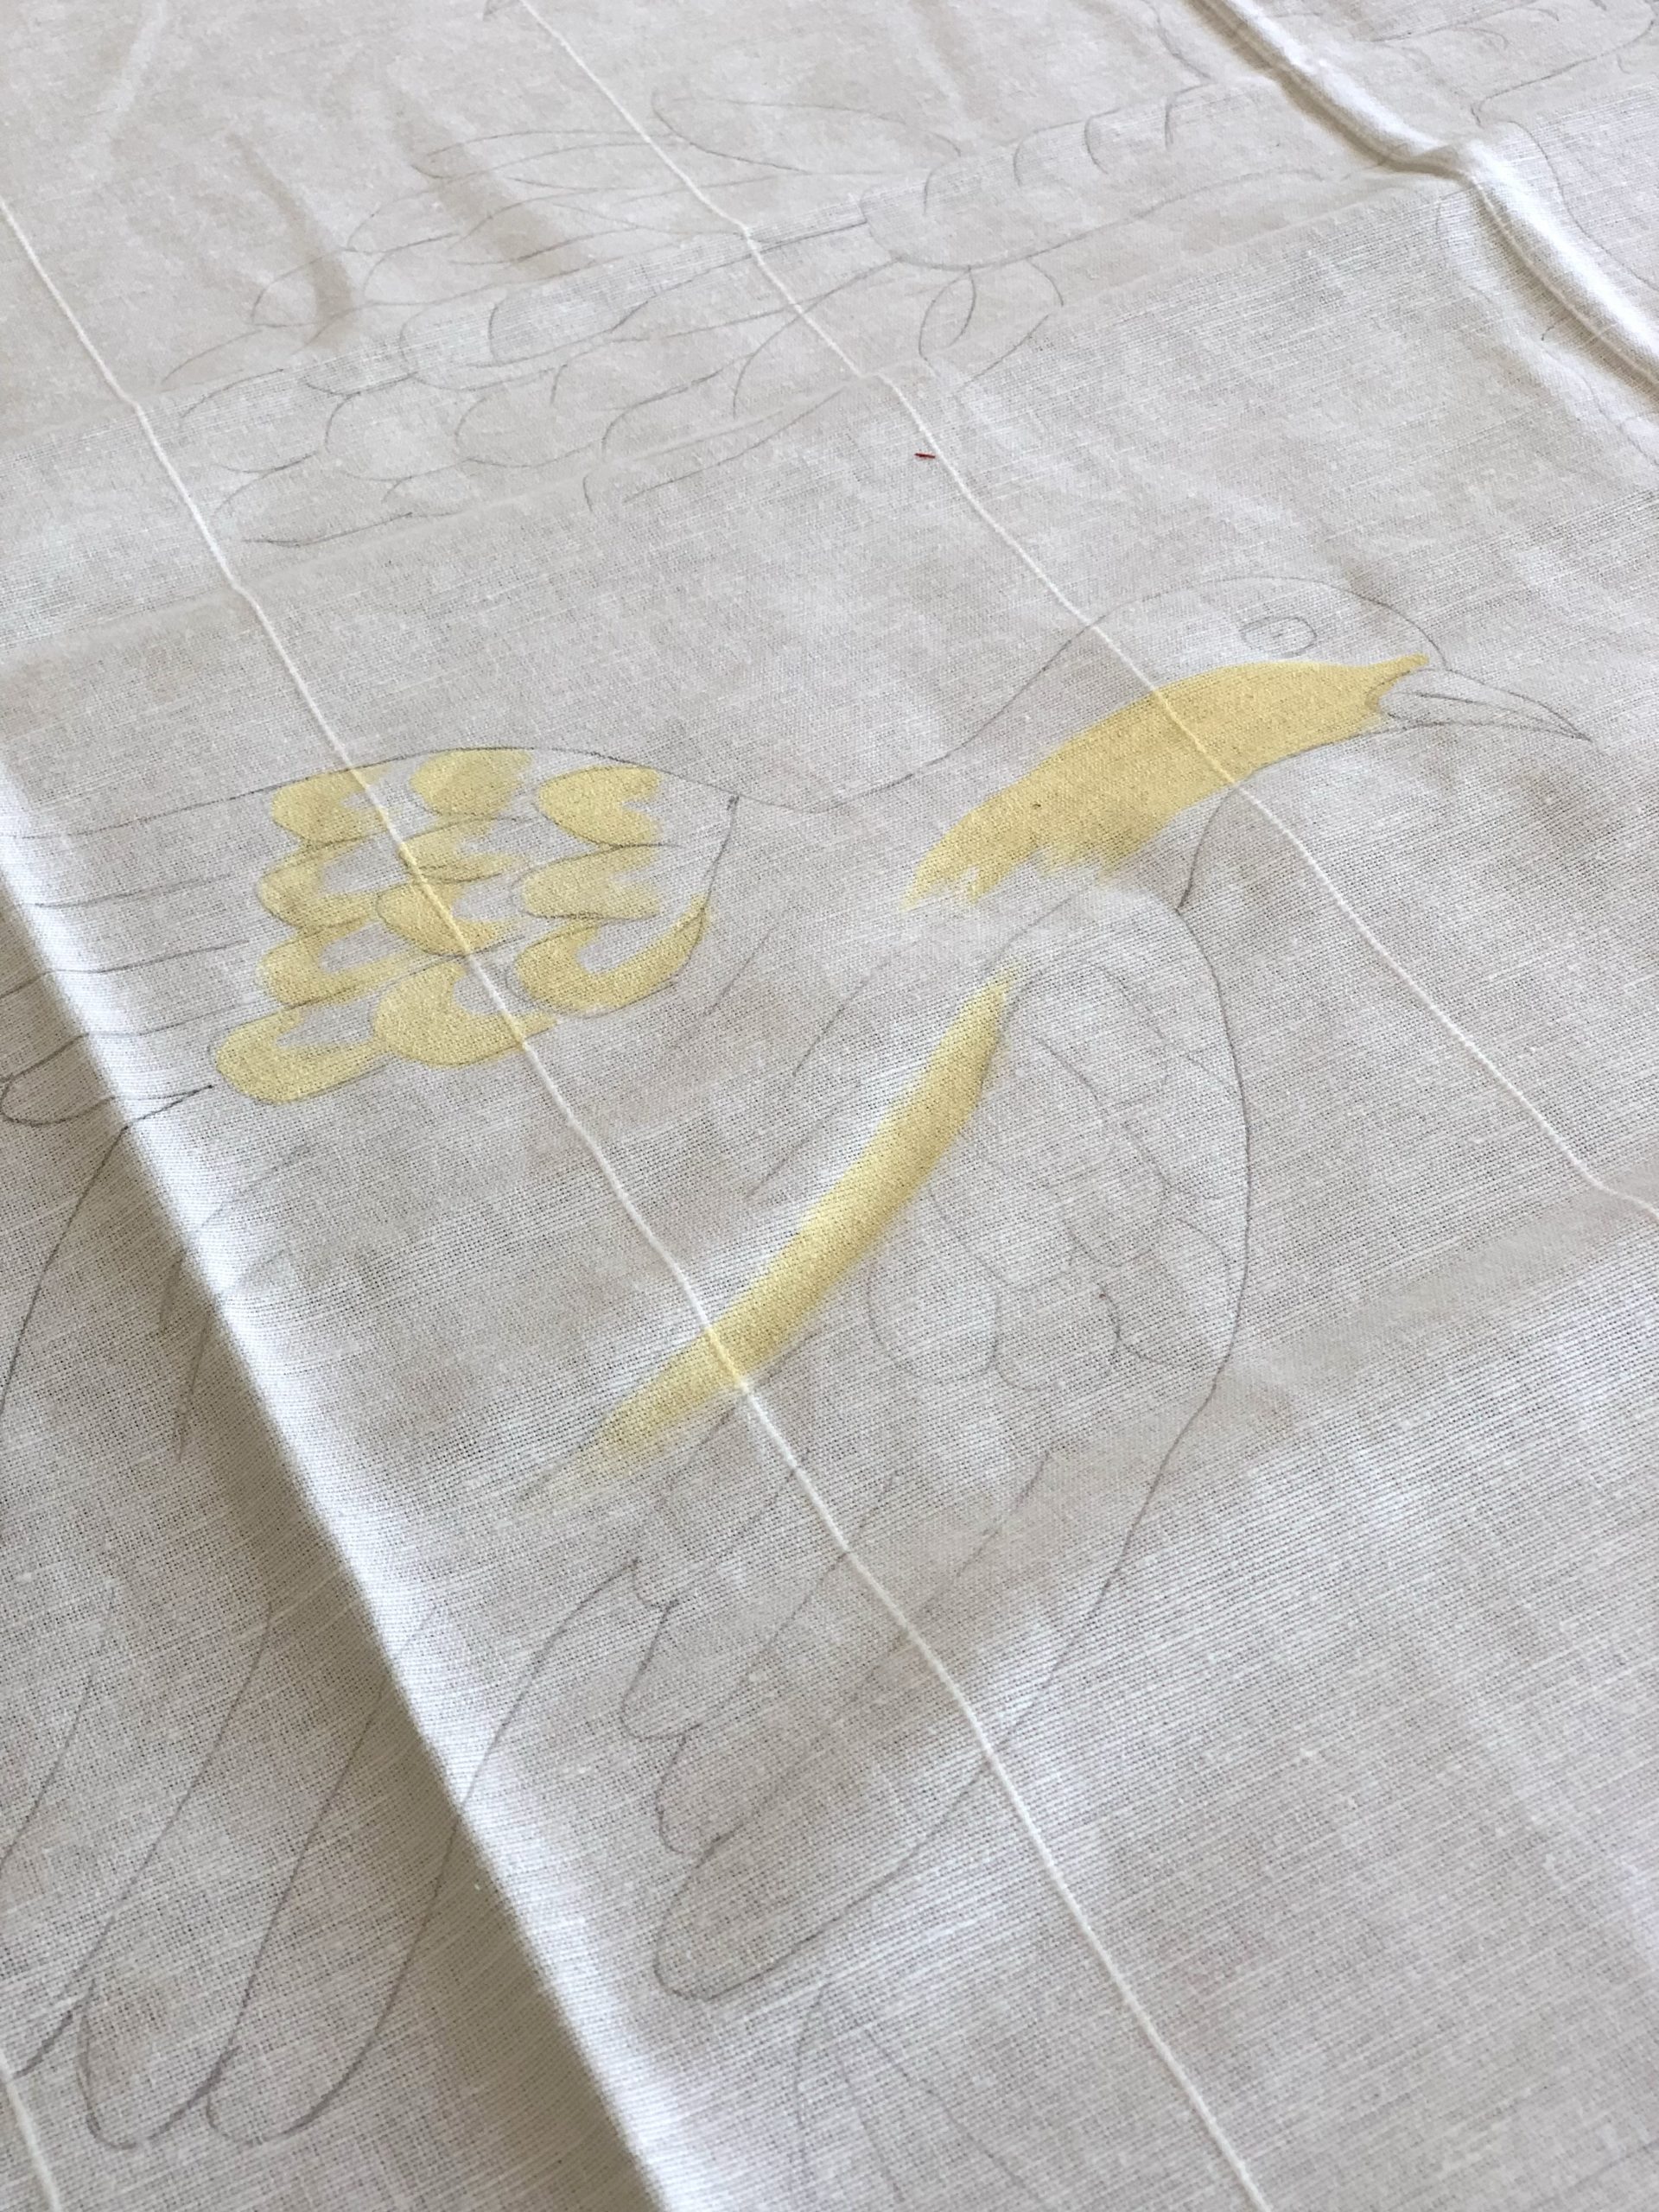
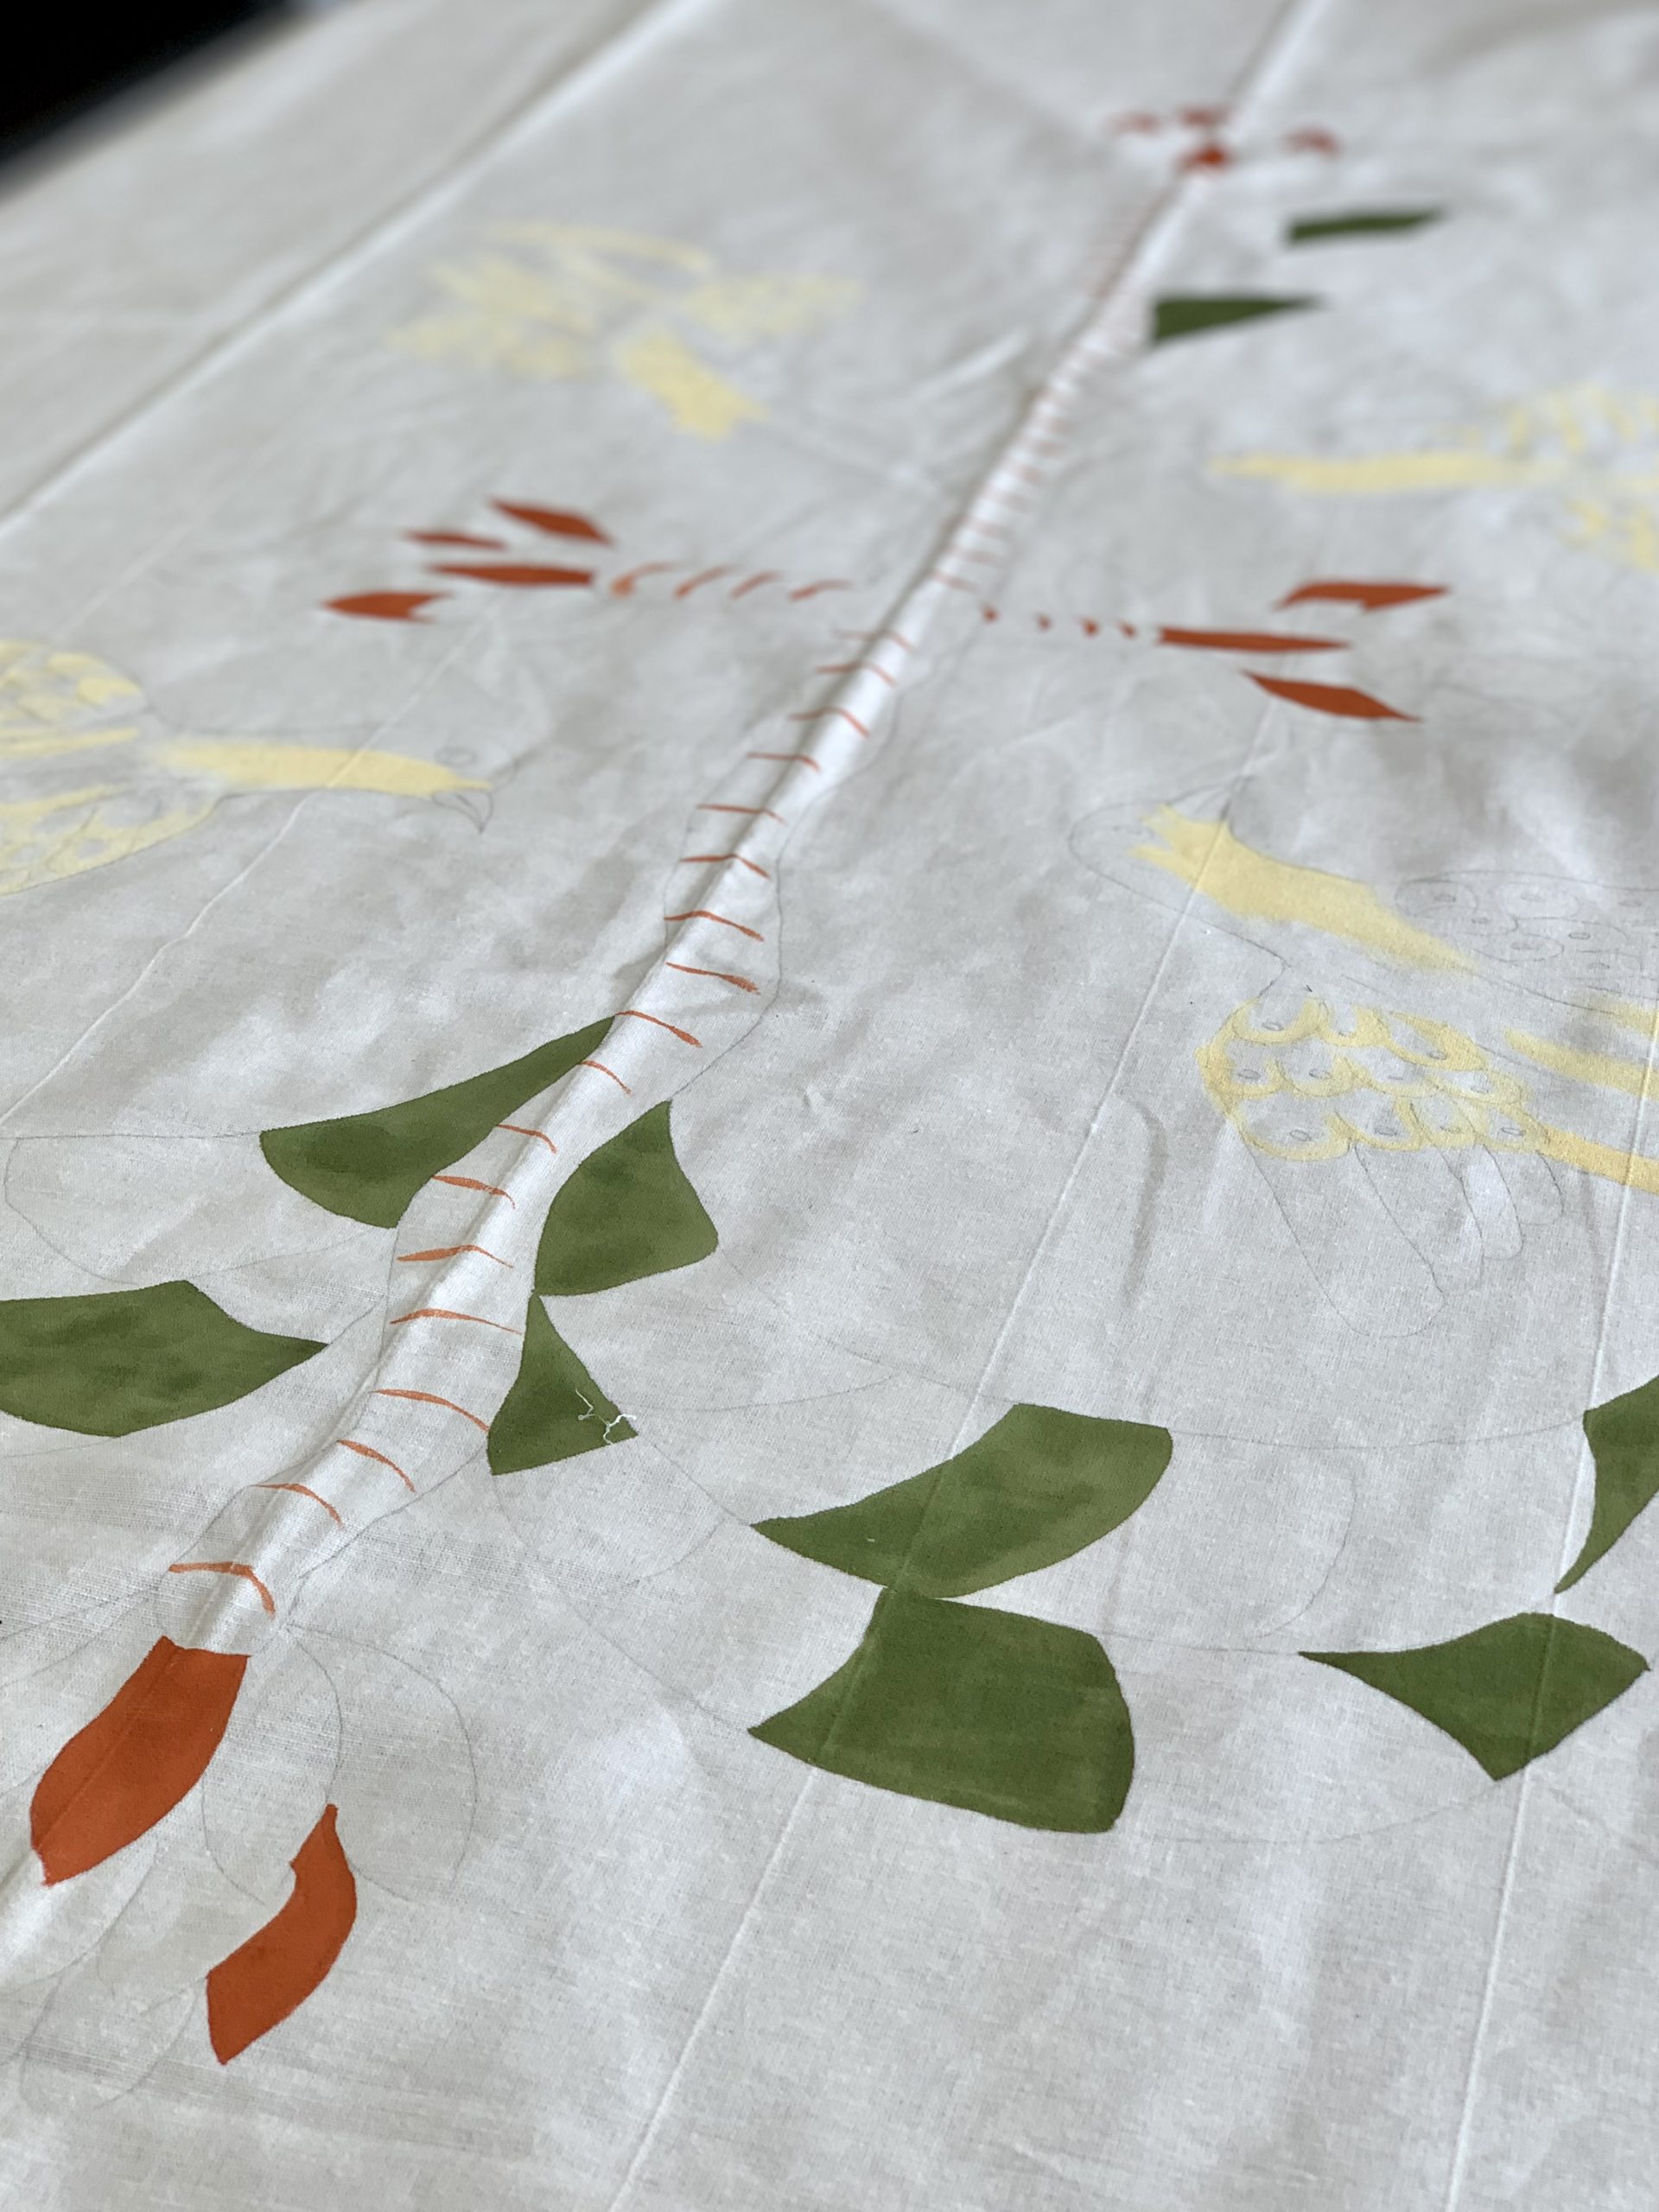
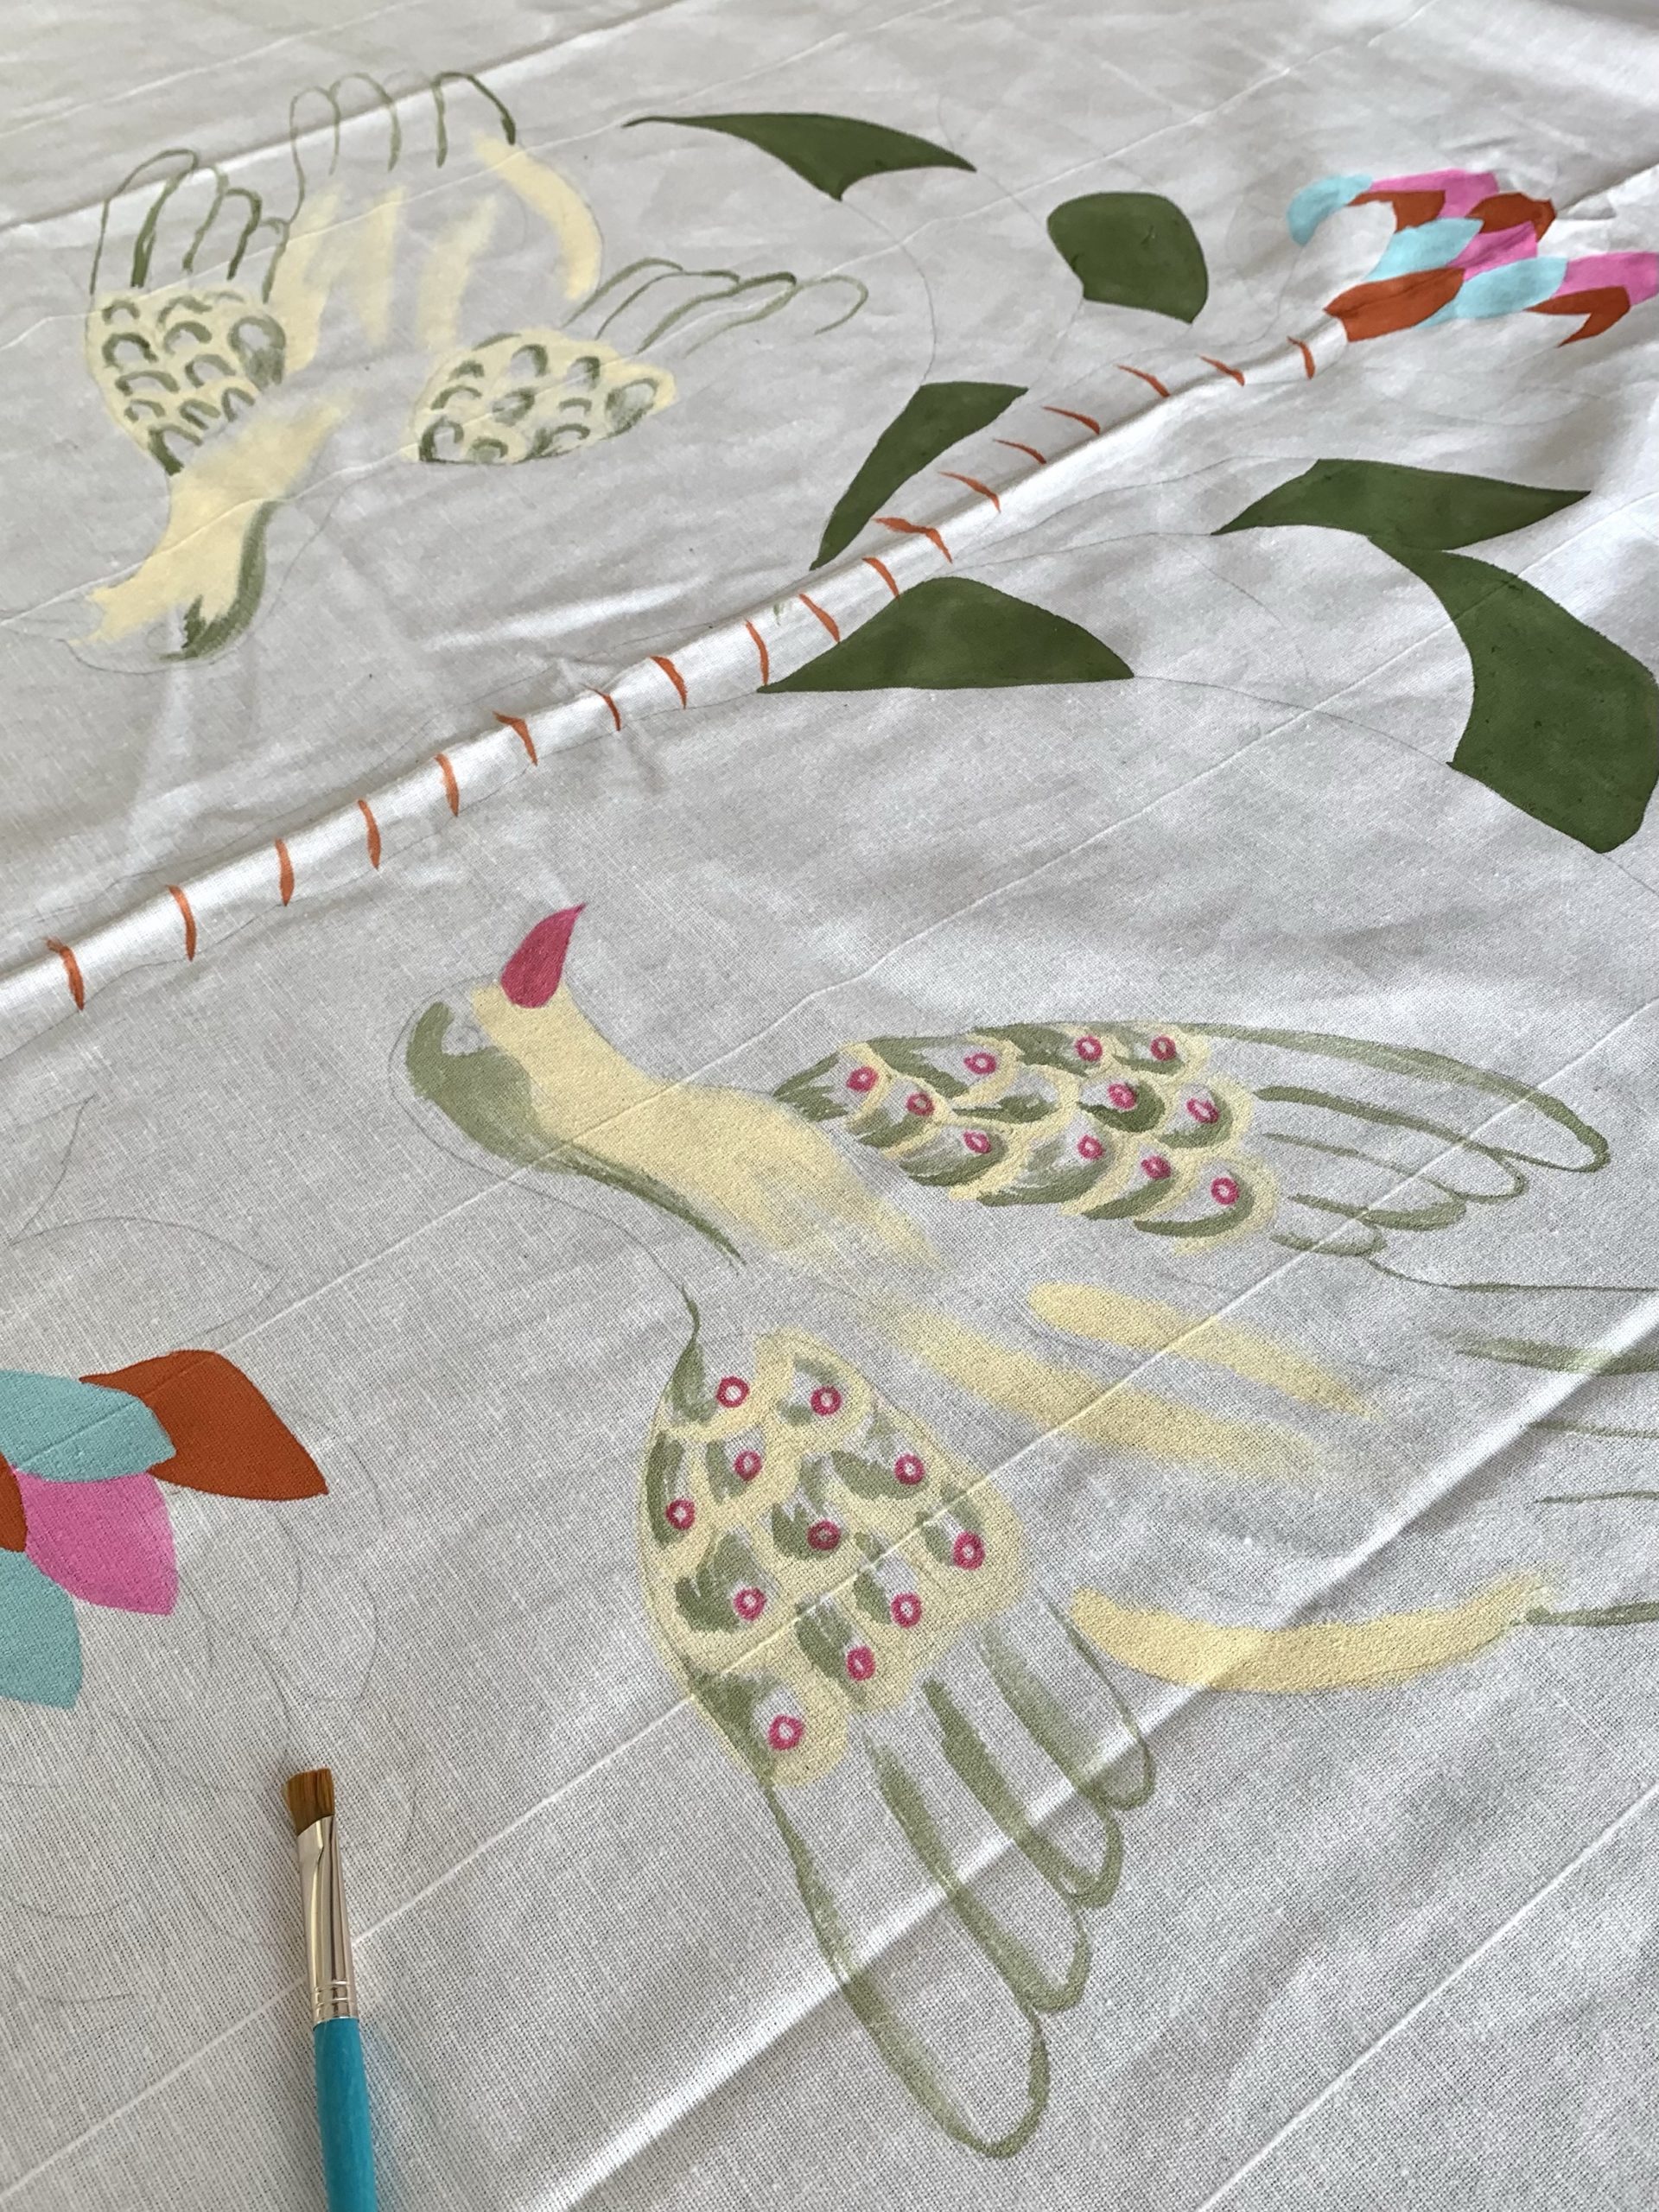
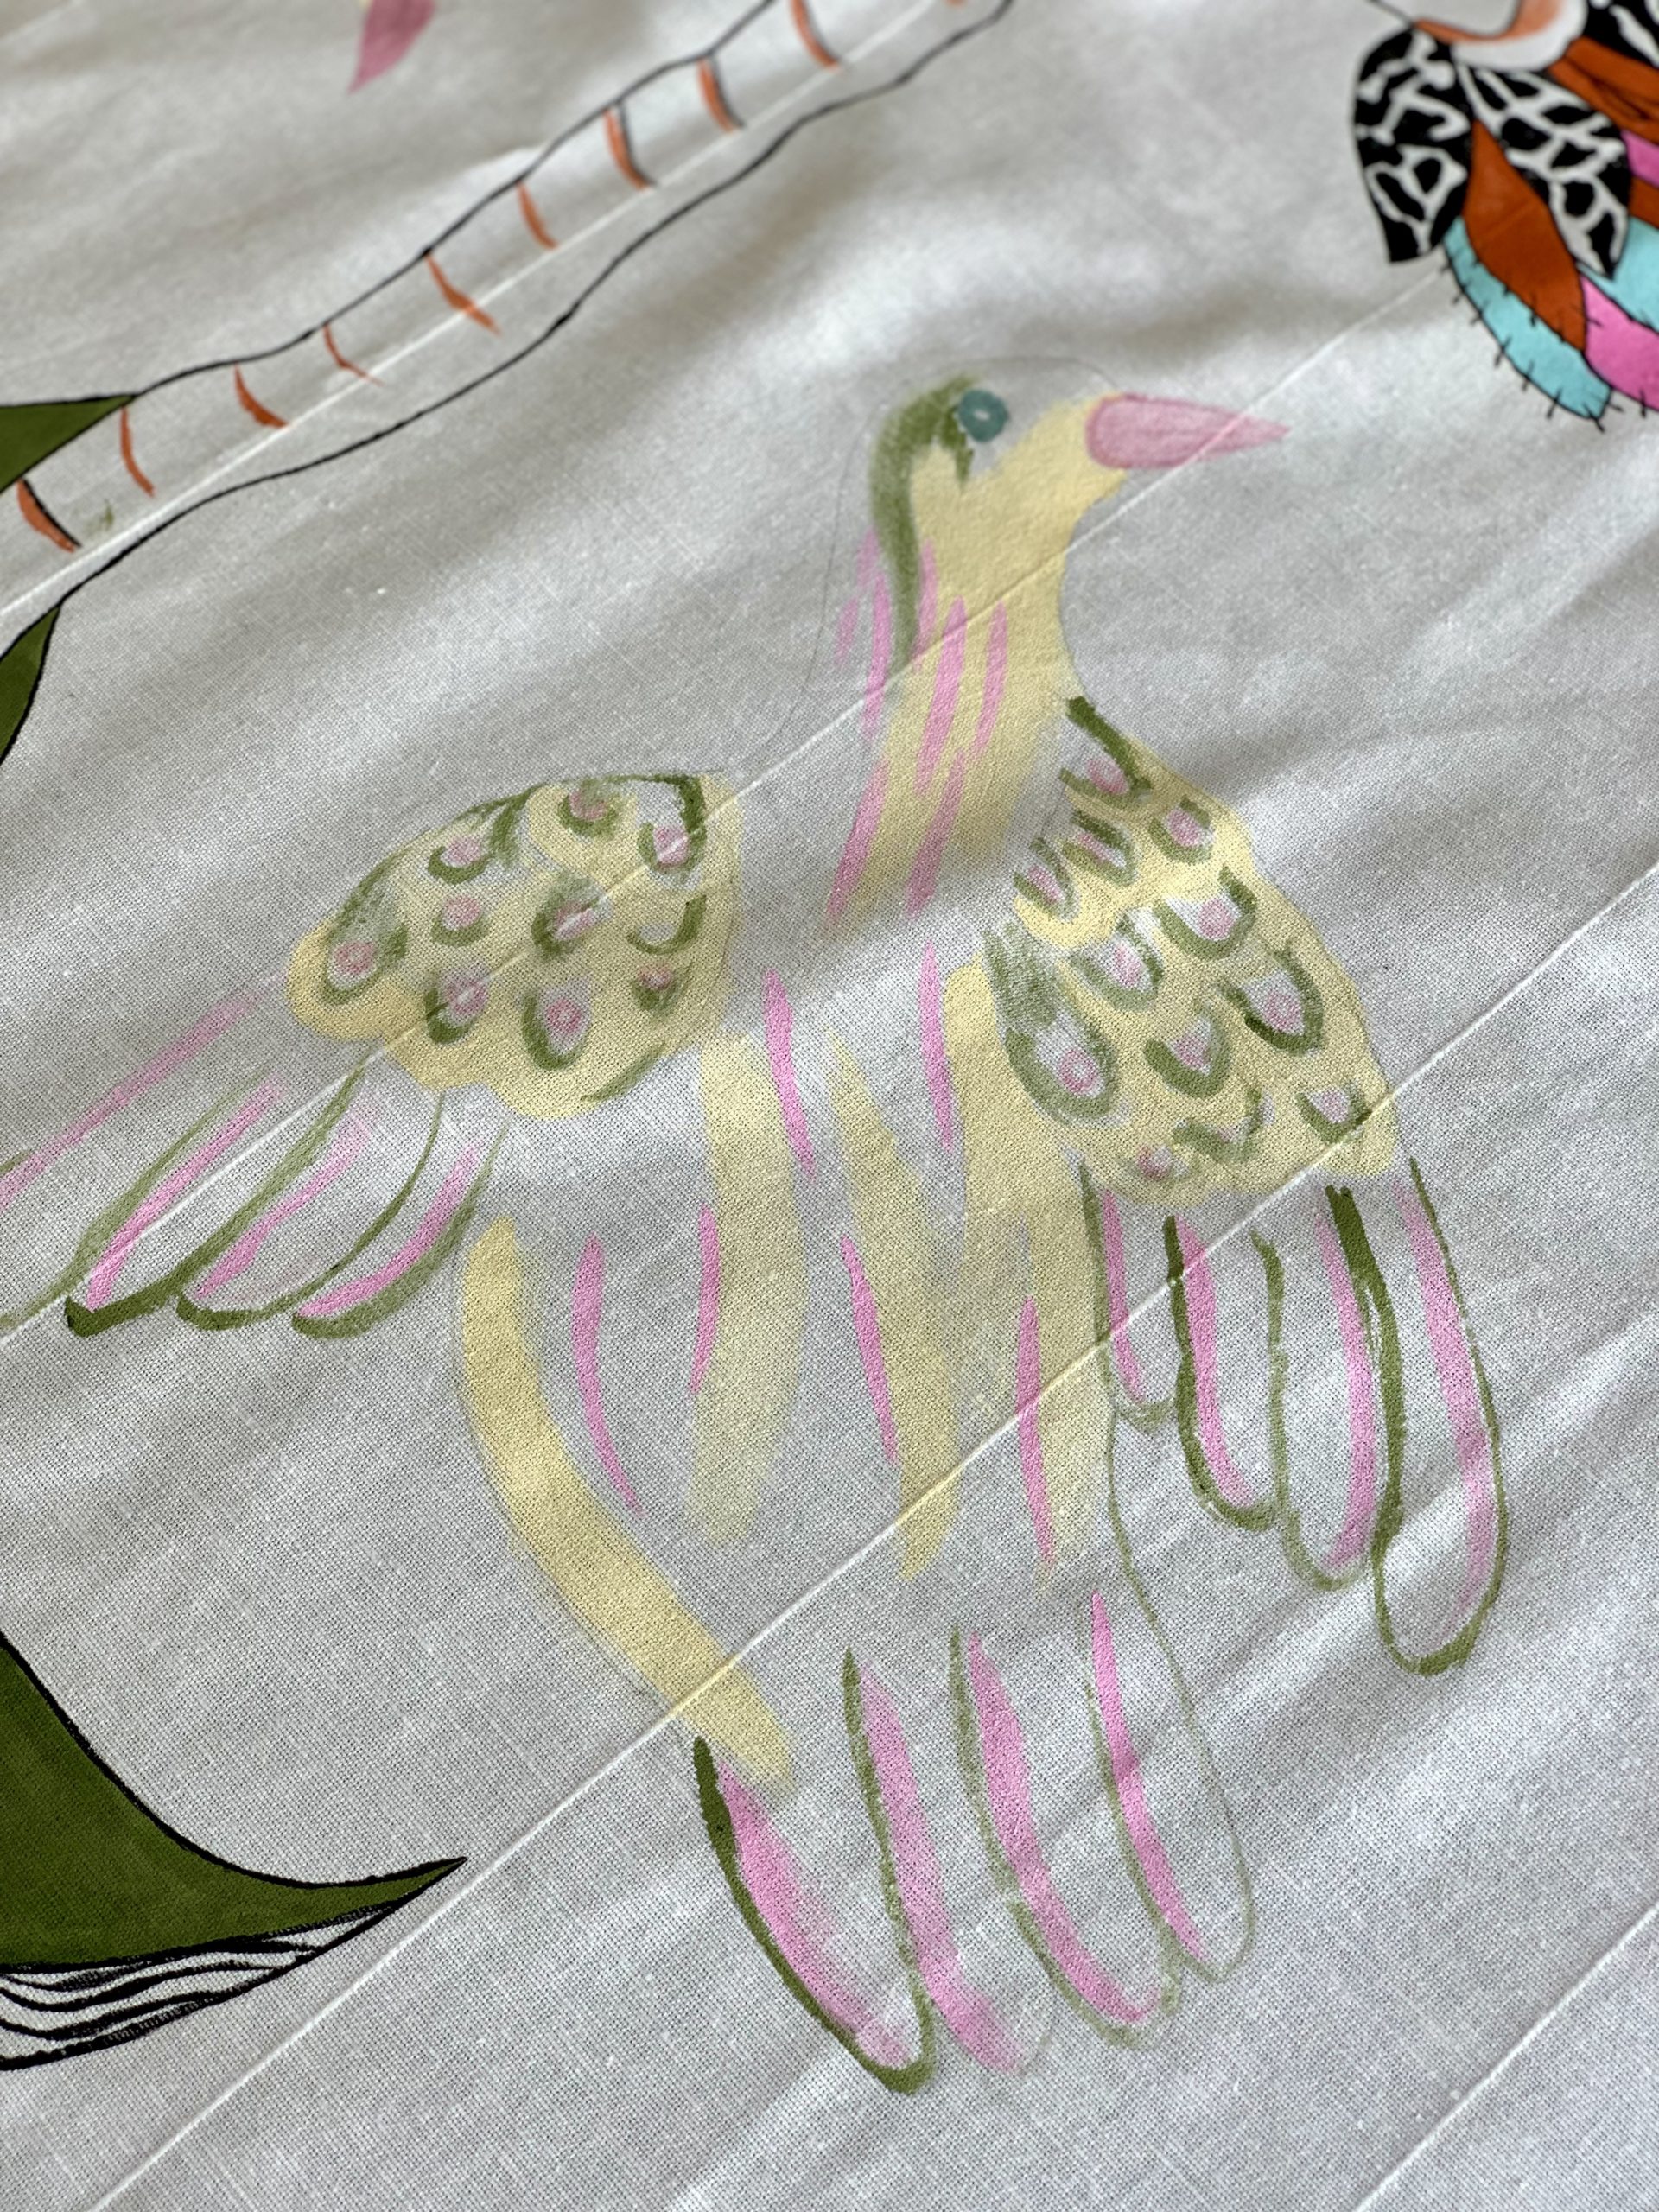
When I was ready to paint, I worked with one color at a time, as not to waste paint or constantly clean my brushes, and I started with the birds. Because the birds are not filled in completely, it was easy to paint with wide brush strokes. This allowed me to test how well I could control the brush and apply the paint. Once I felt more comfortable, I moved on to other areas that required precise brush strokes.
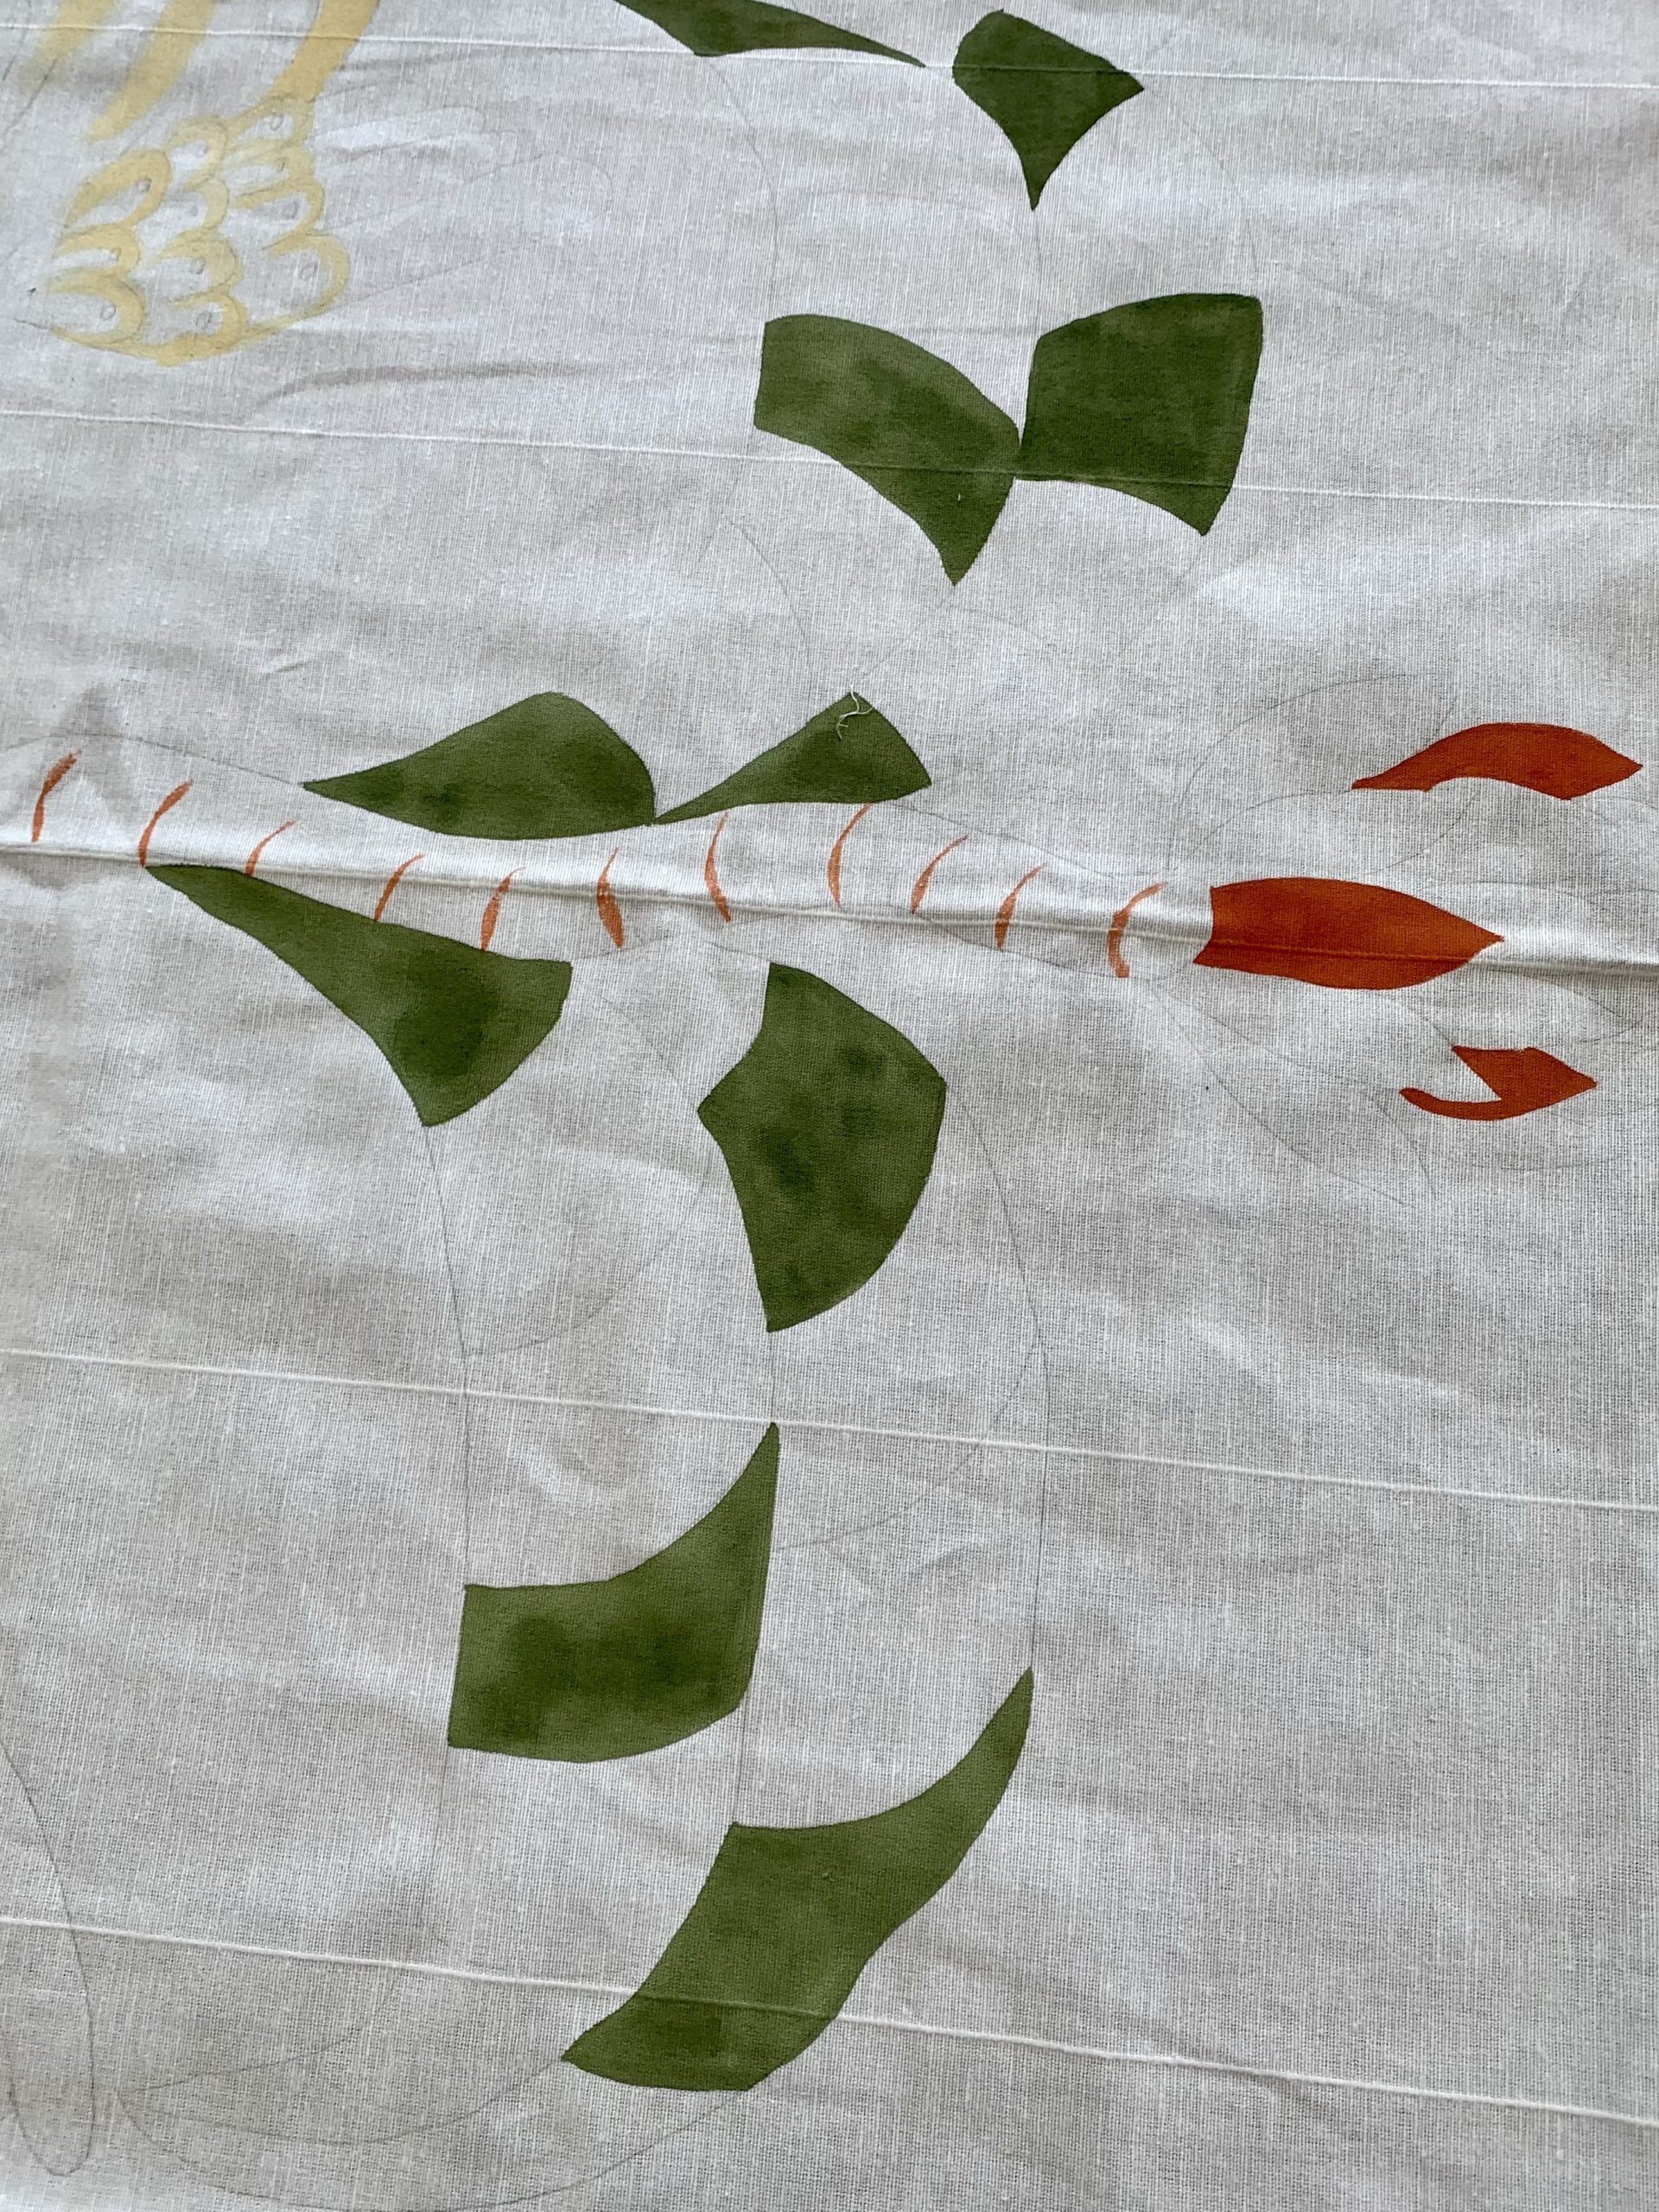
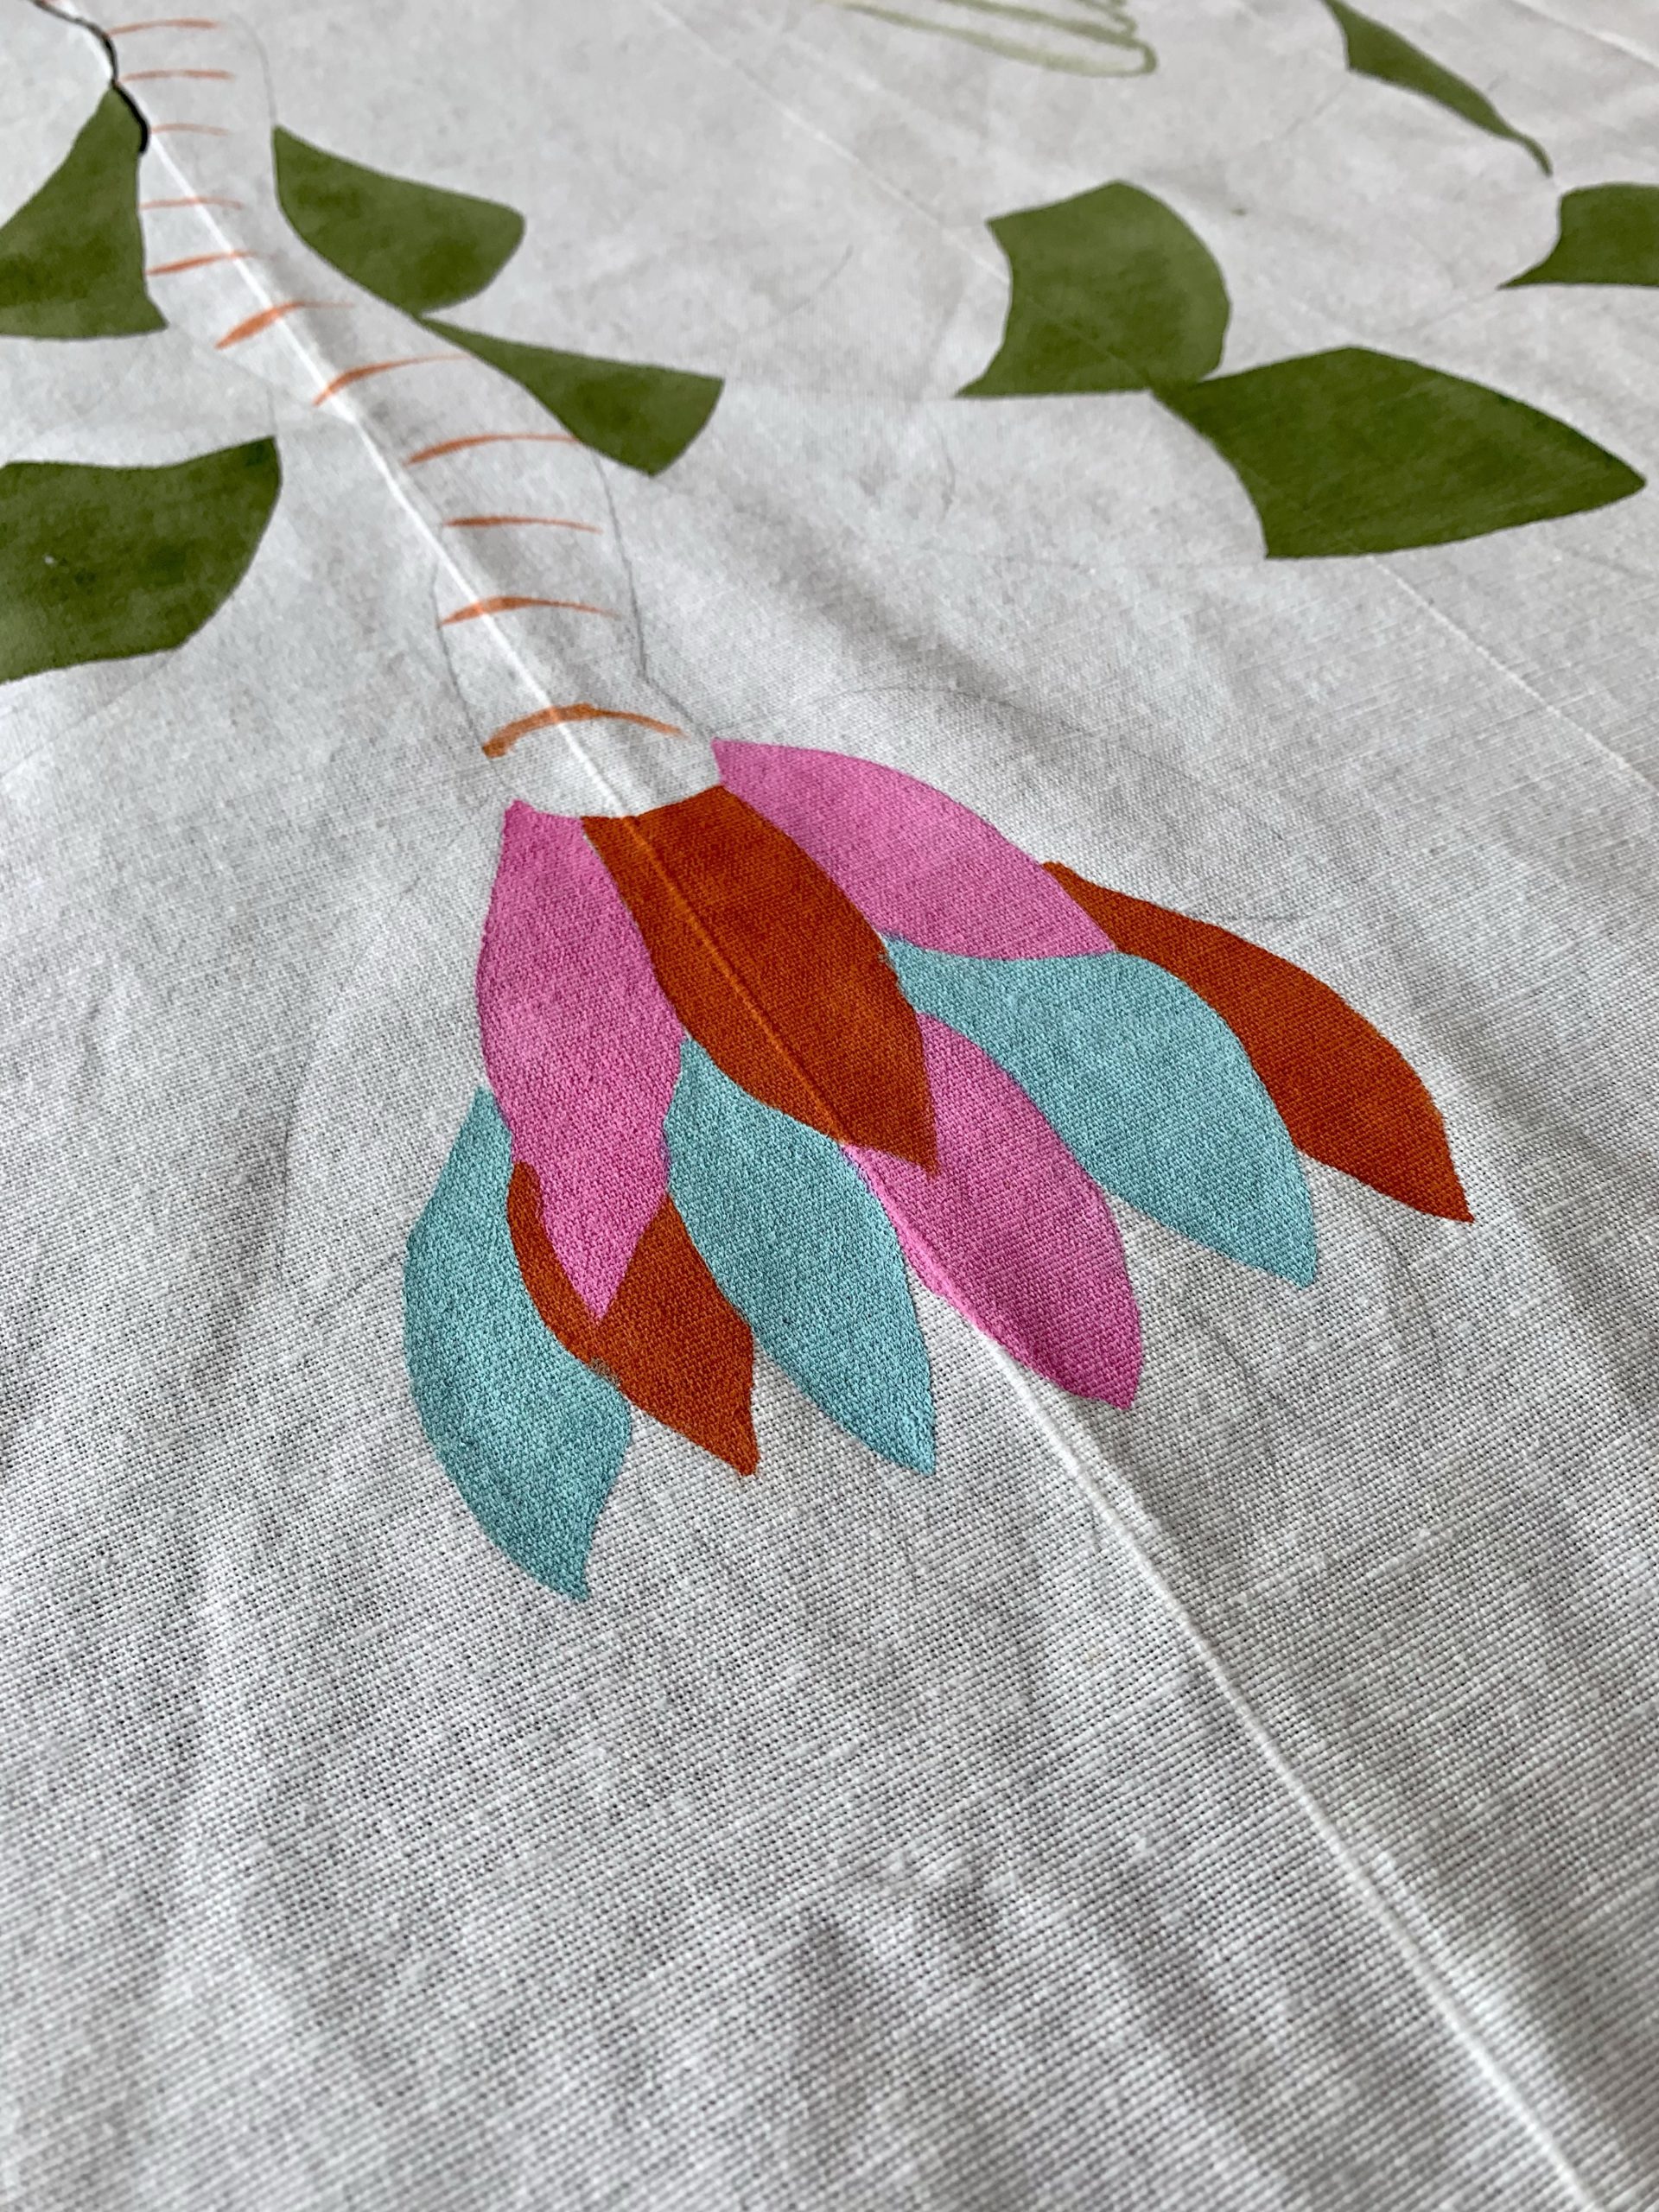
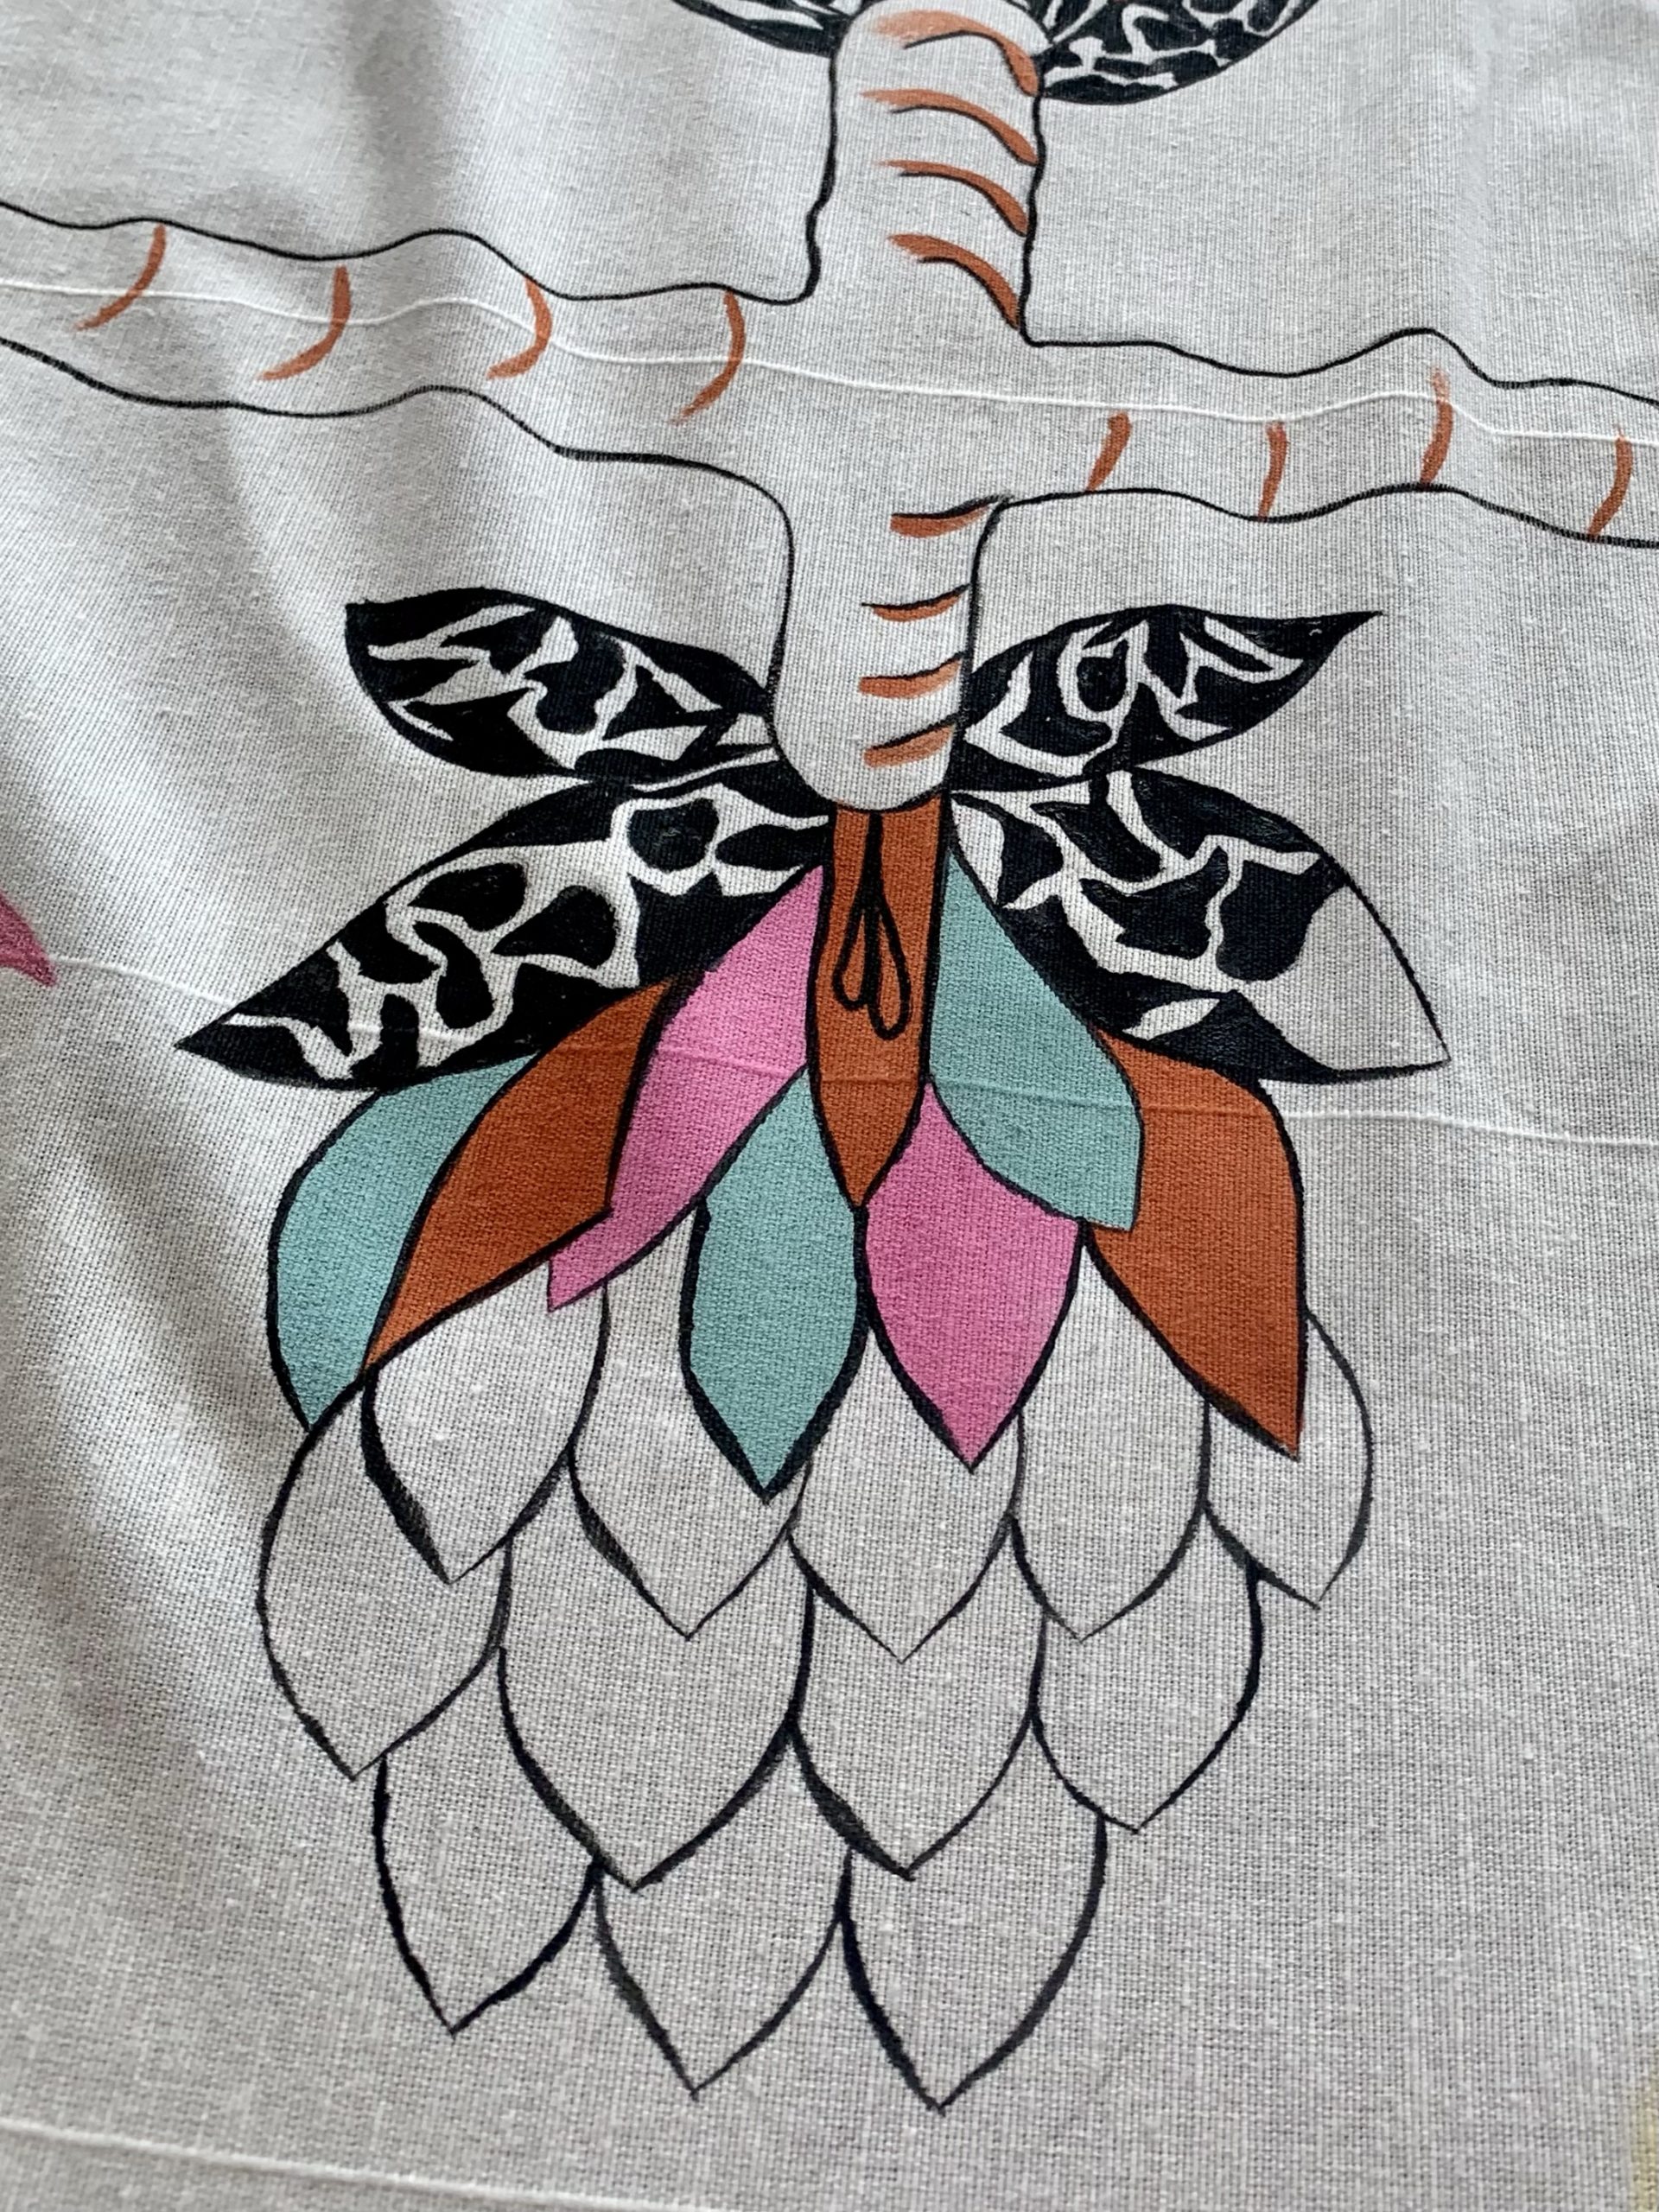
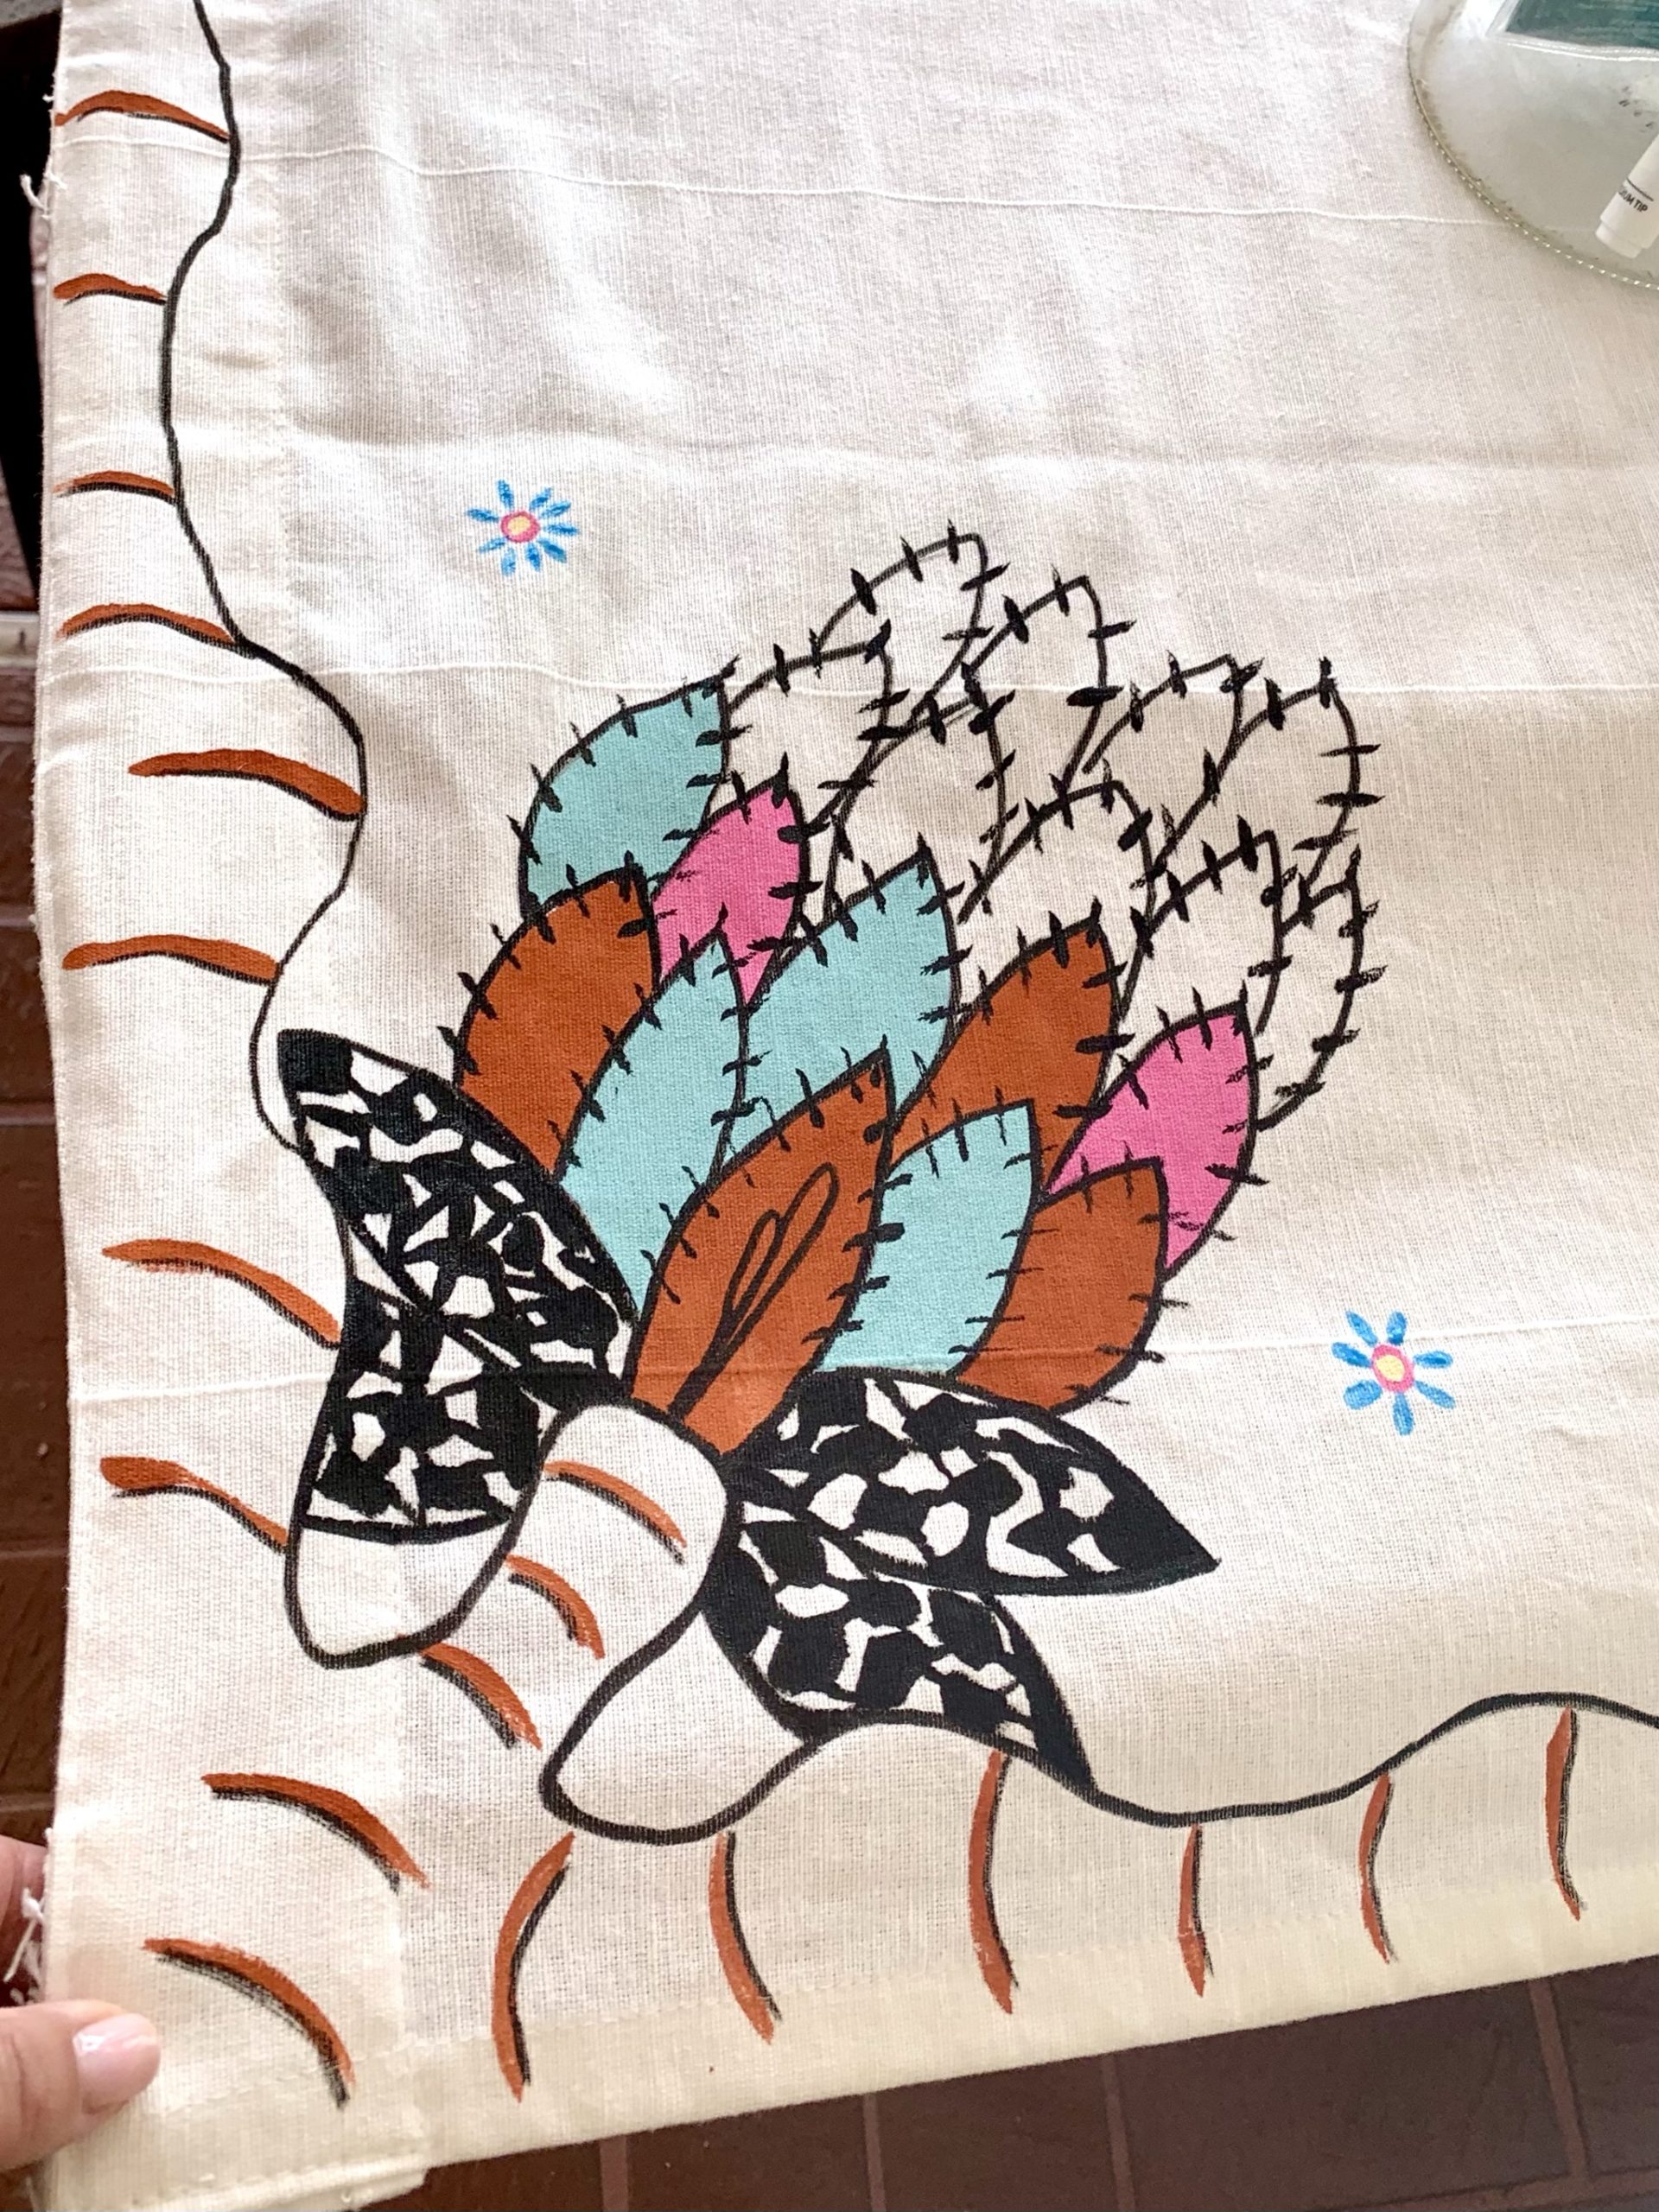
I painted sections of the large leaves in green and then proceeded to paint the orange and blue sections. Each time working with small amounts of paint and diluting the paint with a few drops of water.
As you apply paint, you learn how to control and move the brush to reach the detailed edges and corners so you stay within the outline. If you go outside the outline, don’t worry, you can fix it when you outline everything in black.
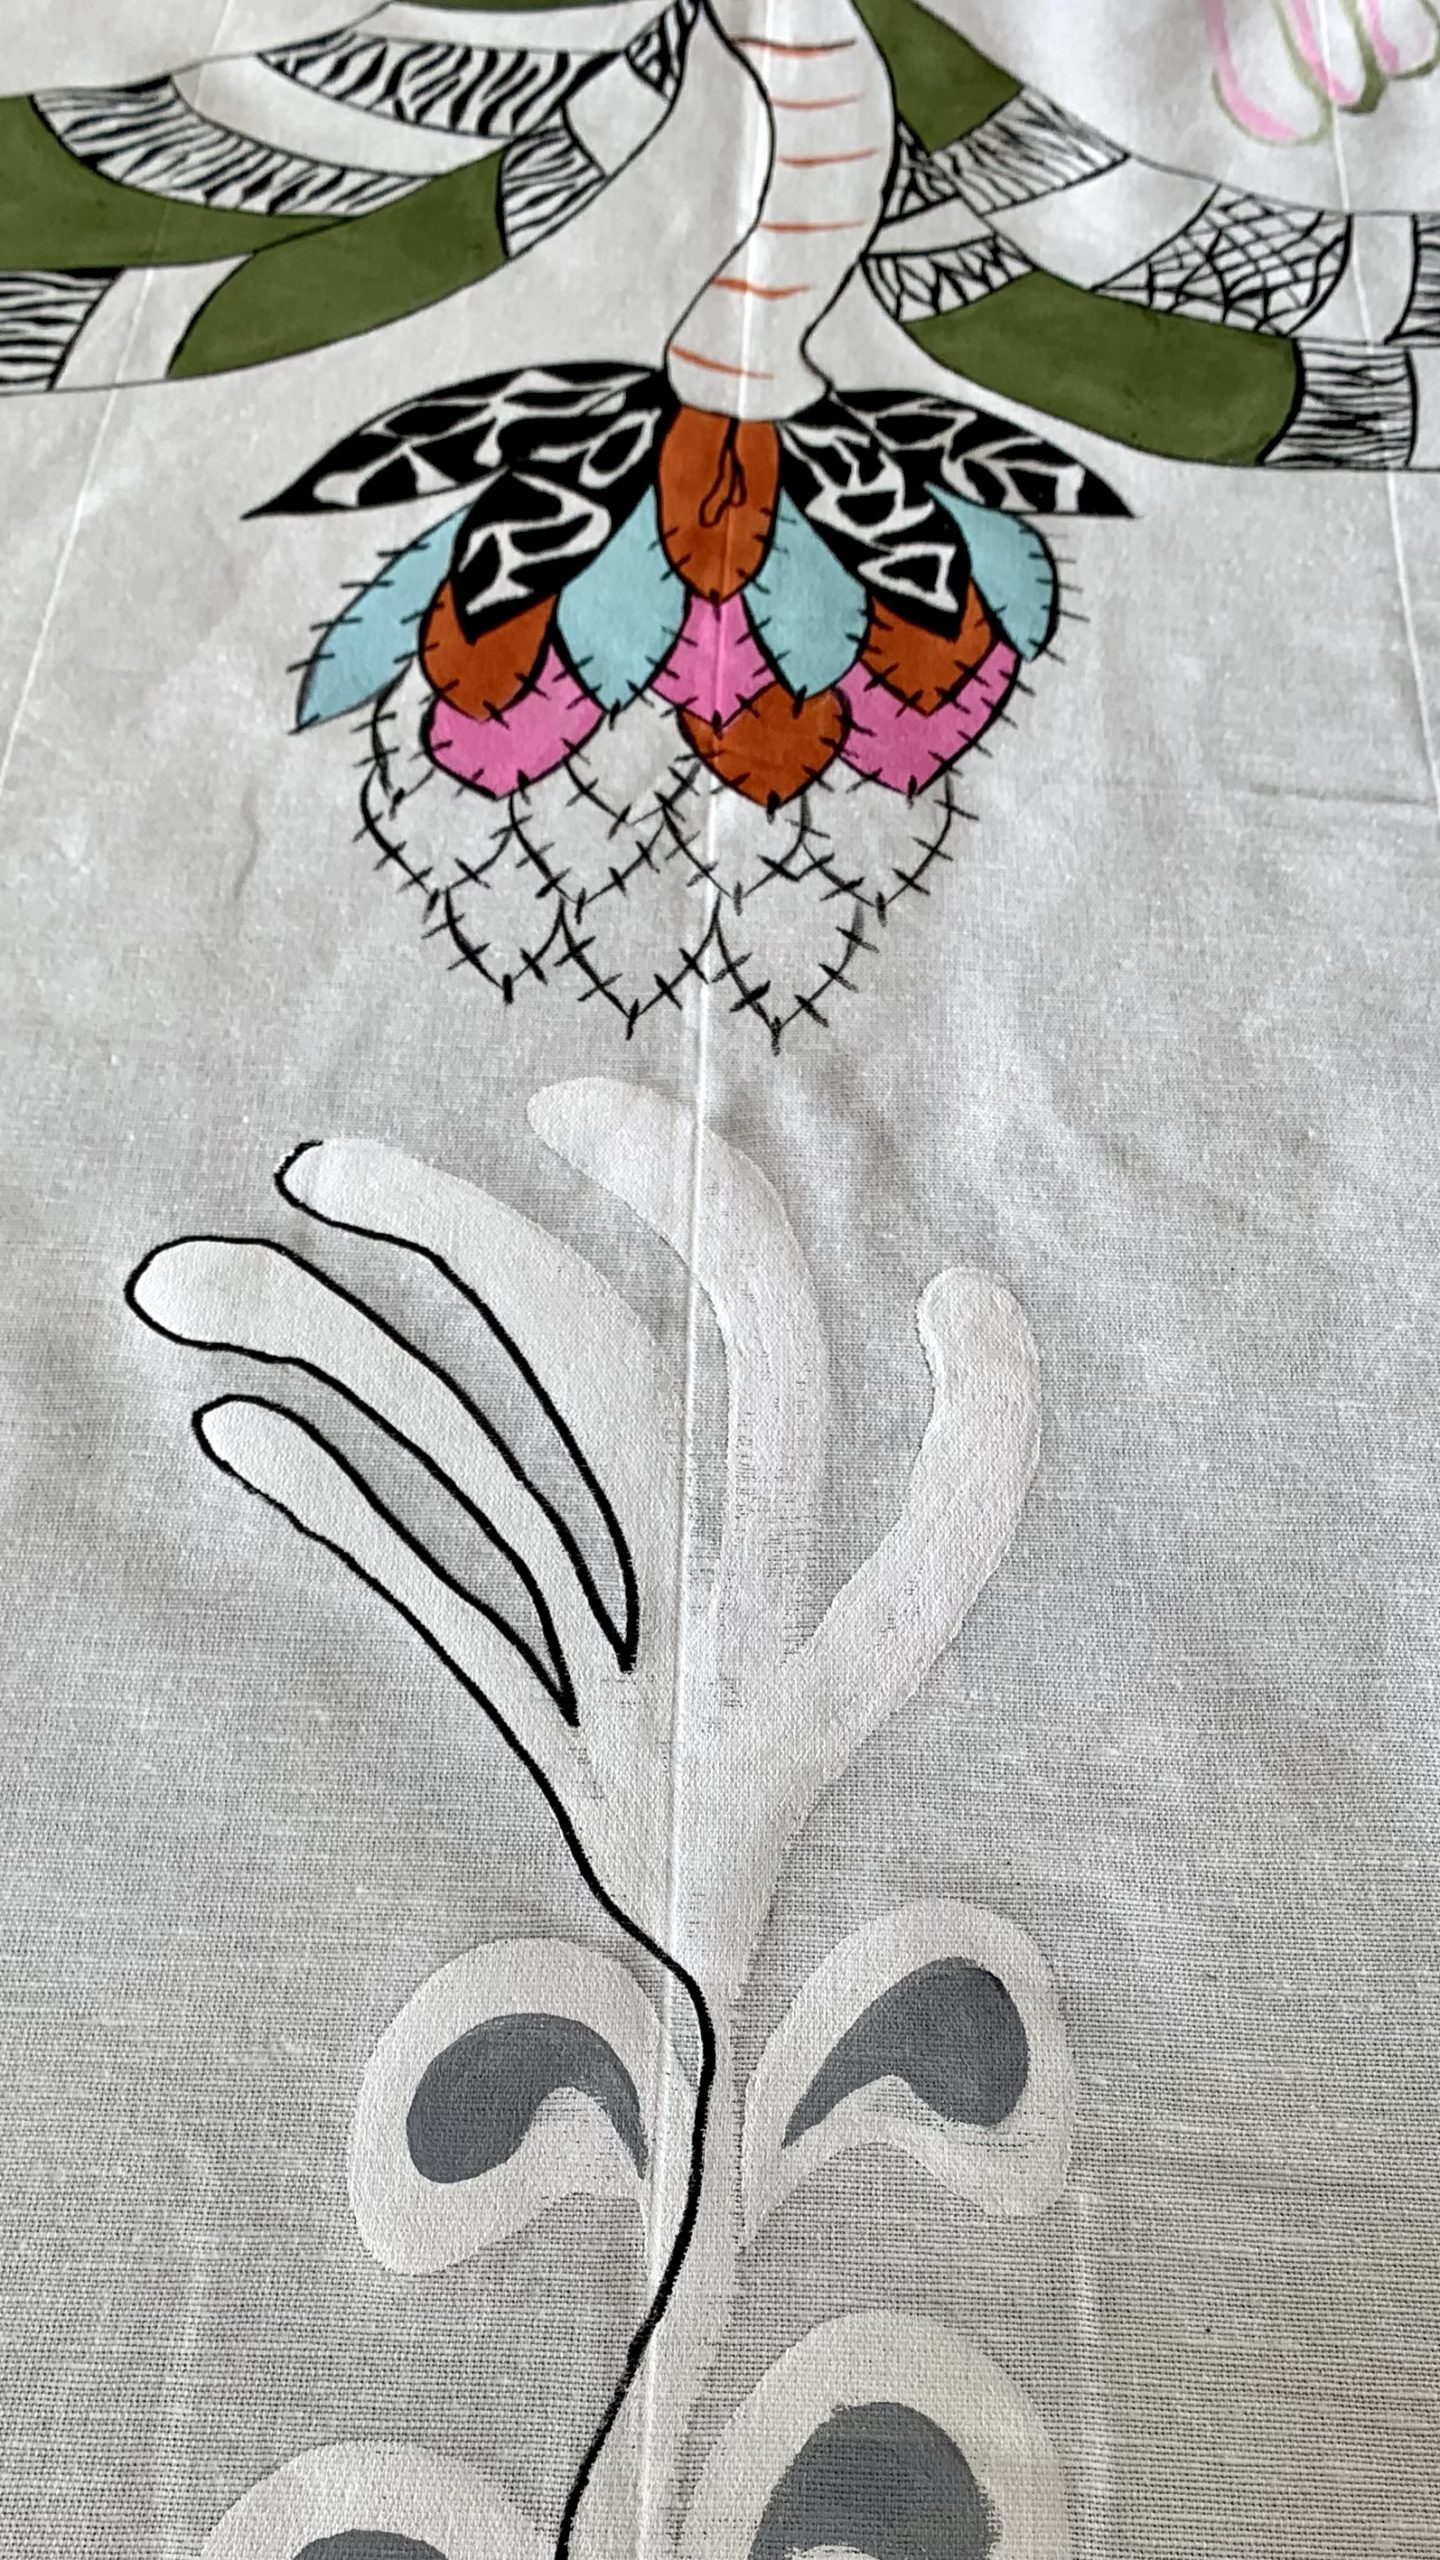
As I finished a section, I outlined the image in black. I did this for two reasons (1) to see how black corrected the imperfections, and (2) to have a sense of completion and see how the design was coming together. As each section came to life, I was more encouraged to continue and finish my project.
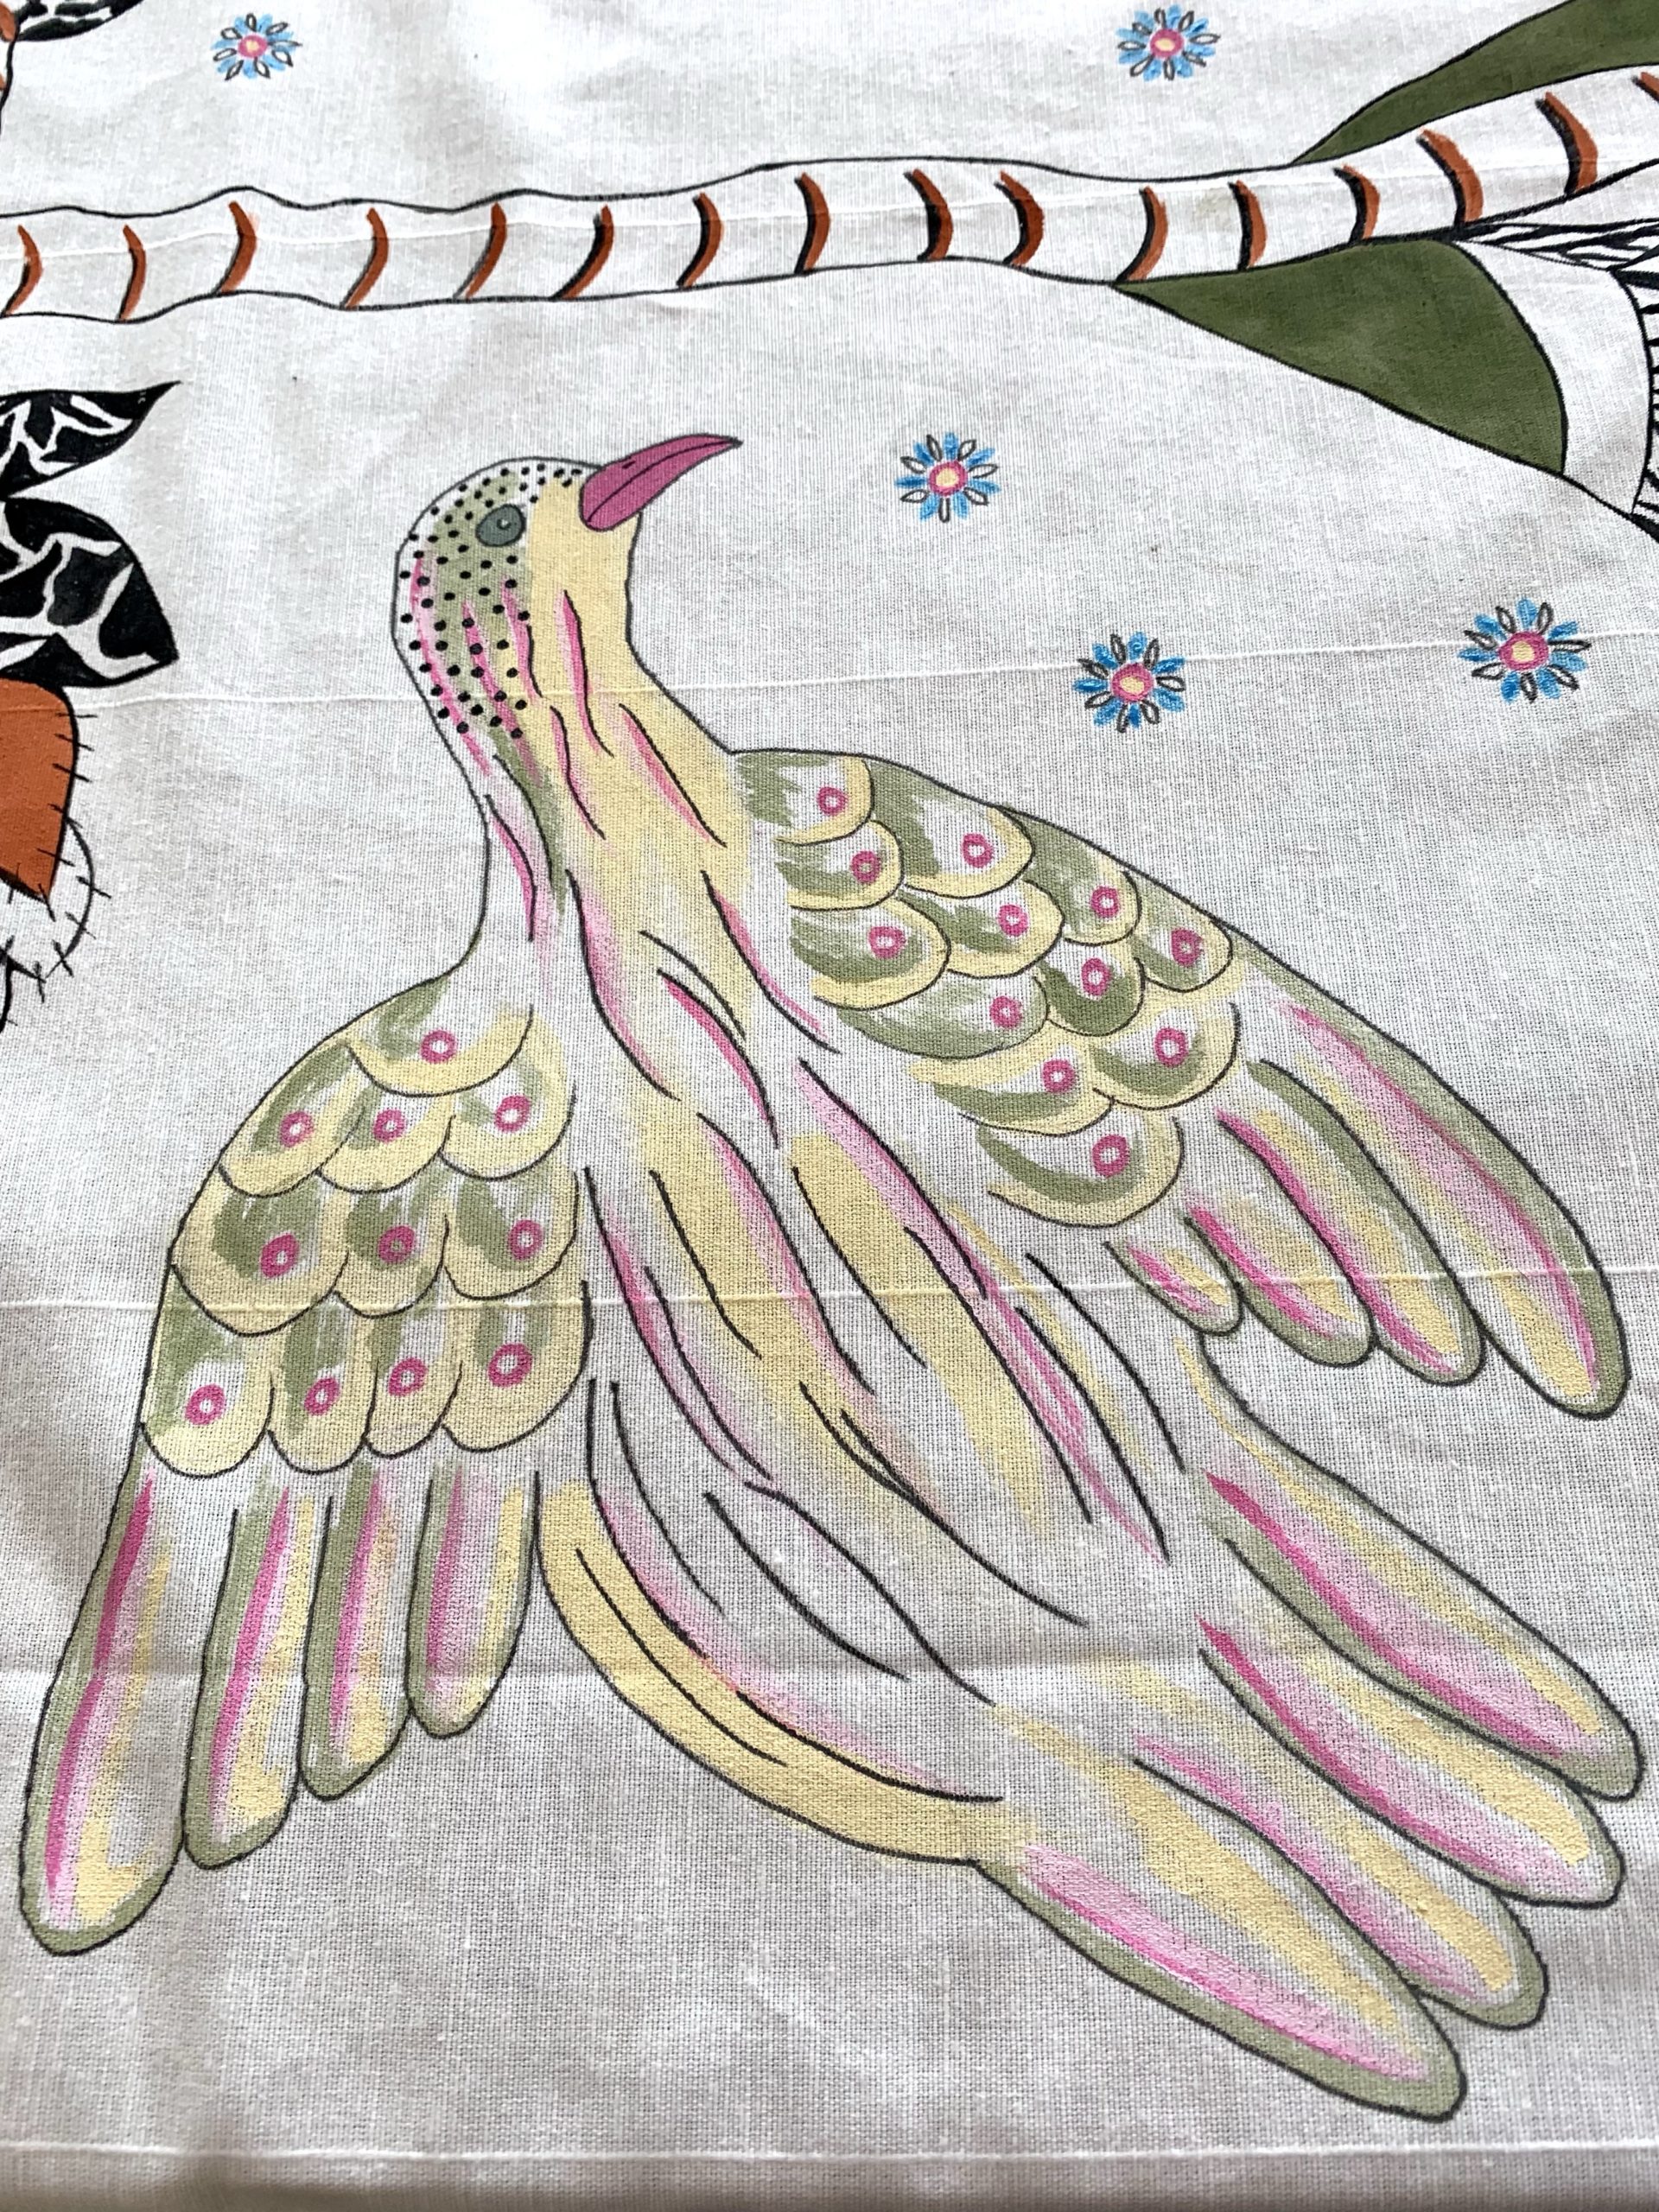
To the birds, I added green and pink, even if some strokes overlapped the yellow. I used both short and long brushstrokes. To make gray, I mixed black and white.
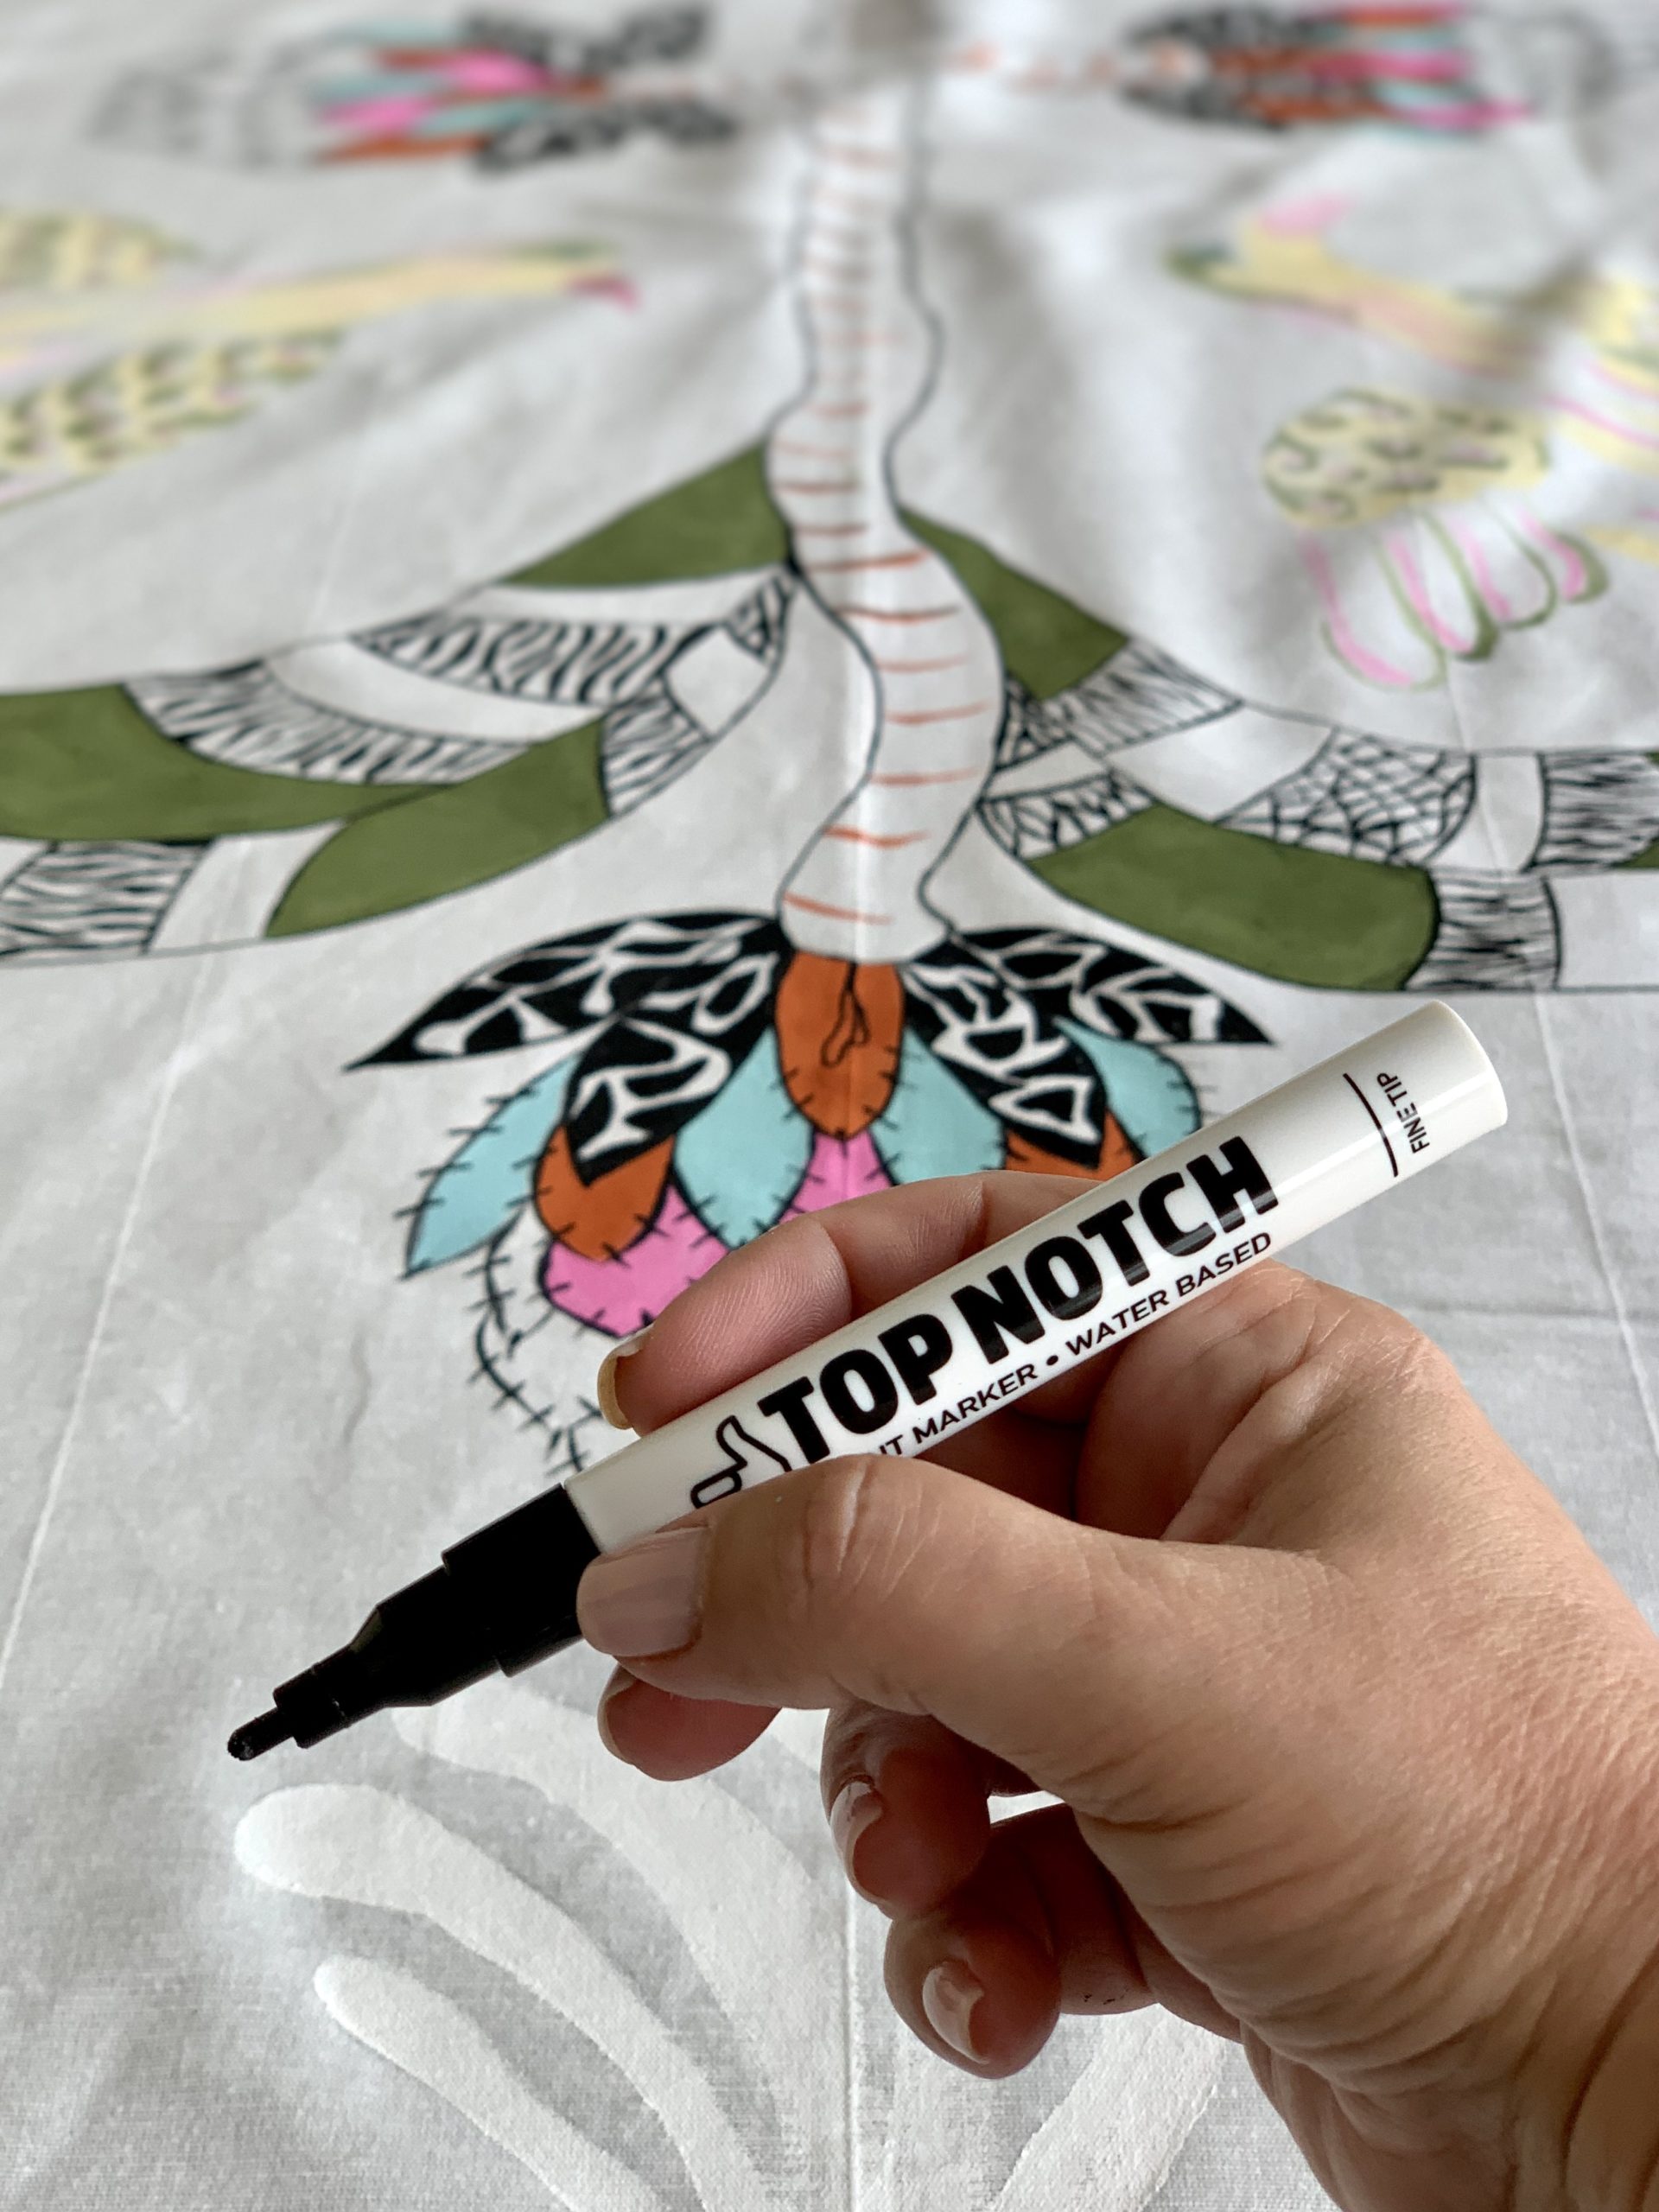
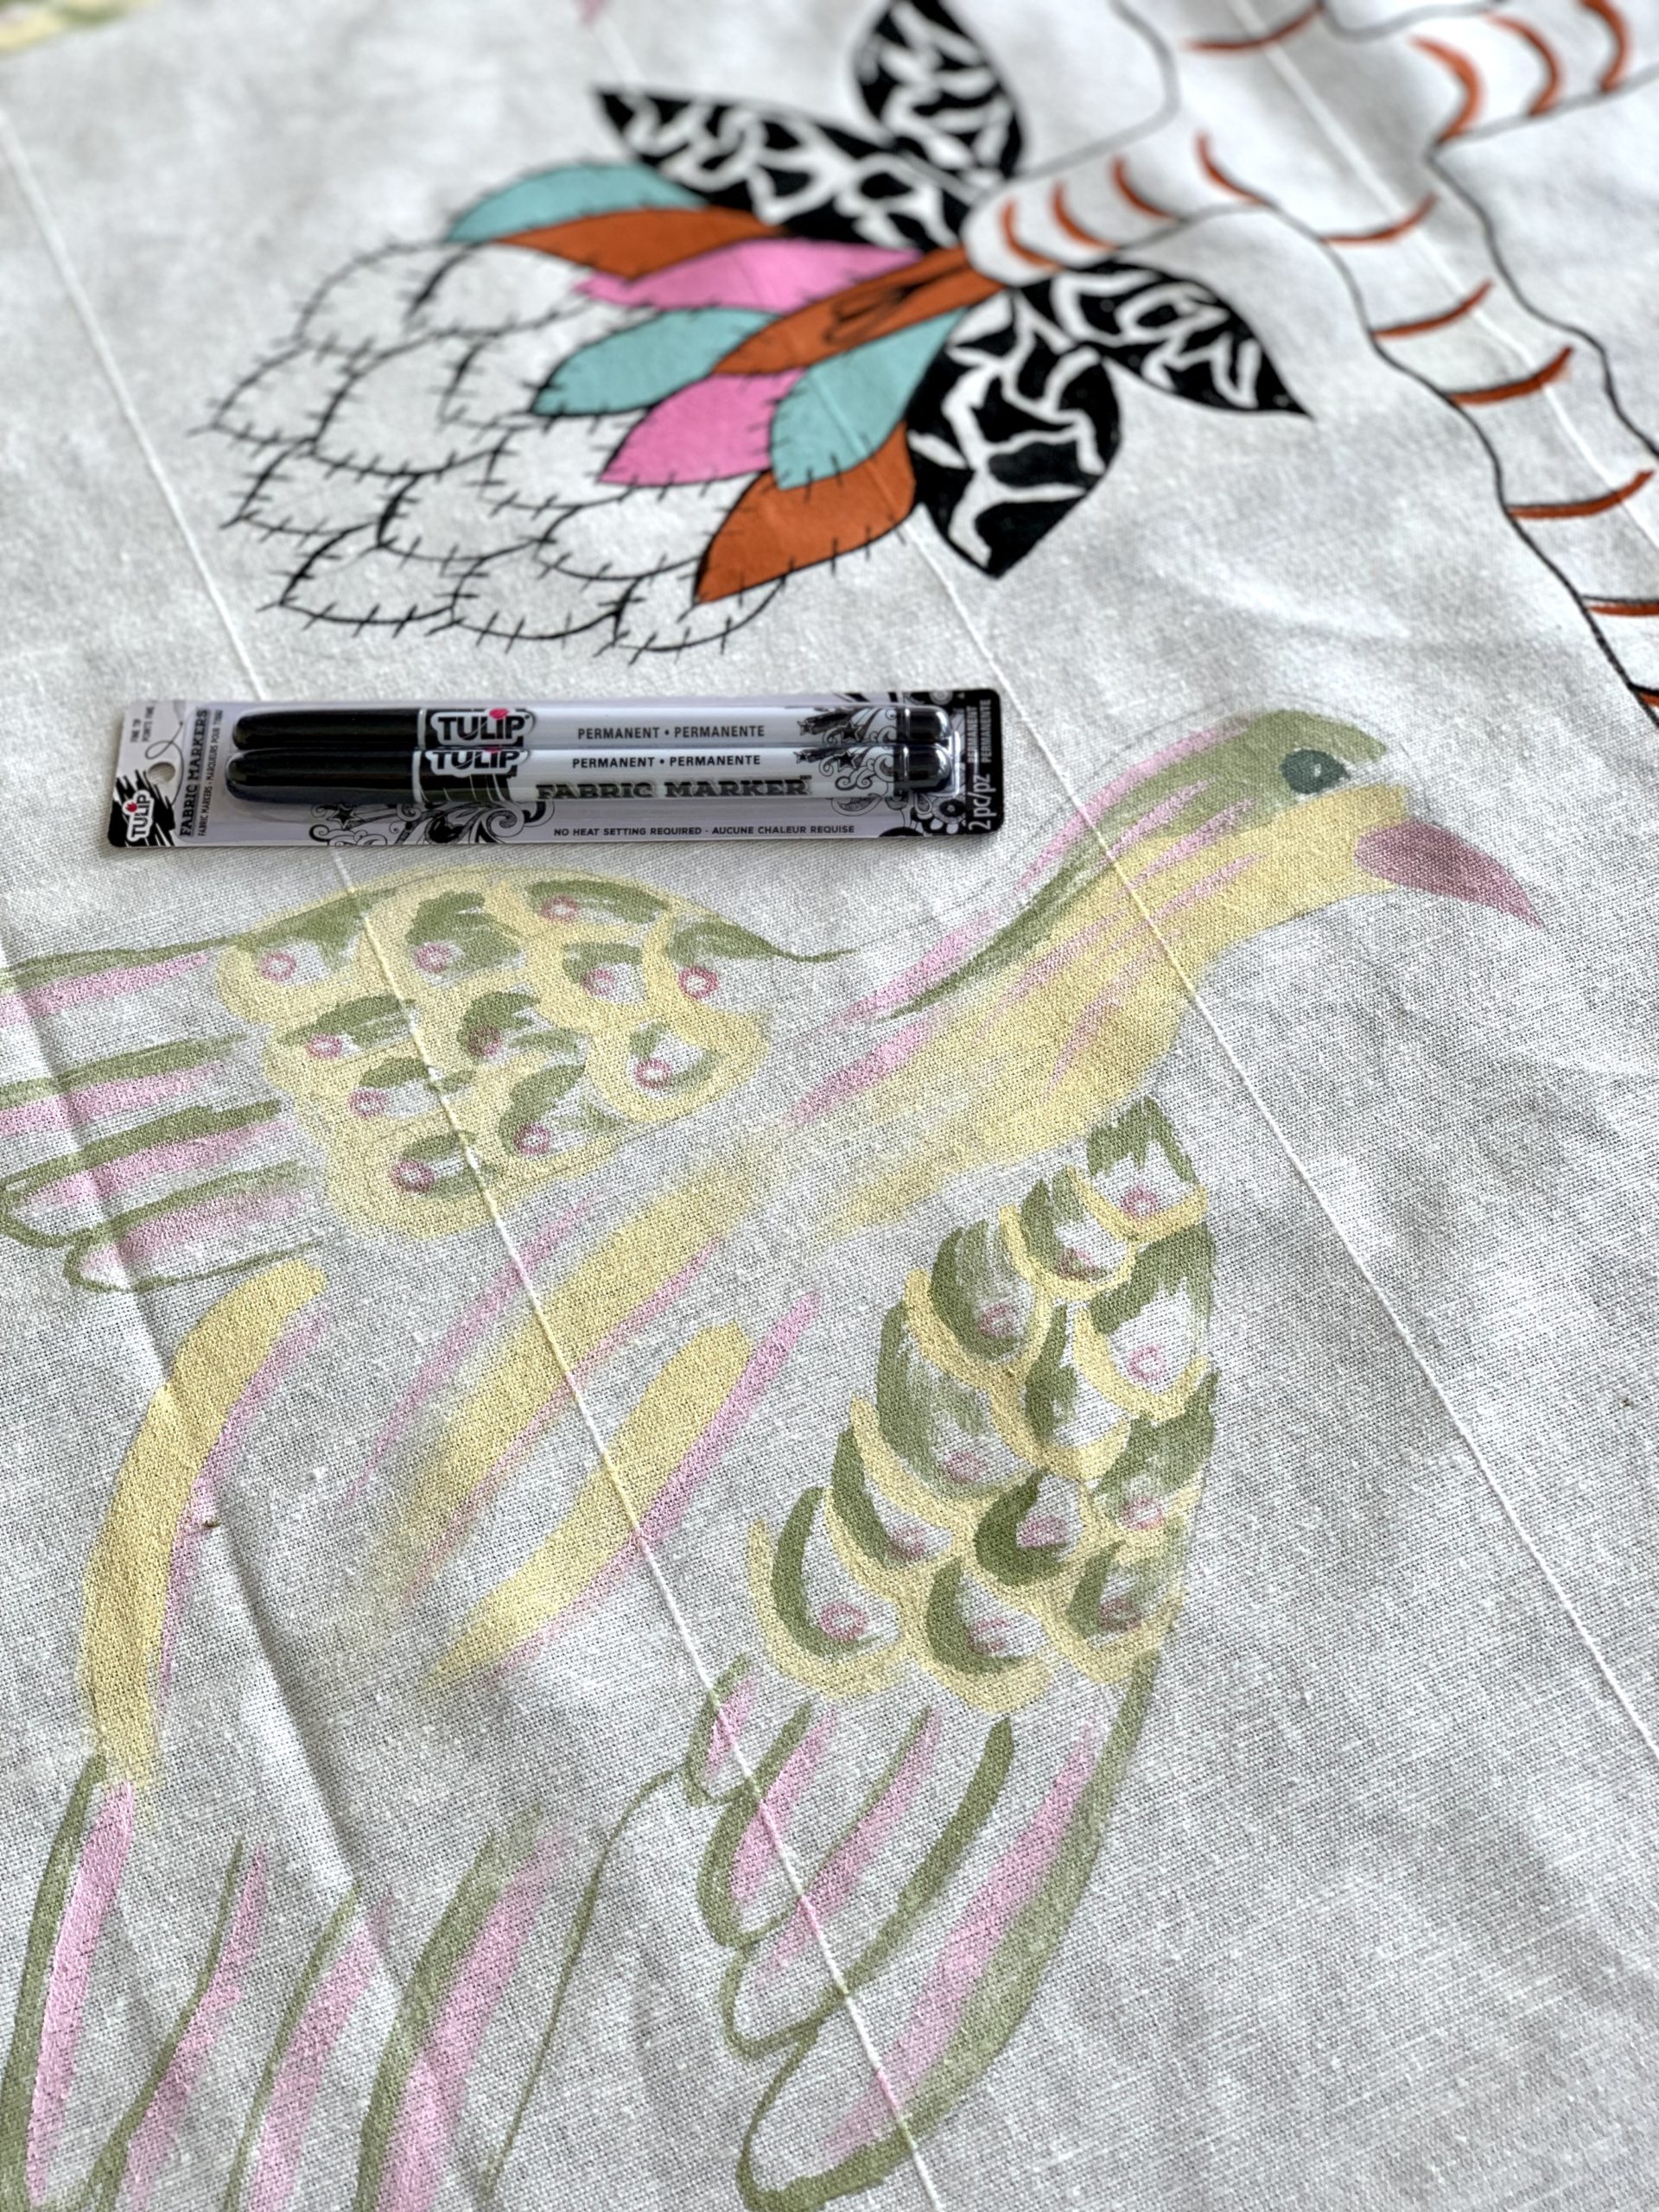
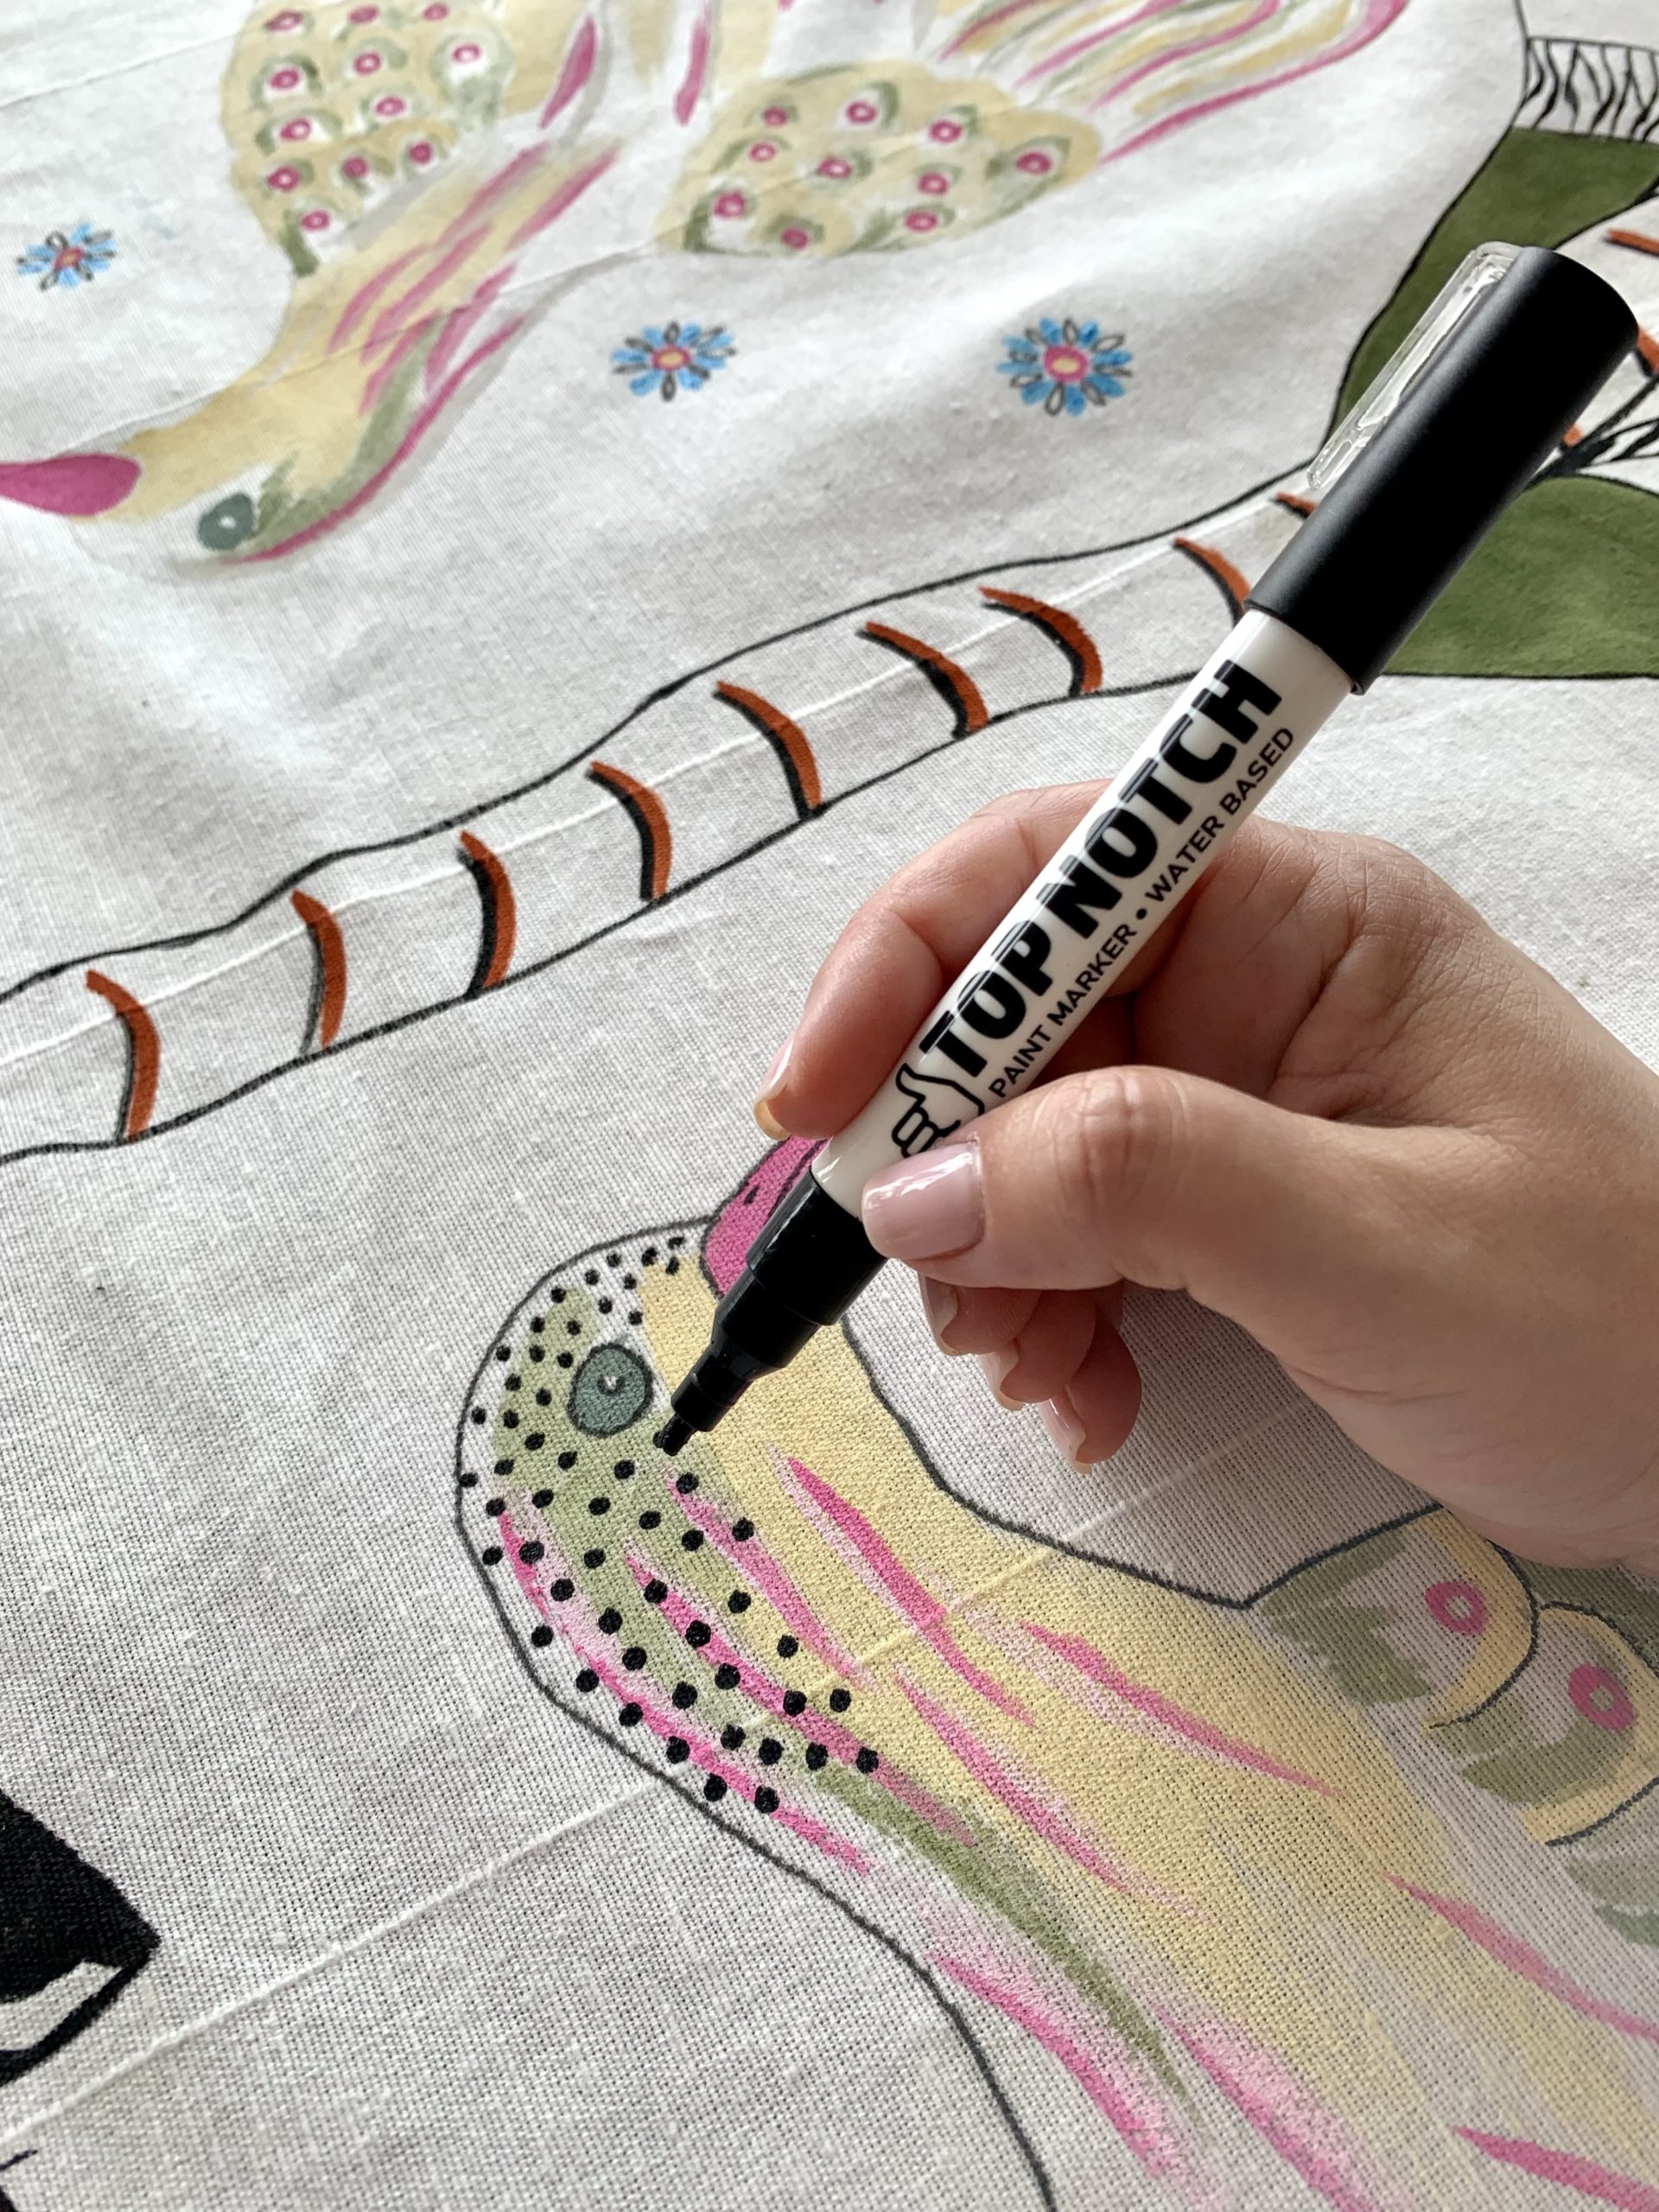
This fine tip Top Notch permanent marker was thicker than I would have liked, so I used it to outline the branches, leaves and flowers attached to the branches. I used a Tulip fine tip fabric marker on the birds.
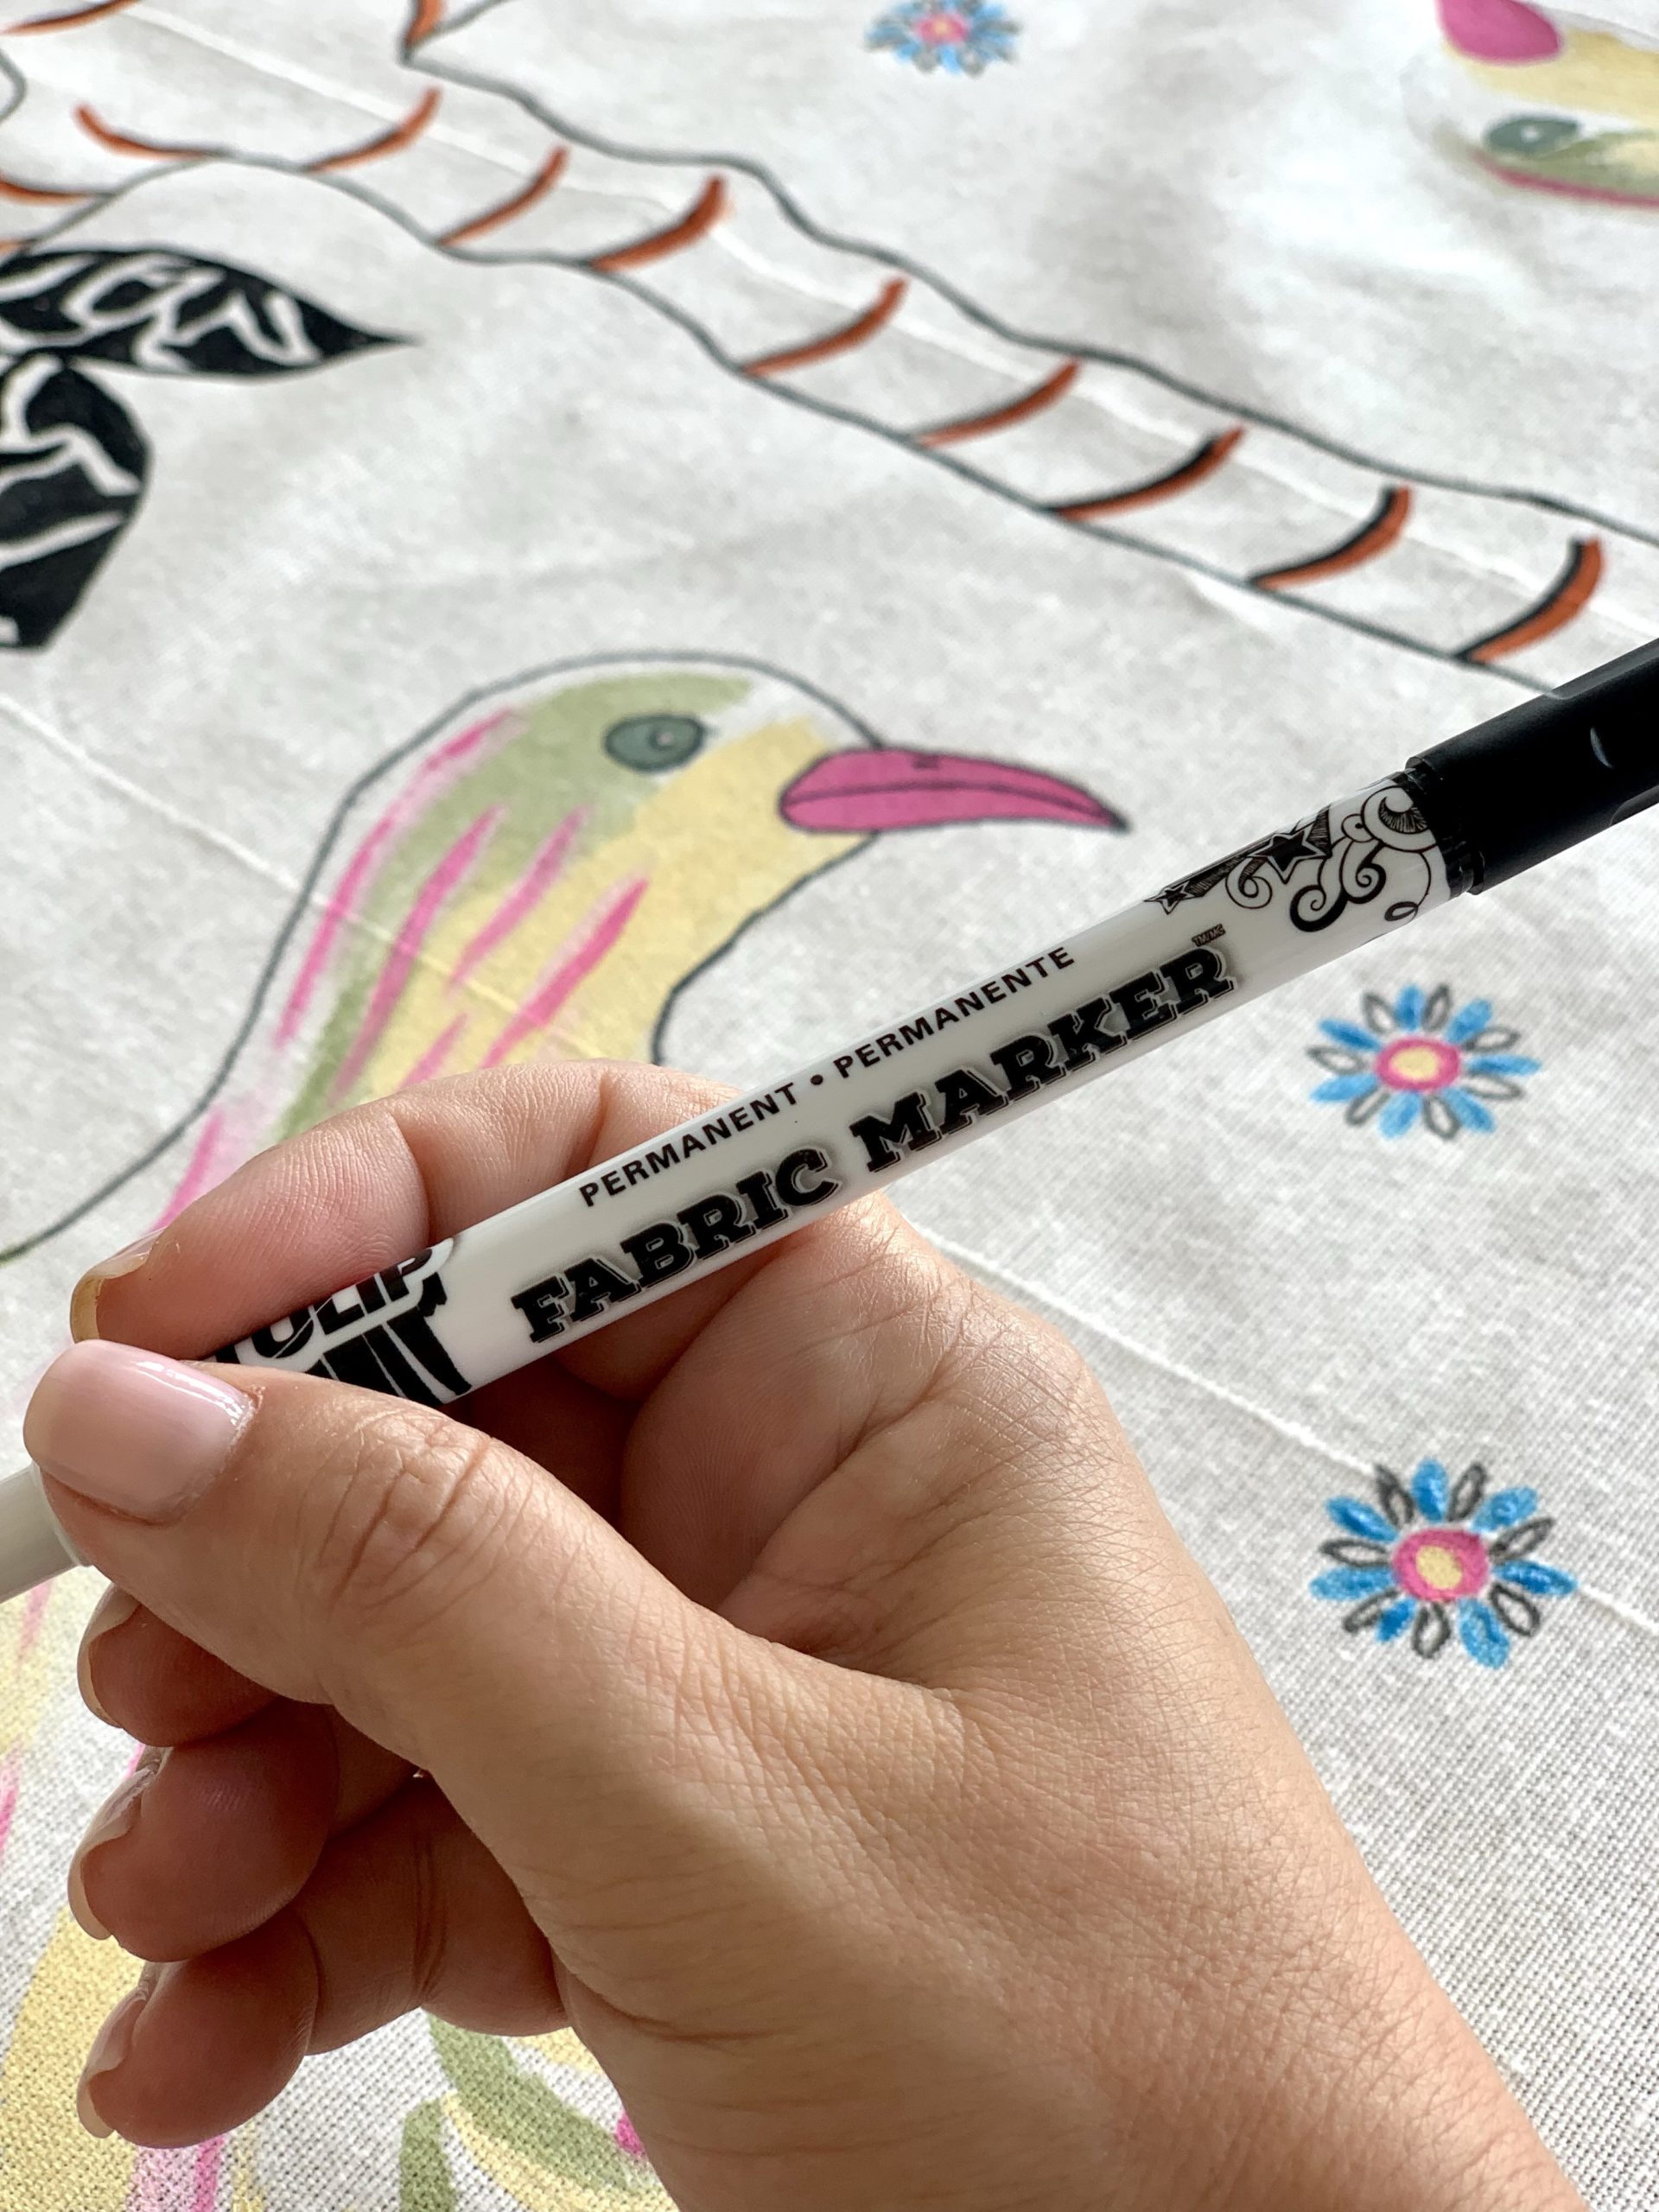
Shown below is the Tulip fabric paint fine tip paint pen I used on the birds.
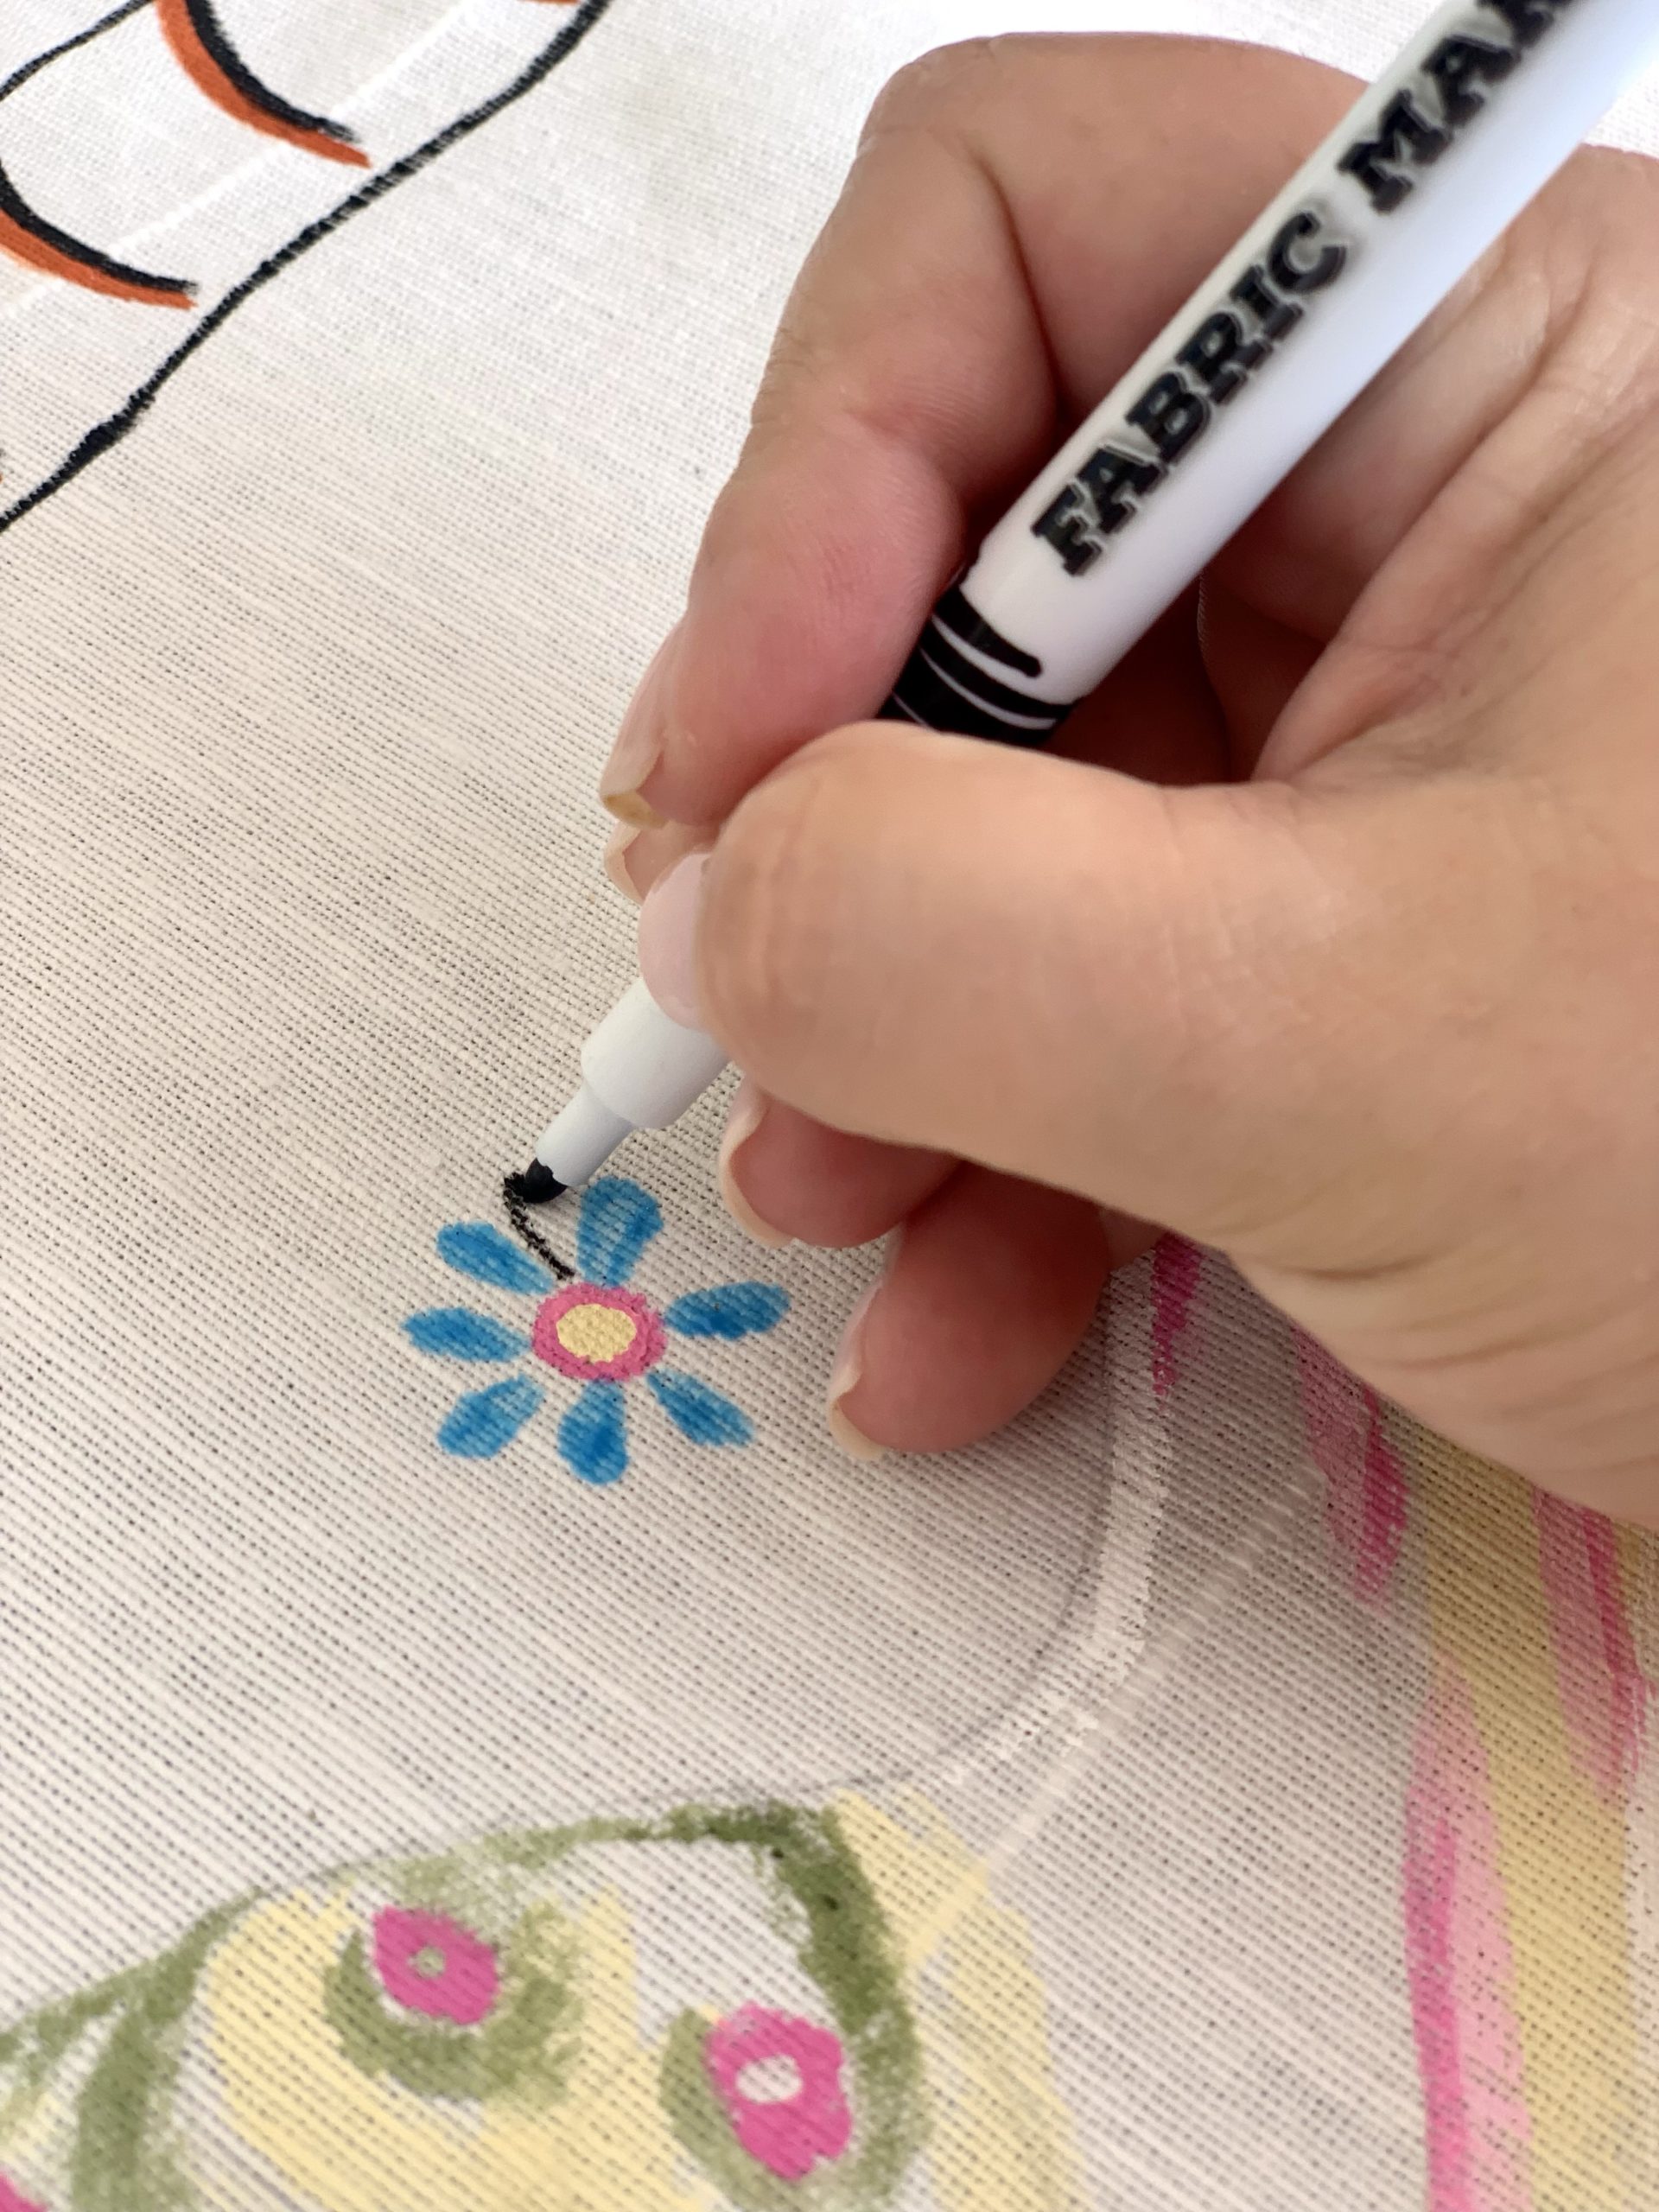
The border on the original inspiration tablecloth was beautiful, but more than I was willing to do. My hands were sore so I ended up drawing tree branches and leaves. I only wanted simple pops of color throughout so it worked well for me. I added scattered flowers and used the same Tulip fabric marker for the fine detail work.
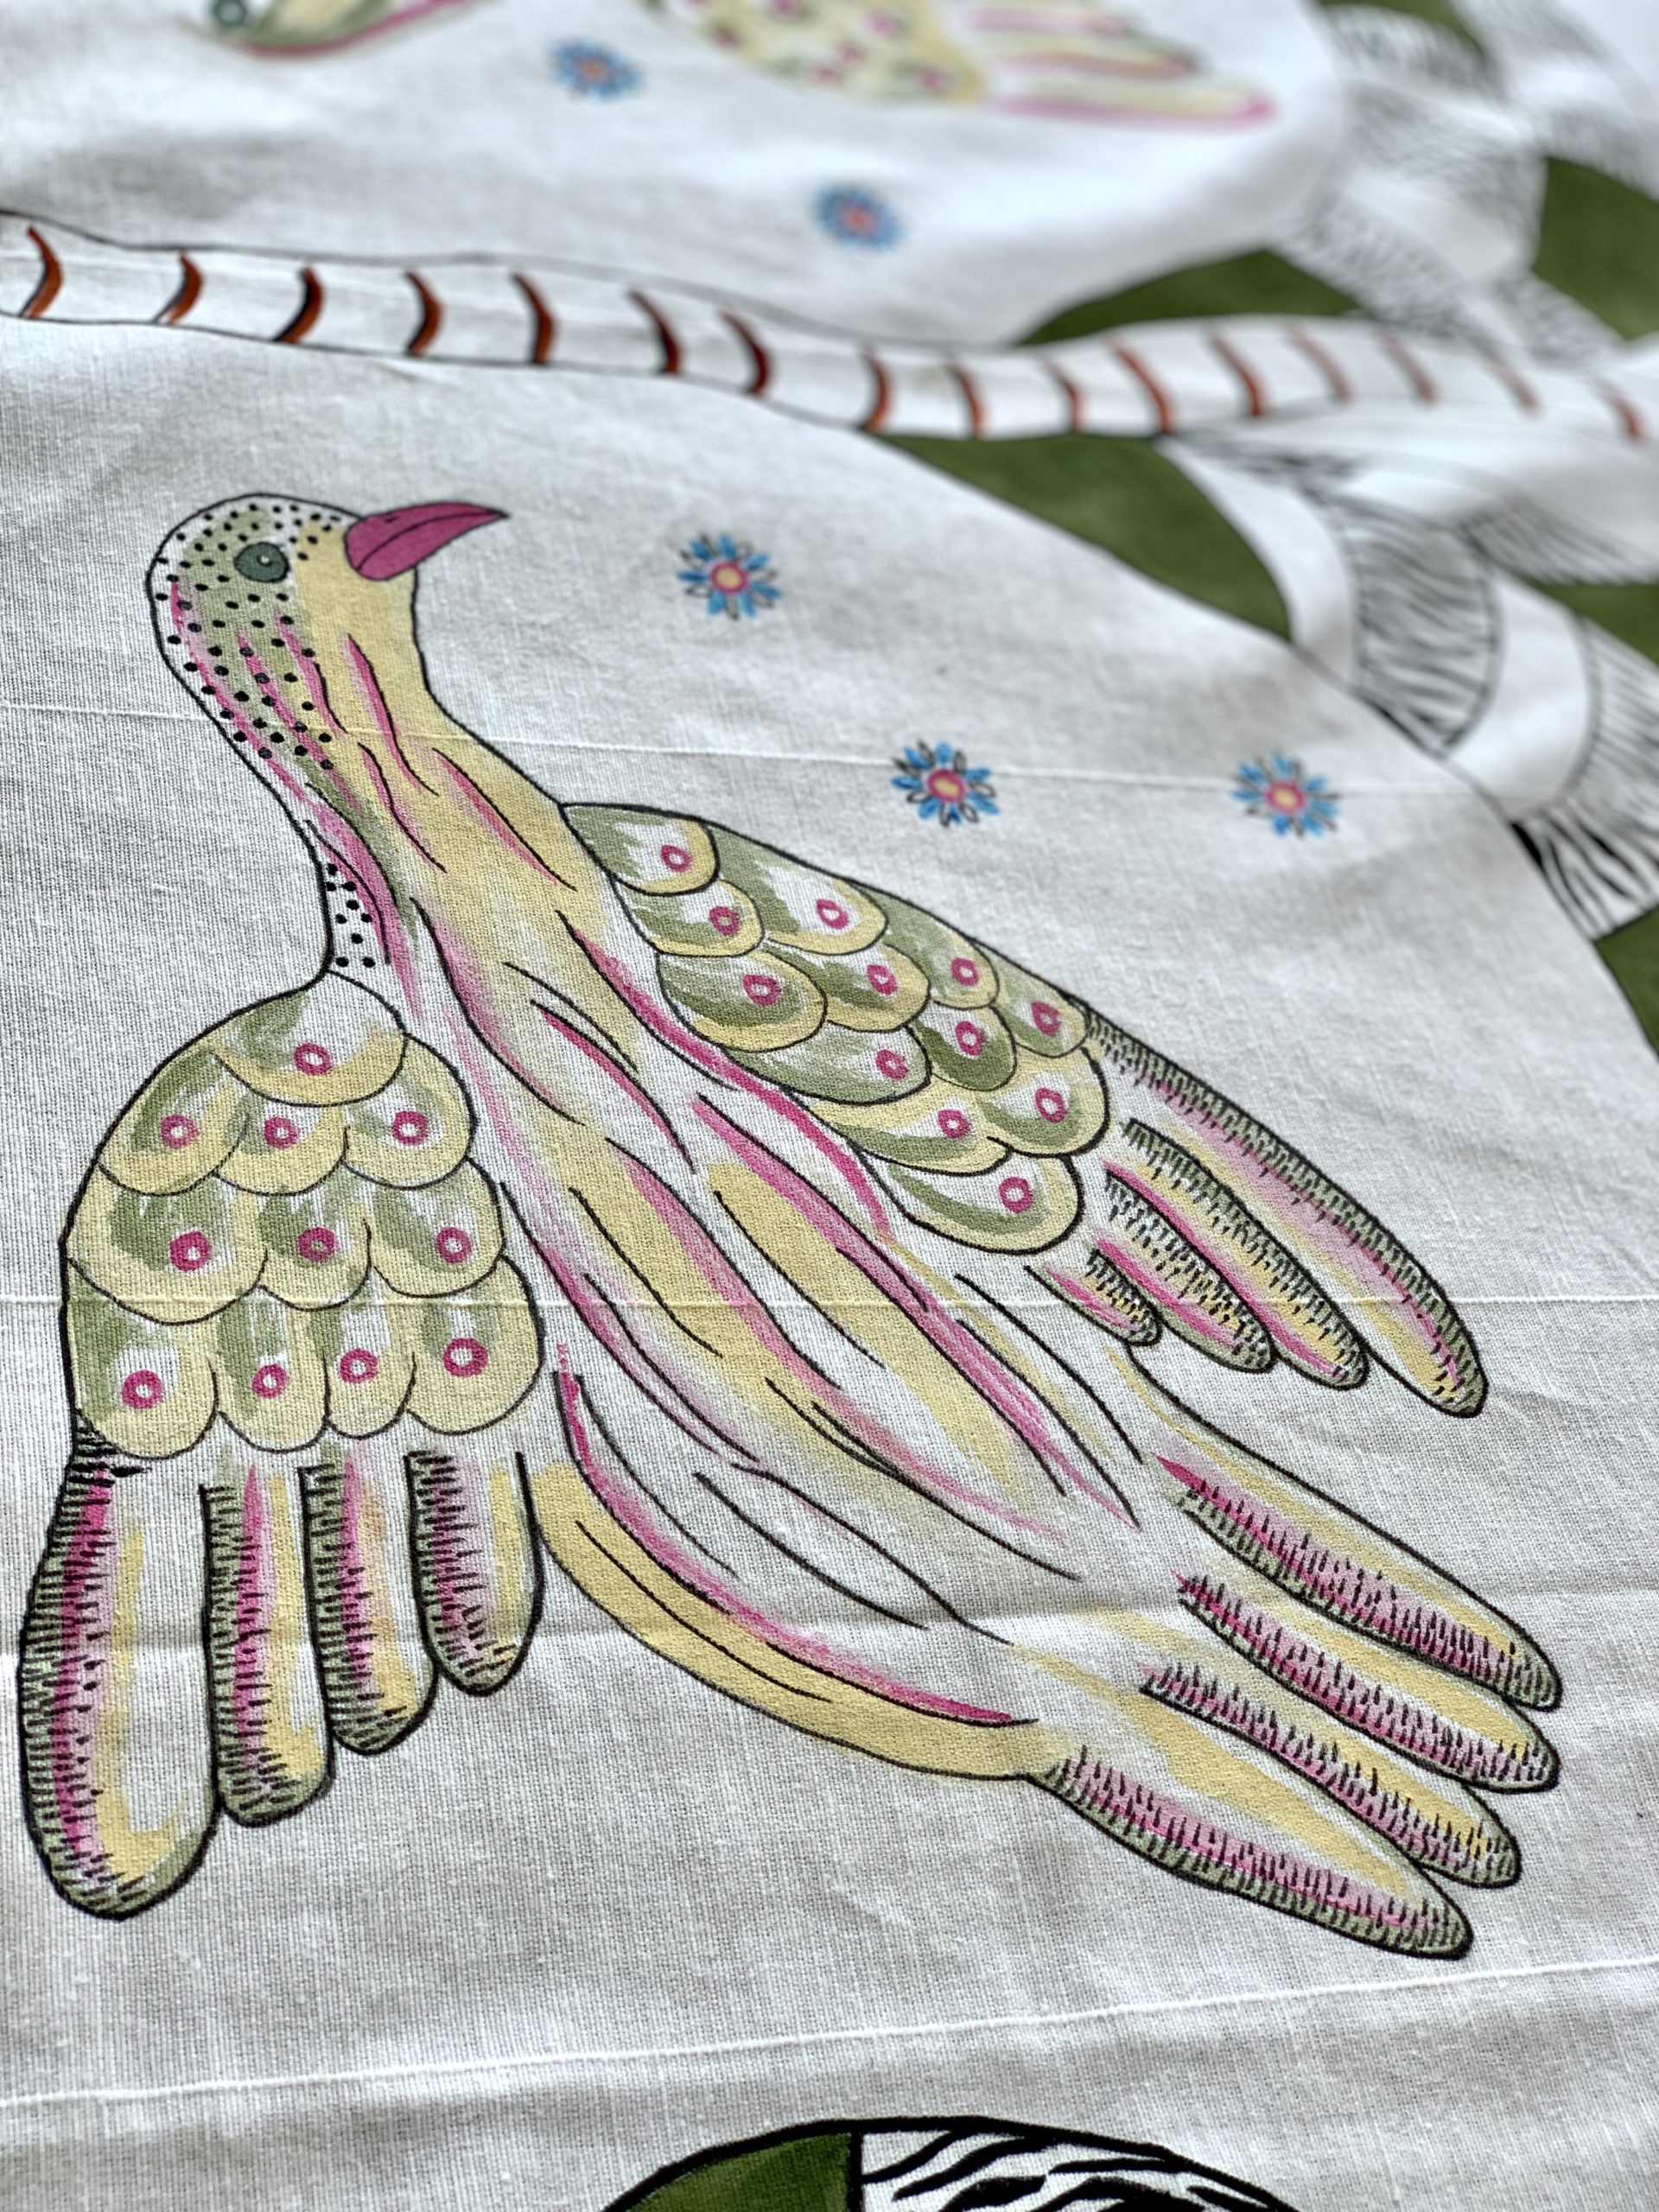
I used both pens to make the final detailed markings on the birds. I dotted the head with the thicker Top Notch marker and I used the Tulip fine tip marker to outline the bird and make the markings on the wings.
The birds have two shades of green and two shades of pink. I was able to make the lighter shades by combining with a little white paint.
Regardless of missteps and errors, I am very happy with the outcome. Who knew an outdoor drape could be transformed into something so beautiful and affordable? I am planning a wonderful tablescape and menu and I can’t wait to execute my plans and share them with you. Stay tuned for a future post.
For now, I hope you’re inspired to try something new and outside of your comfort zone, like painting a tablecloth.
MATERIALS
IKEA outdoor drape panel, tabs removed
Assorted paint brush set
Top Notch black fine tip paint water based marker
Tulip black fine tip permanent marker
Top Notch acrylic matte paint colors – Moss Green, Buttermilk, White, Burnt Orange, Bright Pink, Sea Mist
Top Notch acrylic gloss paint color – black
Tulip soft matte fabric paint color – Neon Blue
