I’ve had this little orange cabinet for about 25 years. It became a dedicated dog cabinet when Molly Ann, our Maltese, joined our family in 2002. Molly crossed over the rainbow two years ago, but Minnie Pearl, another Maltese, has charmed her way into our hearts and now it’s her cabinet. It’s located at the entrance of the converted garage that connects to the kitchen. For 25 years the orange didn’t bothered me, but now that I’m decorating, it’s become an eyesore. I thought I would try self-leveling paint, some antiquing gel, furniture decals and new hardware – after all it looks easy on YouTube.
I looked at a few different products and decided on Heirloom Traditions Paints after seeing many of their videos and reading reviews. One reasons I went with this product was their special deglosser – a simple chemical that prepares your piece to receive the paint without sanding, stripping or harsh chemicals. If you’re like me, with a little asthma, you avoid harsh chemicals. This deglosser is an easy wipe on, wipe off. To quote Ina Garten, how easy is that? So I took the plunge and brought the All-In-One Deglosser, Colosseum All-In-One Paint, Antiquing Gel in Weathered Wood and their special brush and applicator sponge. I spent less than $100 and I was able to transform two pieces of furniture with product left over.

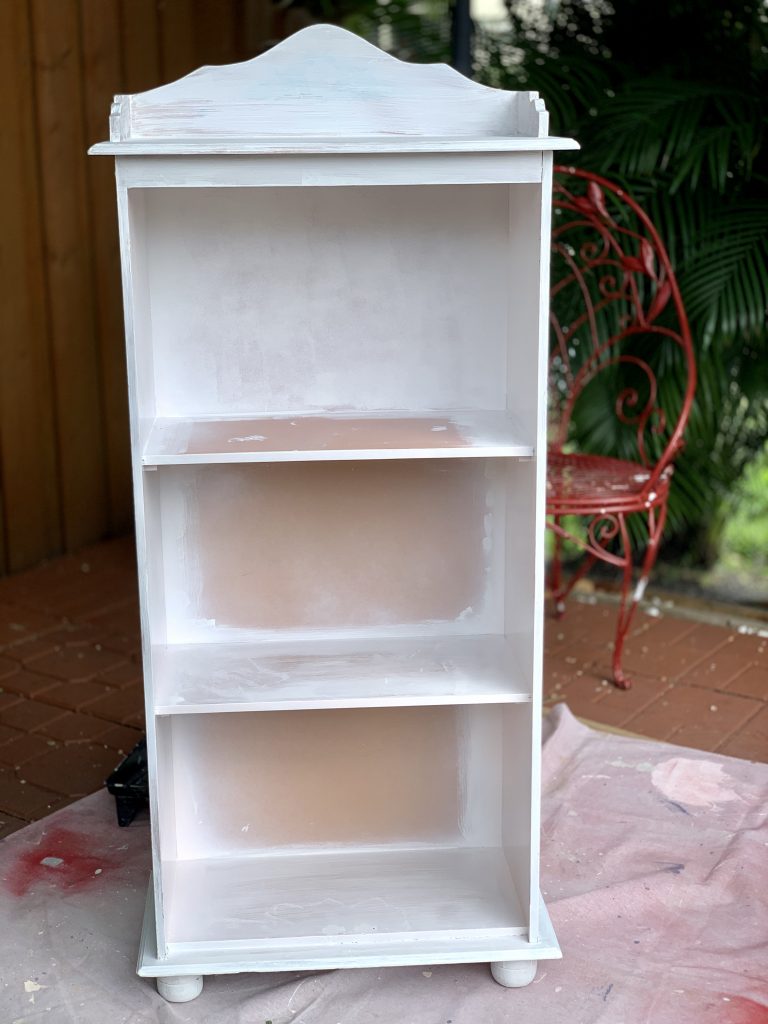
With more gumption than talent, I went for it. The first thing I did was wipe the cabinet clean of dust and dirt. I applied the deglosser, waited a few minutes and wiped it off with a clean cloth – I used an old t-shirt that had seen better days. Because I was still concerned the orange would come through, I applied a spray paint primer base coat.
Tip: A small craft paint brush is a great way to get into those little corners and hard to reach areas to clean and remove dust.
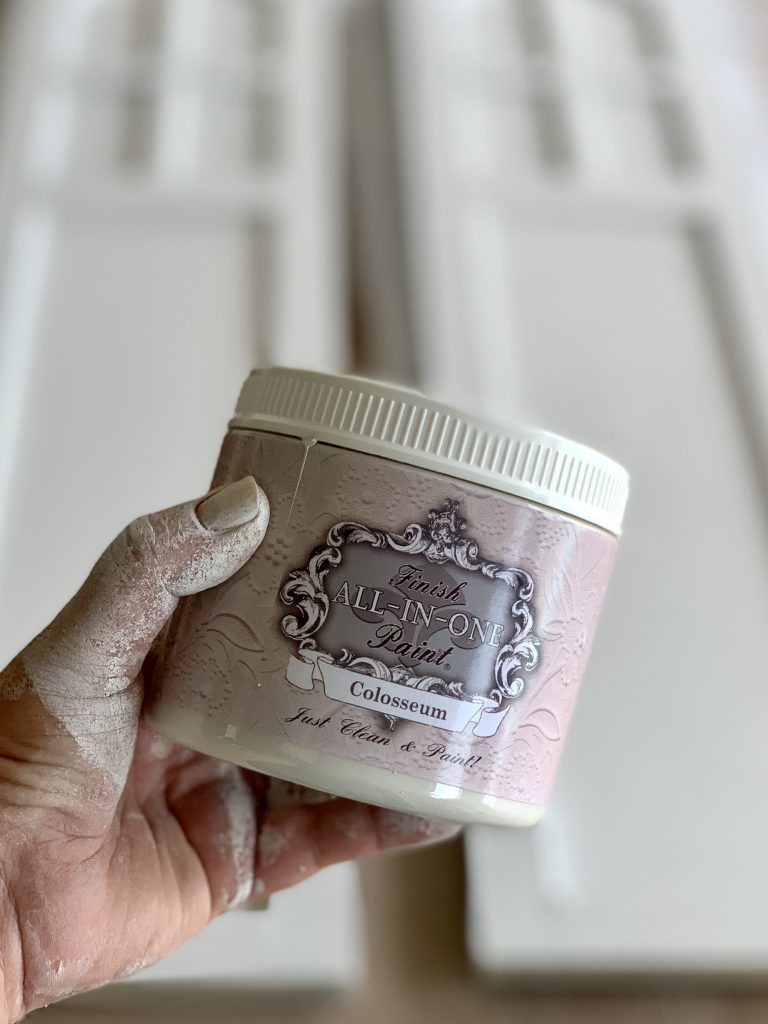
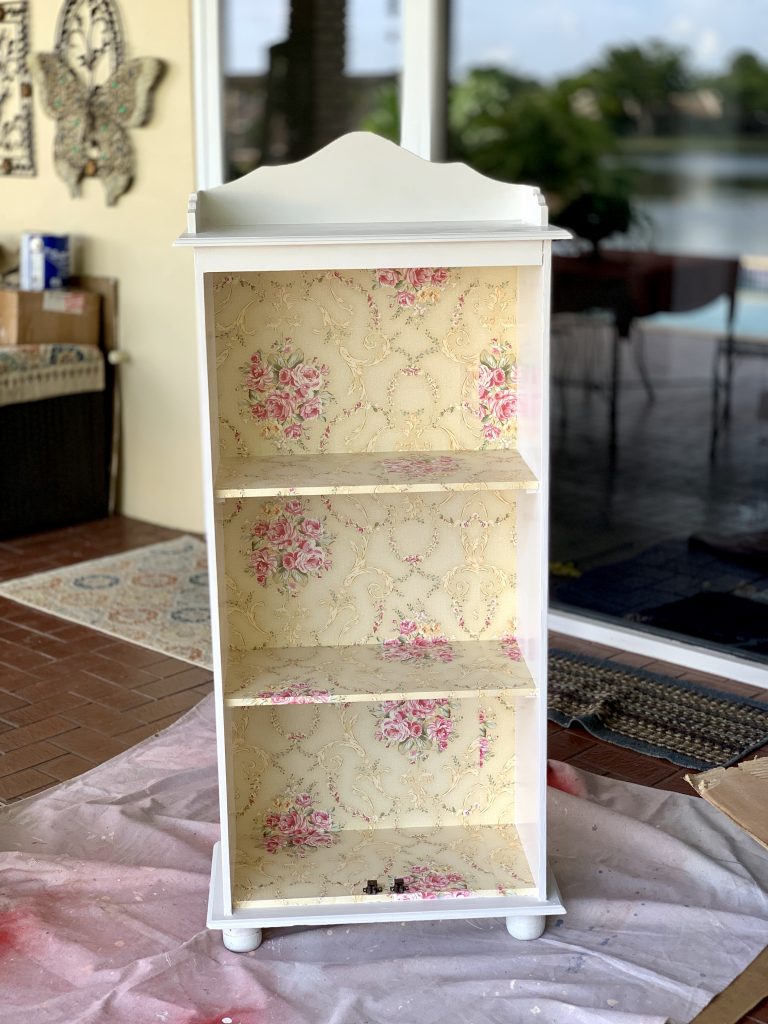
This is a do-as-I-say, not-as-I do moment… wear protective gloves. Scrubbing and removing paint off your skin isn’t fun. The self leveling paint goes on easy and dries quickly – on the furniture and your hands! I was amazed how quickly I was able to work through this step with such a great outcome. Once dried, I applied this vintage rose peel and stick shelf liner from Amazon. One roll was enough for my small job. The liner is beautiful, just very thin and can rip easily. It’s not as sturdy as Contact paper, so I can’t speak to the durability of this liner.
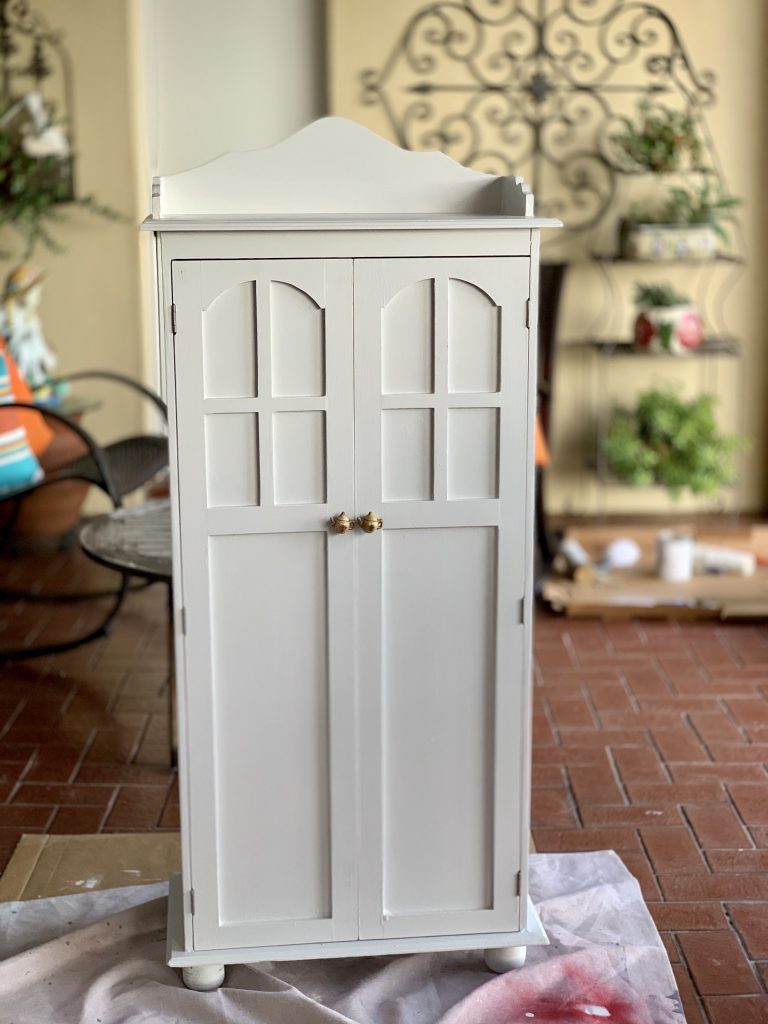
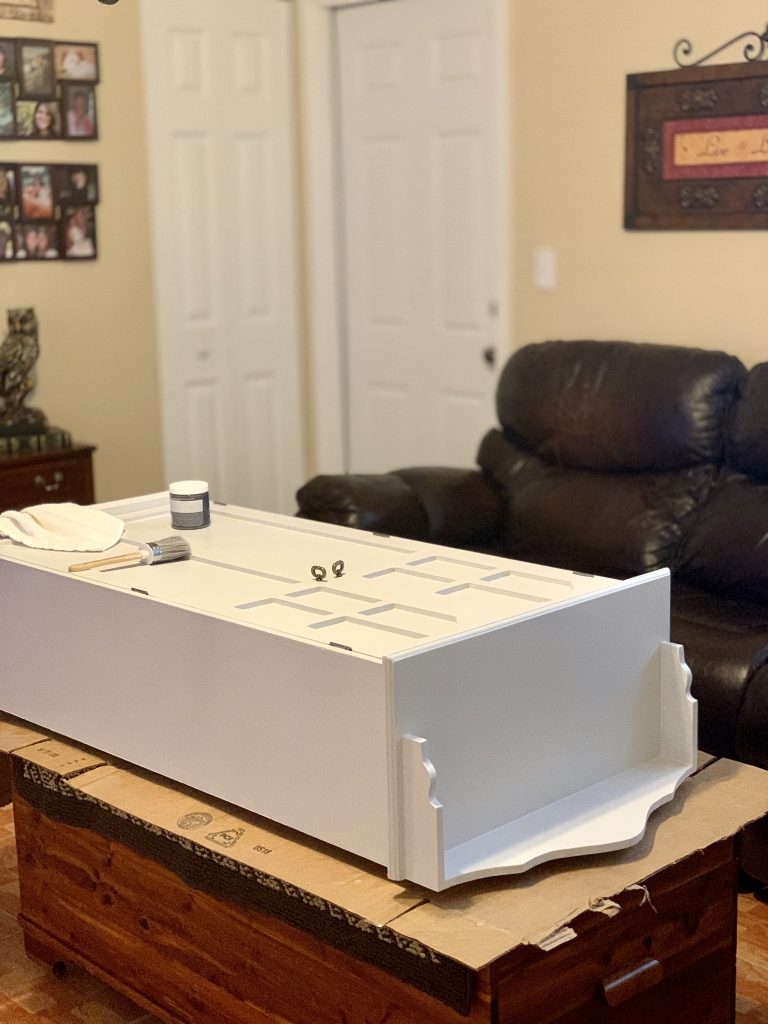
I removed the teapot pulls and temporarily used an old set I had on hand, just so I can open and close the doors. It was about 100°F outside, so I brought the piece into the garage and begin to apply the antiquing gel. Let me say, it’s a great product and a little goes a long way. The paint dries quickly and even if you wet it, it’s hard to remove all of it like they say in the video. So my piece ended up with more antiquing than I would have wanted, but I’m still very happy with the end result.
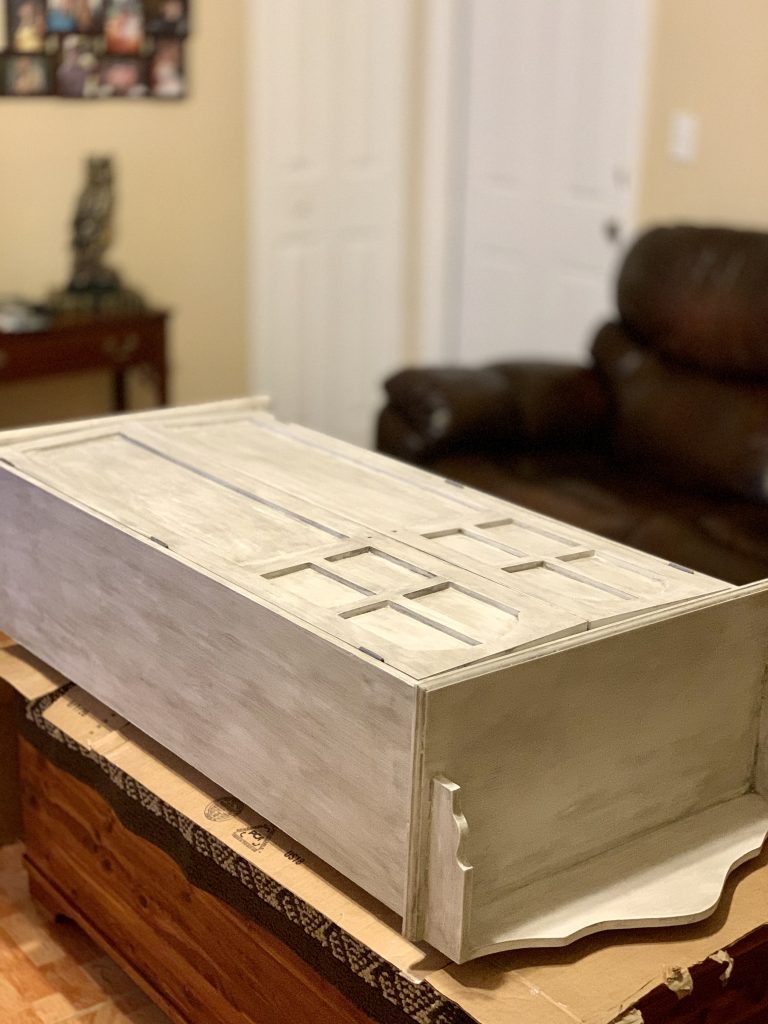
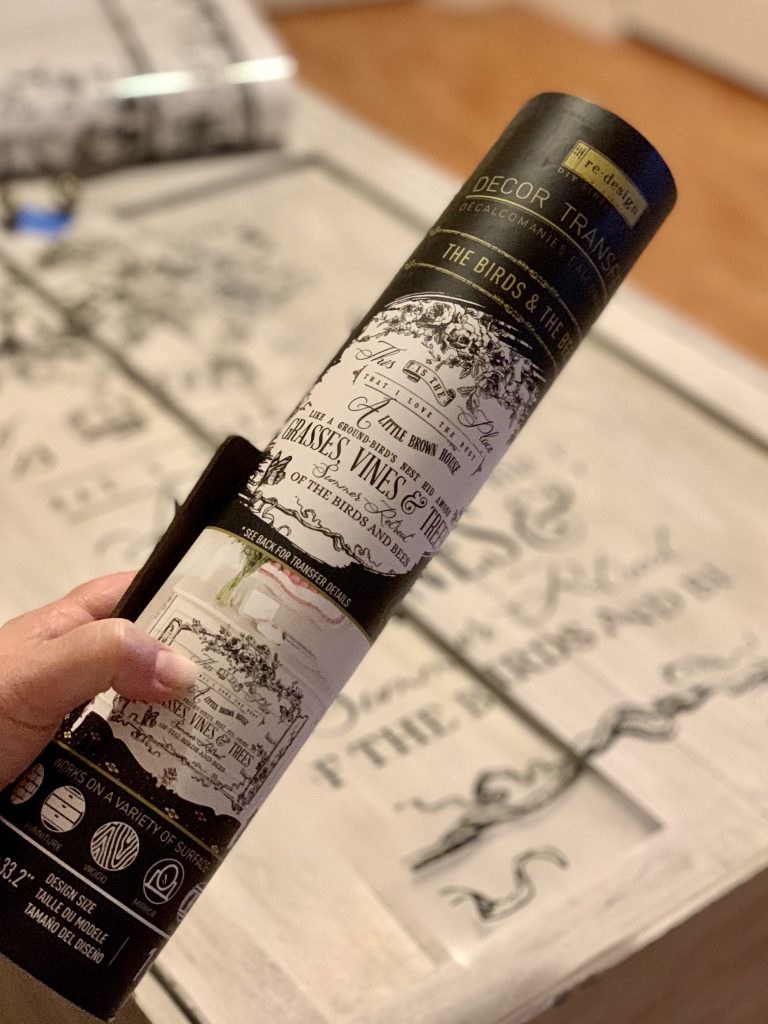
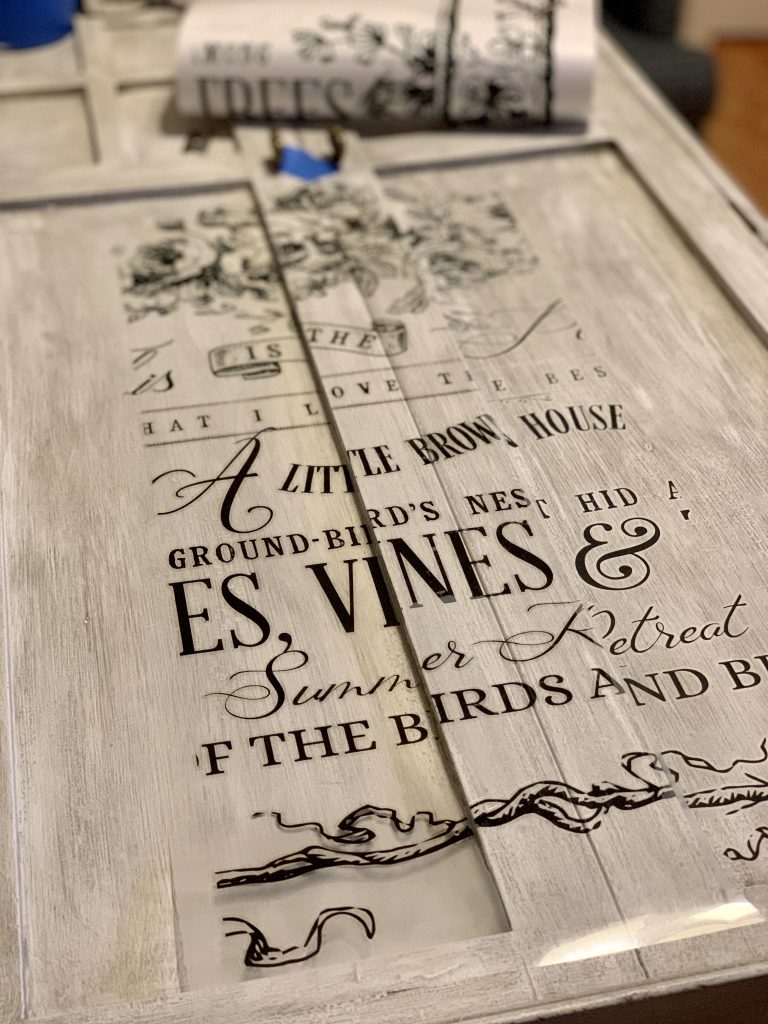
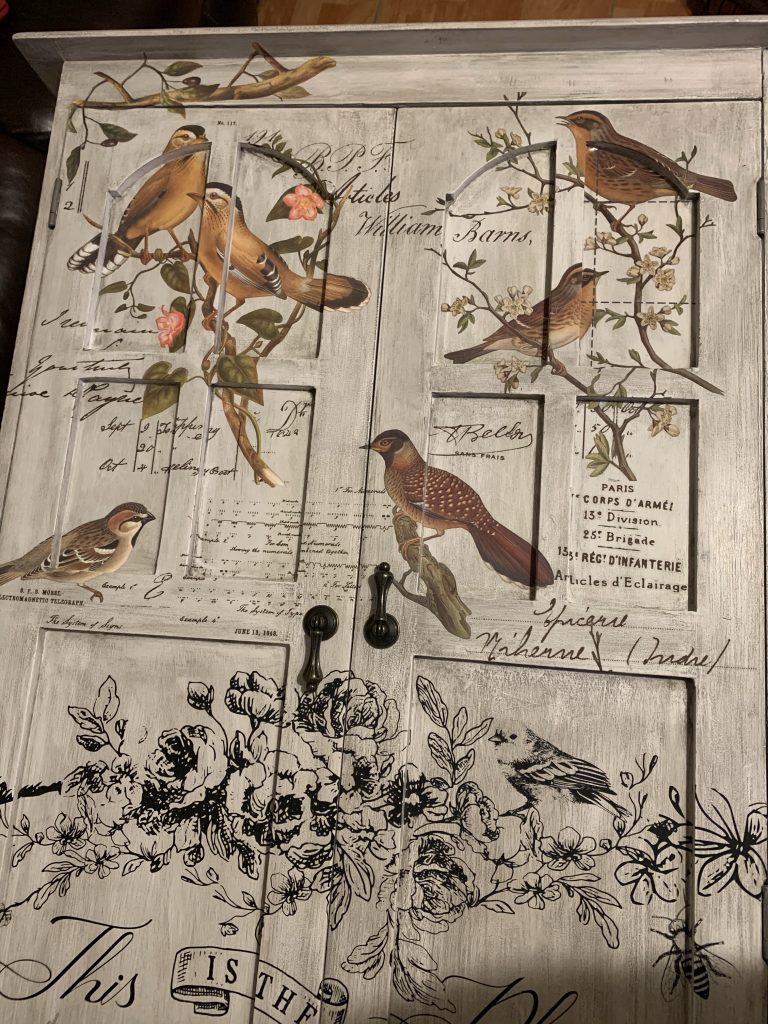
ReDesign by Prima furniture transfers are just wonderful! I bought two on eBay, The Birds & The Bees and Postal Birds, but you can also find them online. I first applied The Birds & The Bees. The transfer art comes in three panels. I centered the middle panel in the bottom half of the furniture, removed the backing and began to rub the transfer onto the furniture with the applicator. My doors were not easy to work with and removing all the backing at once, wasn’t smart. I used a razor blade to cut out the decal section that would fit within the indented door panel. I tried to align as best I could so you could still read the words.
I did the left panel and by the time I got to the last panel, I was on a roll and found my process and pace. I kept the backing on and removed it as I rubbed and transferred the image onto the door.
If I were to do it over, I would work around the shape of my furniture and cut out specific decals to better fit the spacing and shape of the furniture. That’s what I did when I applied the second transfer decal. This is definitely a project that requires your attention and patience.
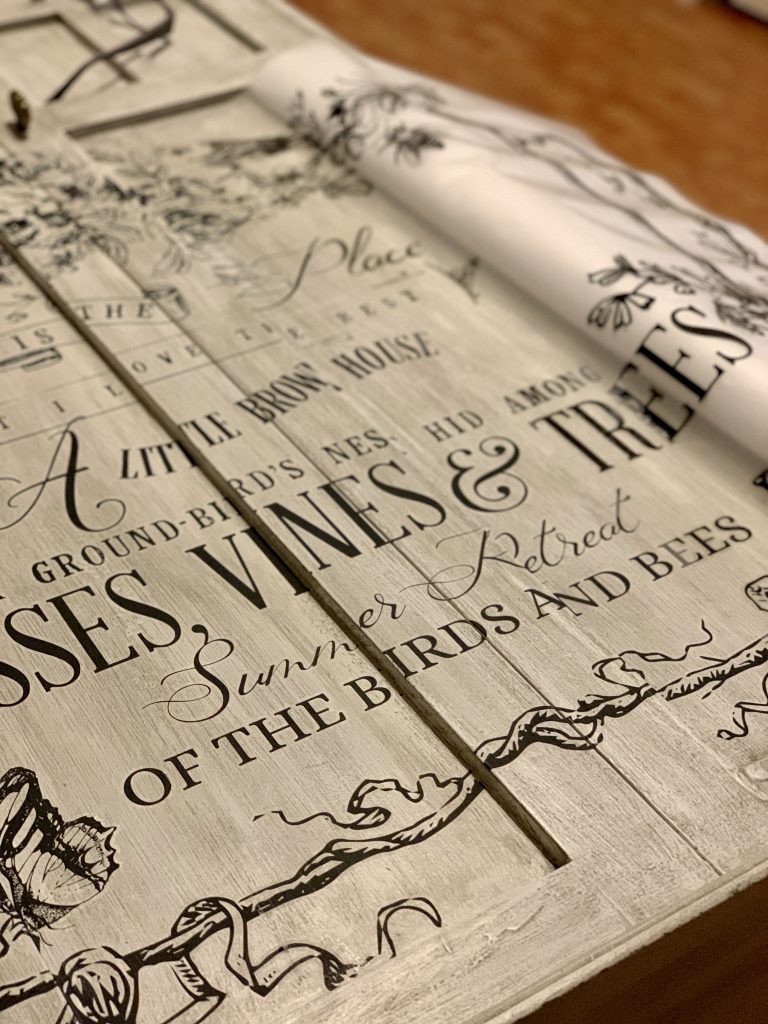
The postal birds were stunning. They contained a varied amount of birds so I focused on like size and colored birds. The two primary images on the doors are of small birds on branches. Instead of applying these transfers in panels, I cut out all the birds, branches and vines, and postal stamps and words and I took my time arranging them into a design I was happy with.
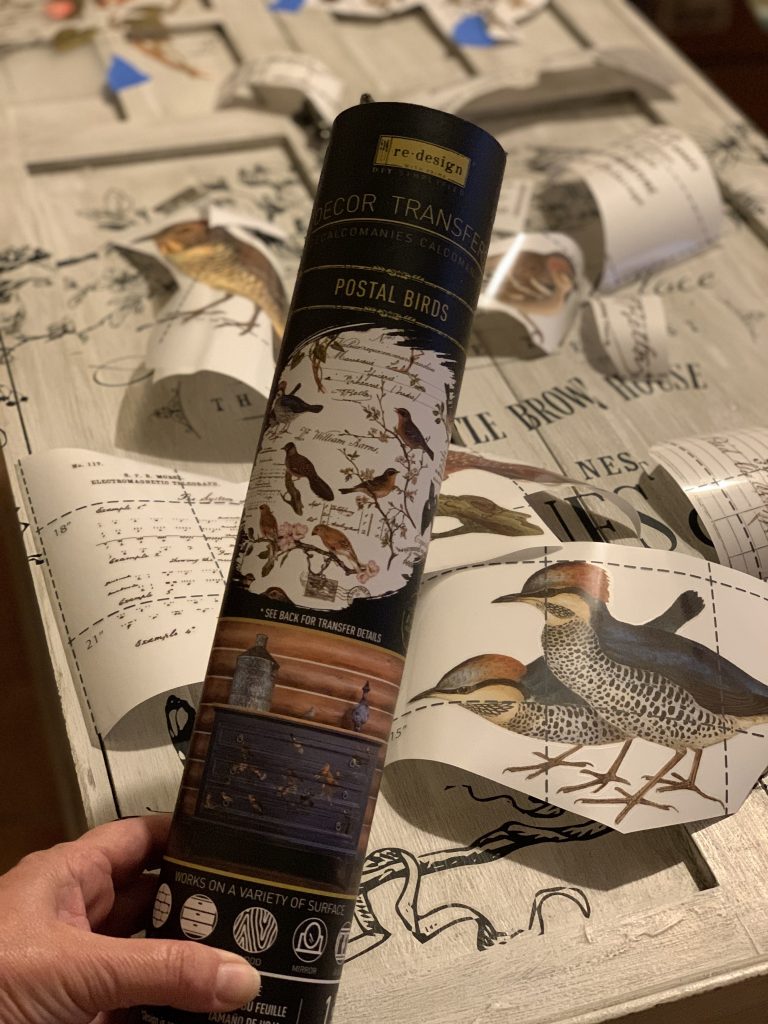
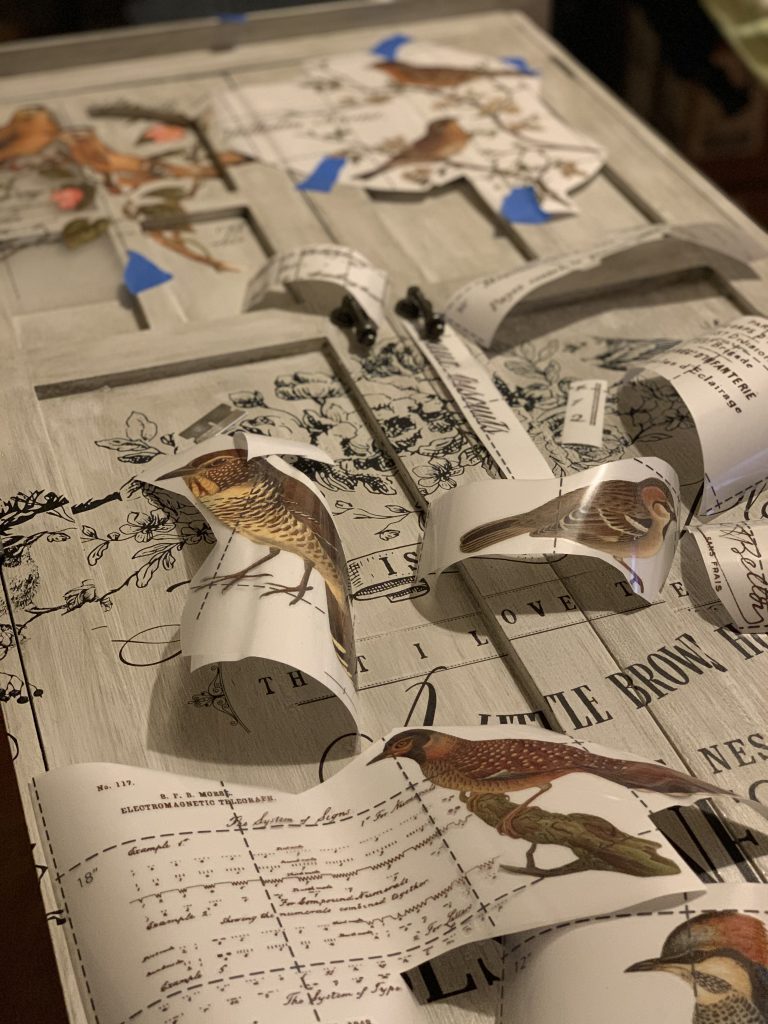
I worked in small sections and was careful to cut and apply the transfer with greater care since birds are more detailed than letters. Once the birds were in place, I began to fill in and overlap various postal stamps and words. While the letters slightly wrapped around the sides, I didn’t want to wrap the birds around the sides so I had extra bird transfers.
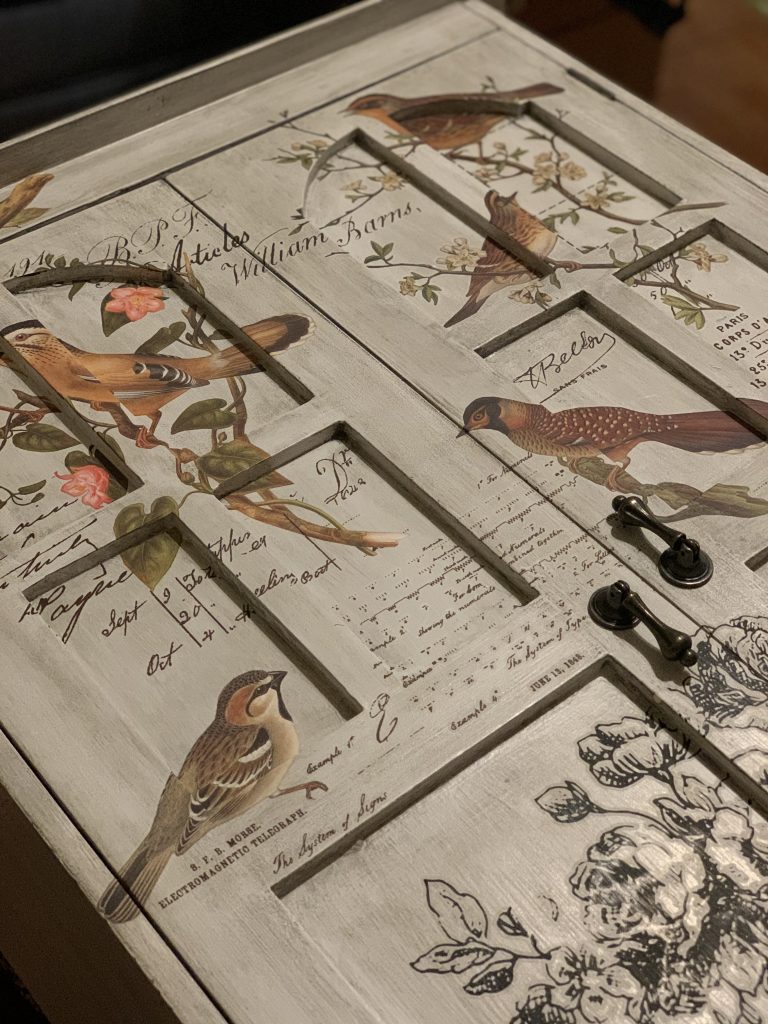
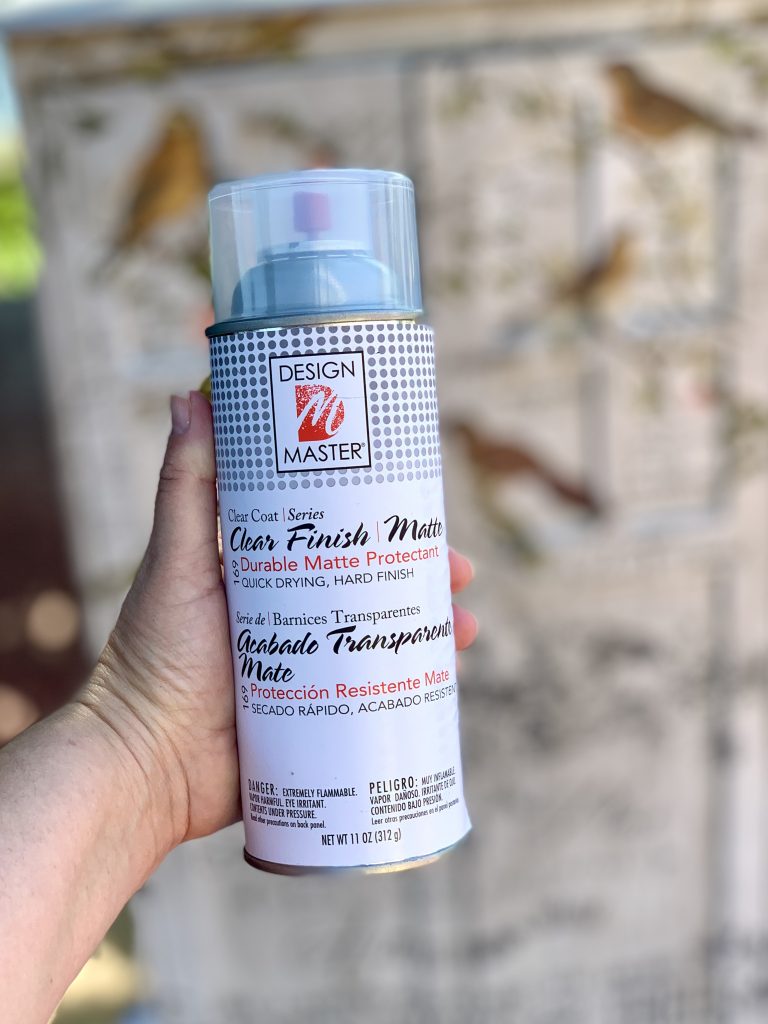
The following weekend, I applied multiple coats of this clear matte protectant finish I purchased at Michael’s. This will protect the decals from rubbing off with daily wear and tear.
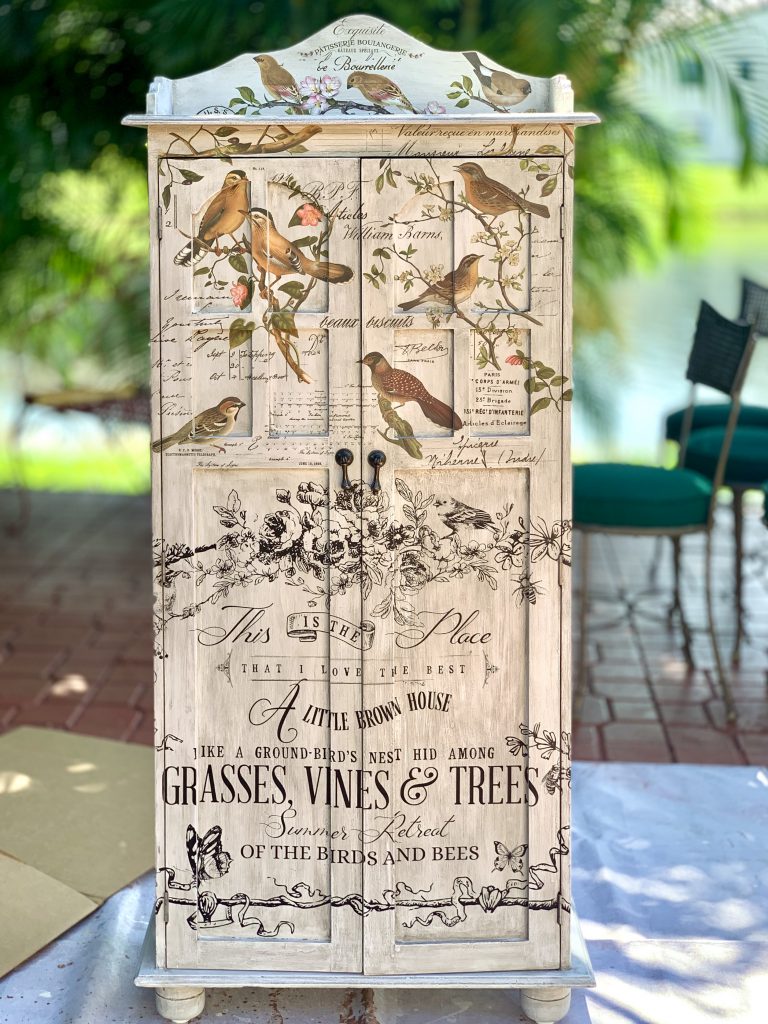
As you can see below, I didn’t apply a lot of decals on the top. I think it has more than enough birds already and I wanted a delicate balance. I also replaced the hardware to these tear-drop aged bronze pulls from Home Depot.
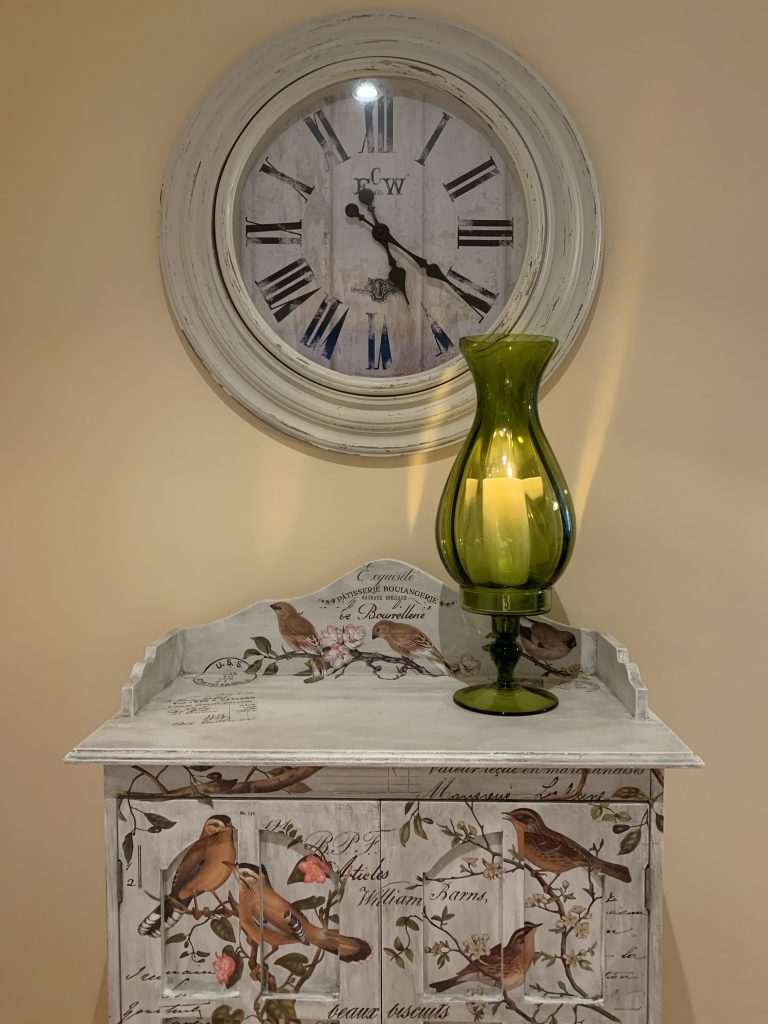
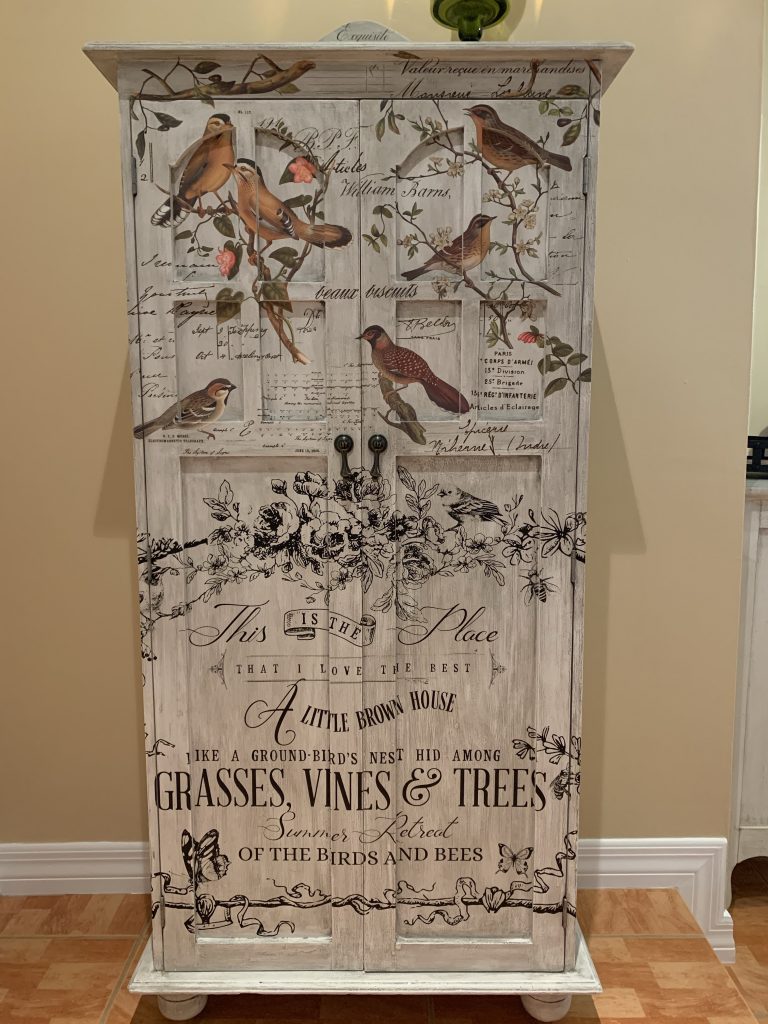
I love how this cabinet complements our farmhouse styled garage, a.k.a. the fun room. This room was originally enclosed so my daughter could have her own study/hangout space with friends. The kids were a lot of fun and that’s how the room got its name.
I hope these small DIY projects inspire you to take on your own creative project. Chalk paints can be so much fun and with a little effort and patience, you can bring back to life or repurpose a piece of furniture and enjoy it for years to come. The Fun Room isn’t fully decorated yet. I’ll be sharing that as soon as it’s done.
If you want to see what started it all, check out my post on DIY – Refurbishing a Vintage Chair.
