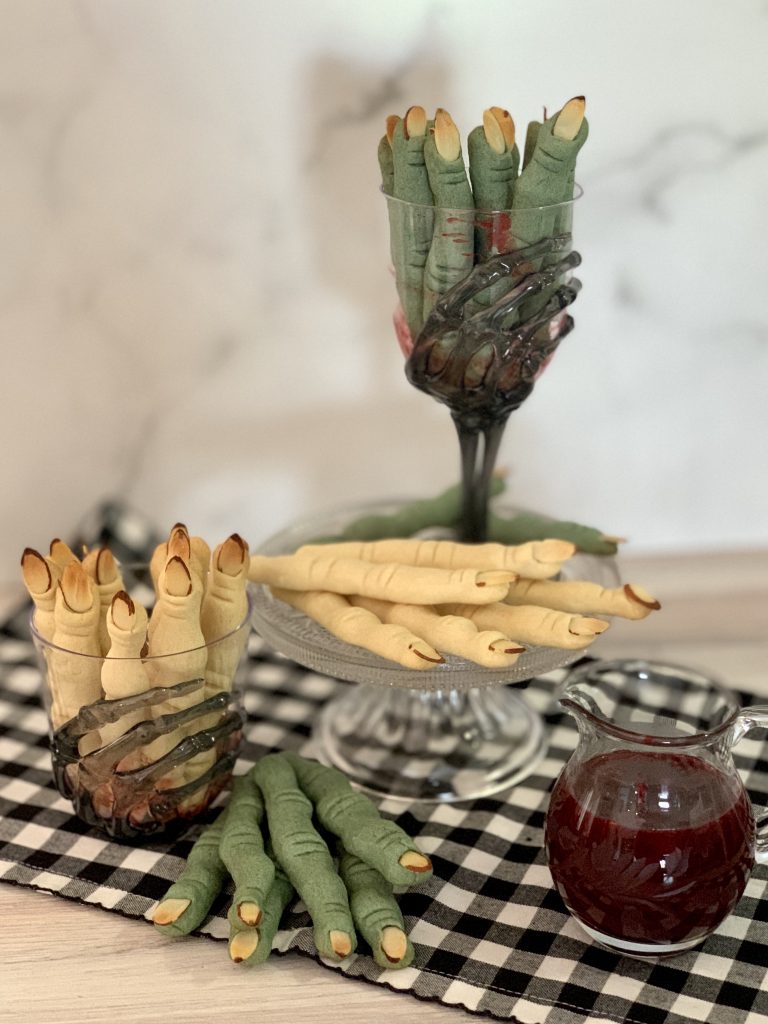
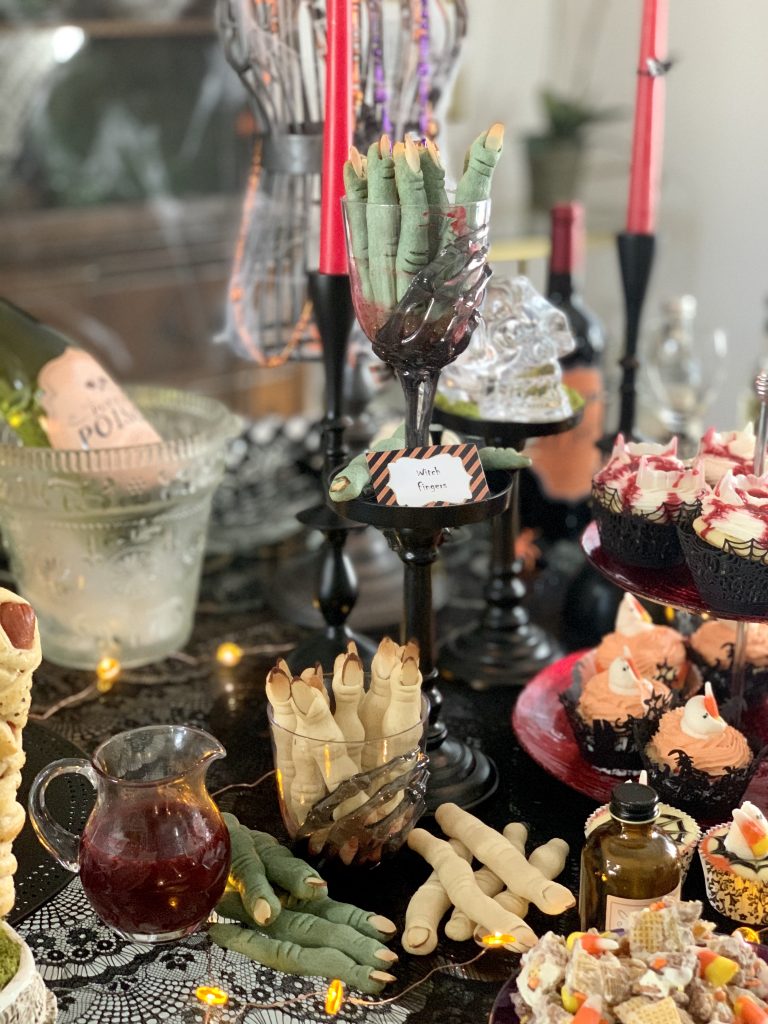
The childhood witch of my nightmares was a combination of The Wicked Witch of the West from The Wizard of Oz and the witch from Hansel and Gretel, courtesy of the Brothers Grimm. I always think of witch fingers as skinny, long and gnarly! And witches are much scarier than ghosts. Growing up a ghost costume was the easiest to pull together. Remember It’s The Great Pumpkin, Charlie Brown? Poor Charlie Brown, his costume was filled with holes and he always got a rock!
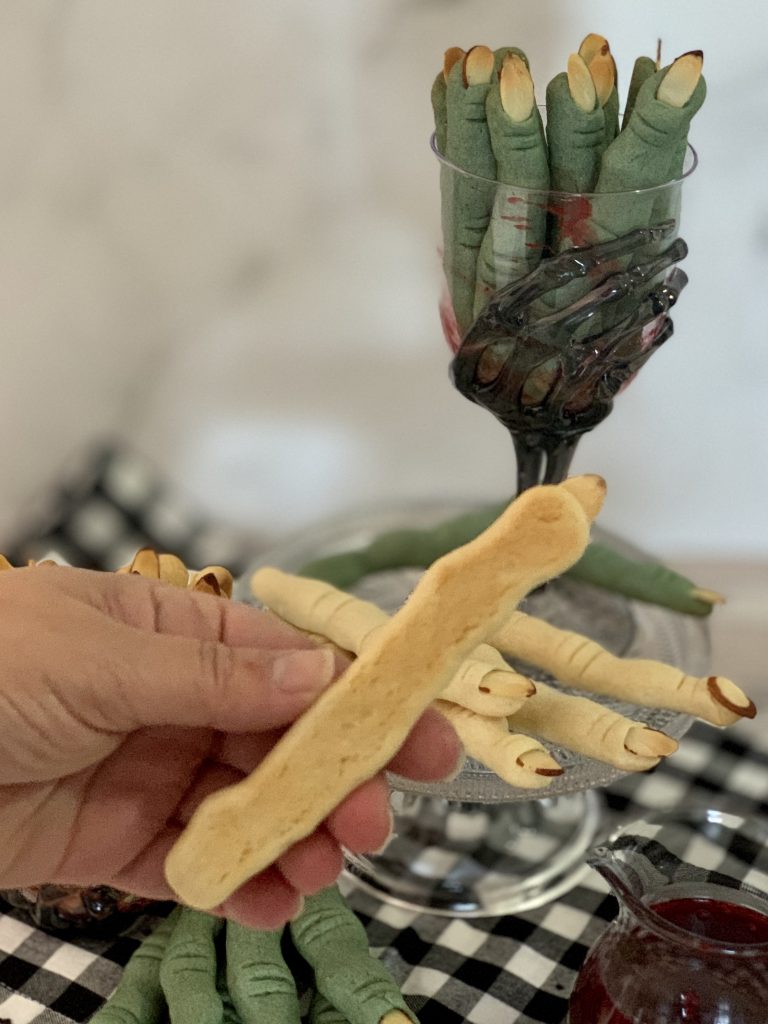
The creepy factor is what’s perfect about these cookies. They scare kids and adults alike to my delight! Don’t let their look fool you – they are delicious, buttery cookies dipped in a creamy sauce with a crispy sliced almond! The perfect sweet treat for any Halloween party! The “blood” is my Raspberry Grand Marnier Sauce, but if you are making this for a younger crowd, you can simply warm seedless raspberry or strawberry jam. You can serve the sauce on the side, dip all the fingers in the sauce to resemble dismembered fingers or do a combination of both. That sounds so wrong and creepy, but you will love the reaction you see and the compliments you get.
Start by whisking together the all-purpose flour, baking powder and salt in a bowl and setting it aside.
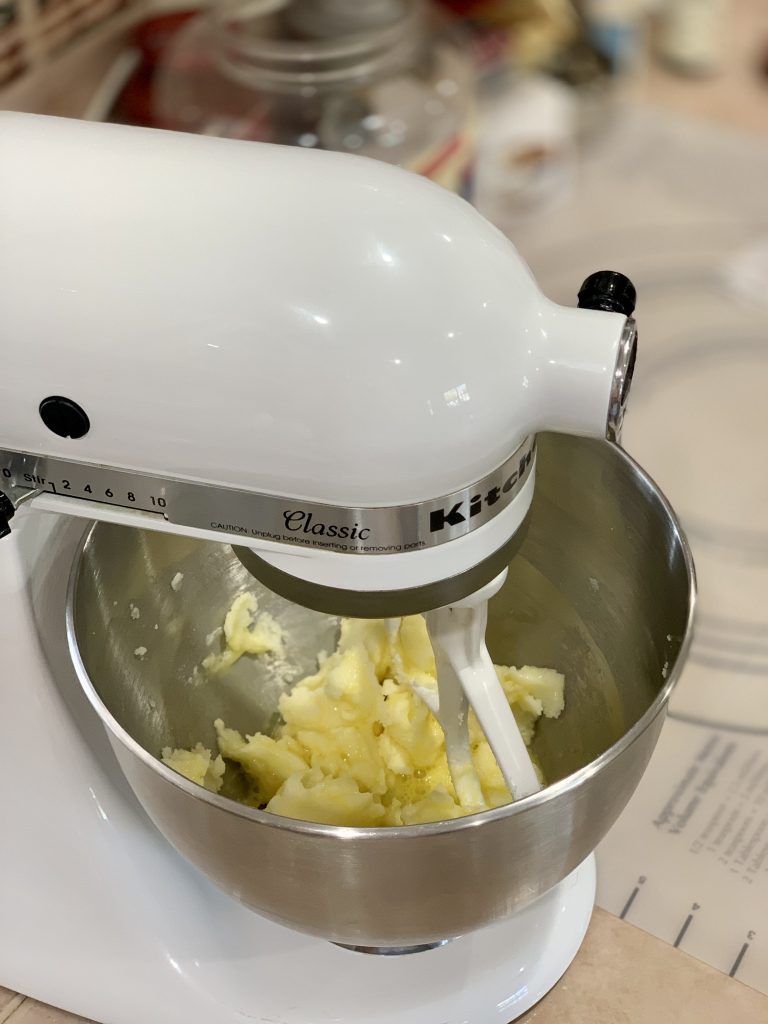
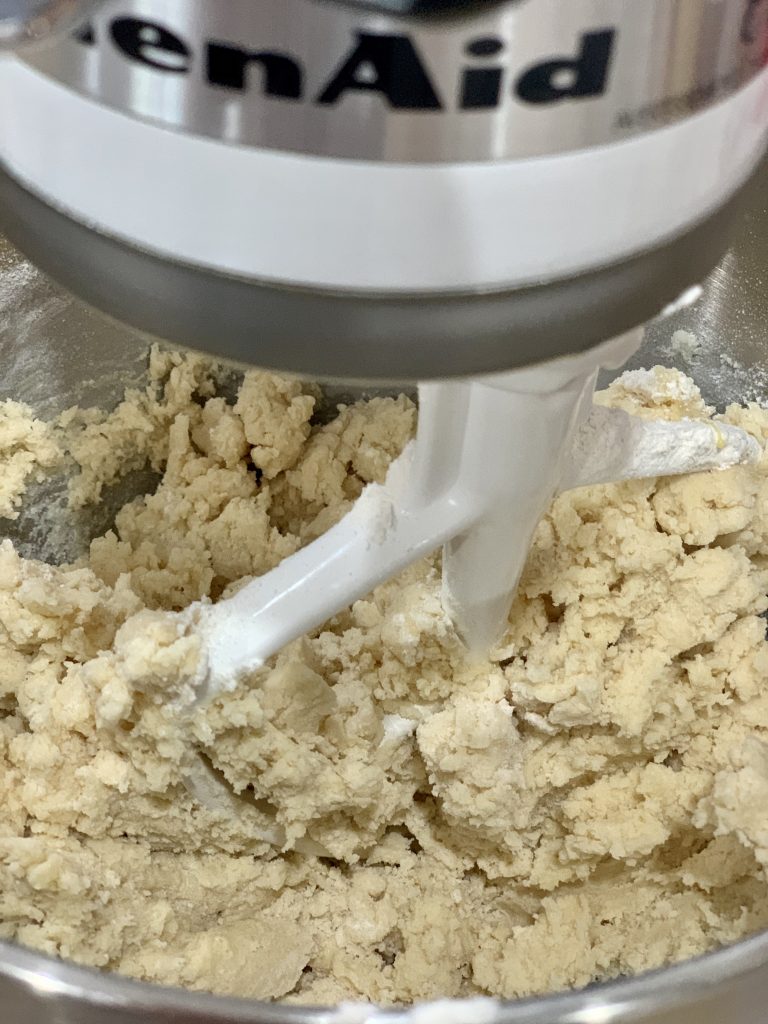
Cream room temperature butter and sugar in a standalone mixer fitted with the paddle attachment until fluffy and creamy, about 3 minutes. Add the egg, vanilla and either almond or butter emulsion. Mix to combine and gradually add the dry ingredients until a dough ball forms. Don’t over mix.
Note: Emulsions are water-based flavors that do not bake out under high heat. You measure them the same as an extract. LorAnn has the best professional emulsions.
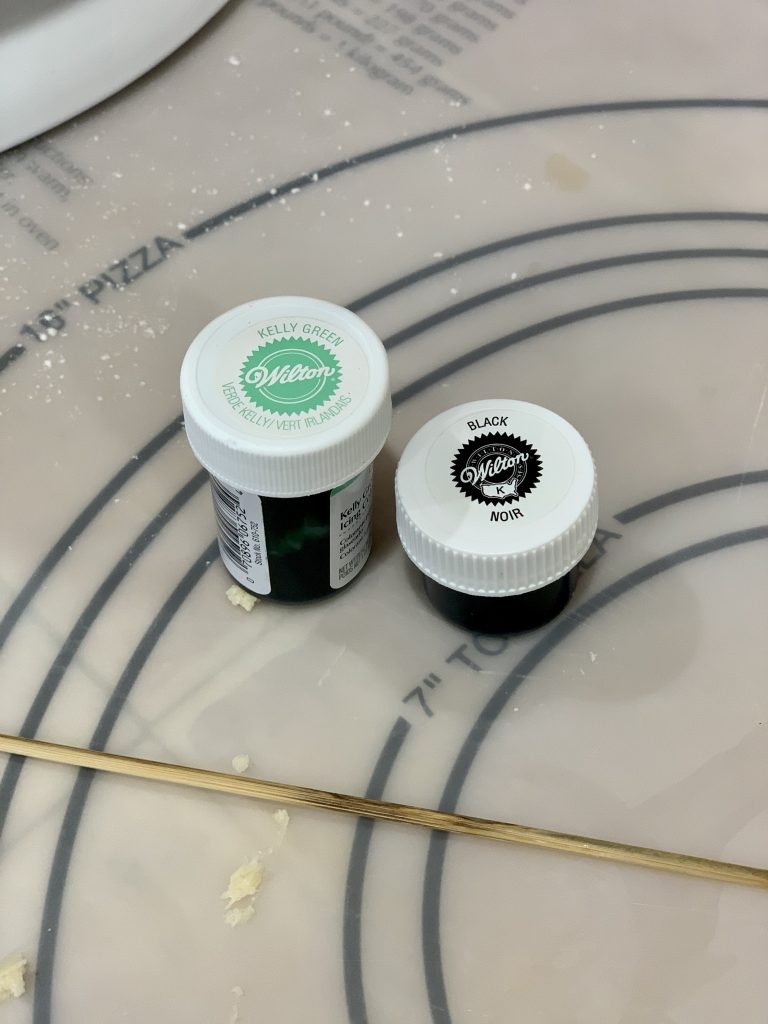
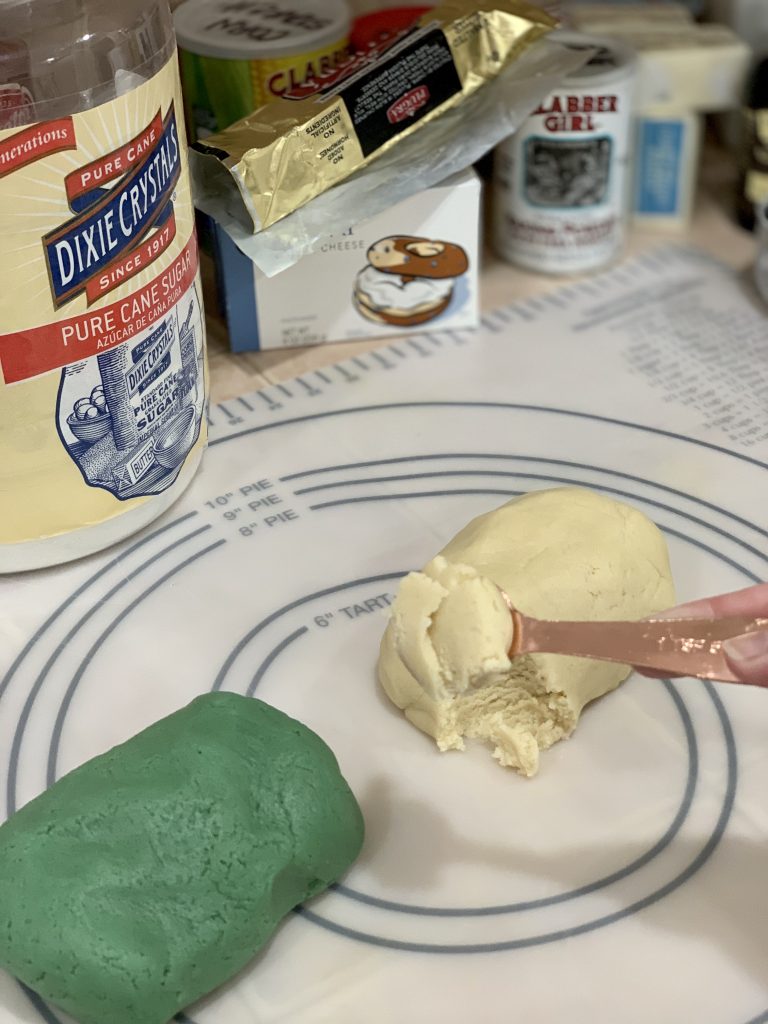
If you wish to make green witch fingers, now’s the time to add color. I like Wilton’s paste colors; they are easily found at any craft store and online at Wilton and Amazon. I used a wooden skewer to dab some green and a smaller dab of black. That gave me that dark ash green, witchy color.
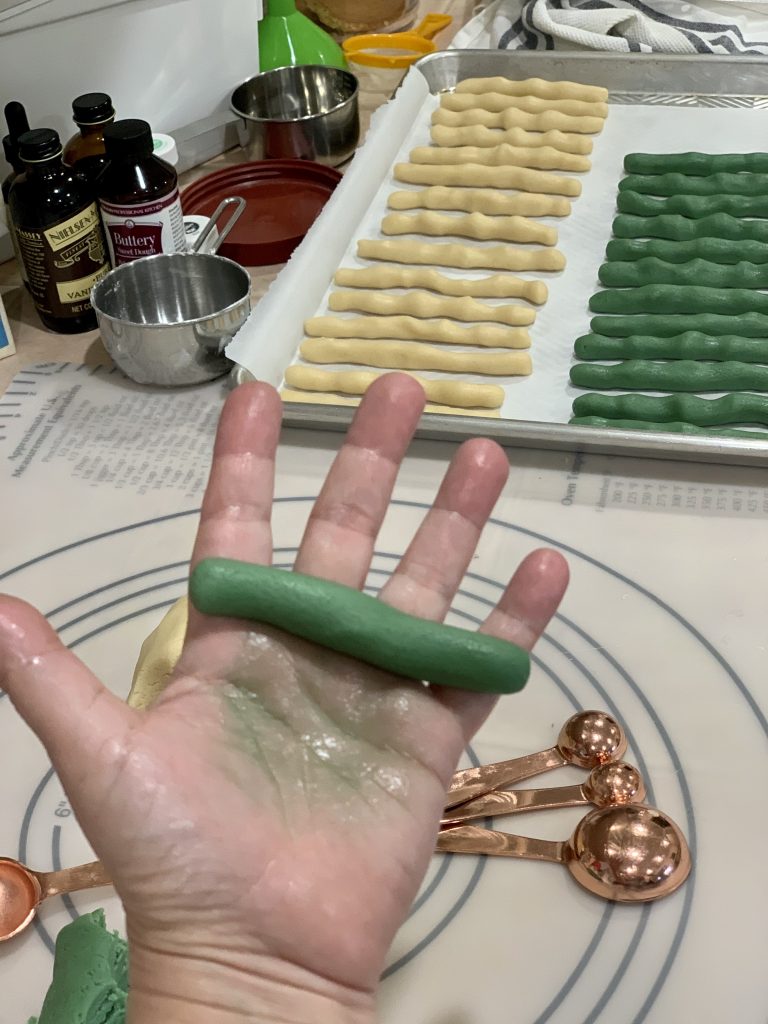
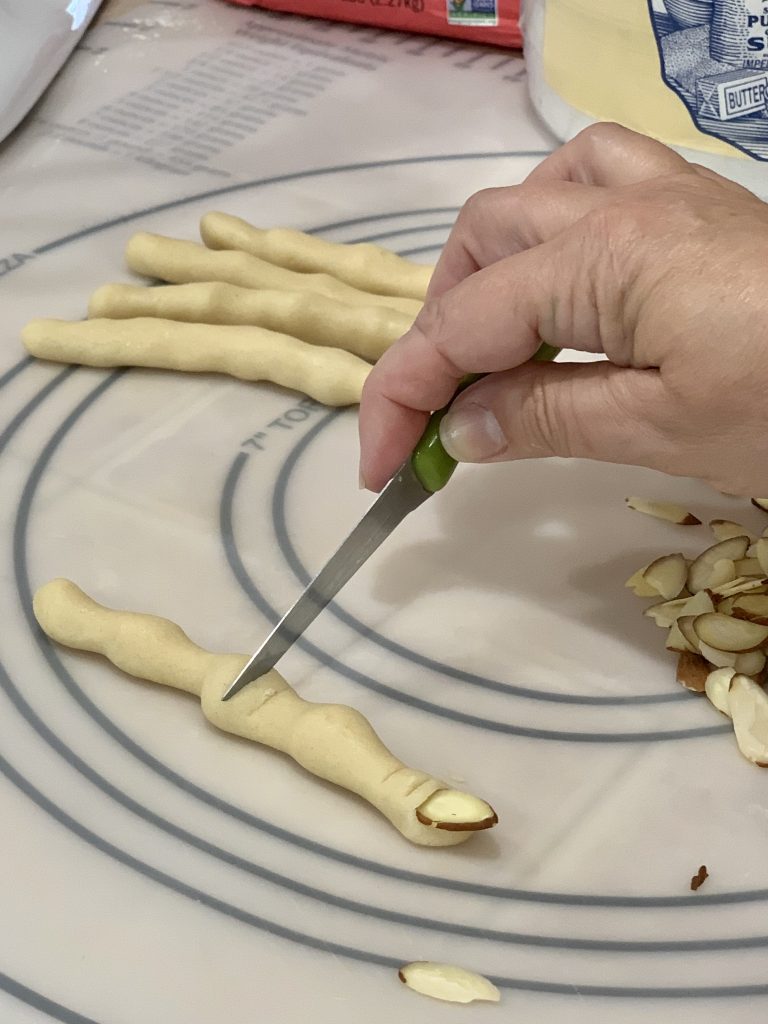
Using a teaspoon measurement as a general guide, scoop the same amount of dough per cookie. Place it in your palm and rub your palms together to elongate the dough. Push it toward your fingers to get the gnarly knuckles. Roll out all the dough into witch fingers, add the sliced almond nails and make the knuckle markings. Place them on a baking sheet and pop them in the freezer for 15 minutes. I was able to make 42 cookies. Note: Use a small pairing knife to make knuckle indentations into the fingers. I make two above the nail, three in the center and two again on top.
The cookies will spread when baking so it’s important you don’t shape them wide. If you do, you’ll end up with troll fingers (been there, done that). I find that pinching the sides after making the knuckle markings helps a great deal in keeping them from spreading.
Preheat oven to 350°F and prepare another baking sheet with parchment paper. Baking in batches, transfer 14 fingers from the freezer onto the baking sheet and bake until the bottom is a light golden color, about 13 minutes.
Note: Depending on your oven and thickness of cookie dough, your cookies may take less or more baking time. I suggest testing two or three cookies to see the correct timing for your batches.

Witch Finger Cookies
These creepy witch fingers will be the garish delight of your all your guests. They look rather realistic with not much effort. You can dip in raspberry or strawberry jam for a bloody effect.
Ingredients
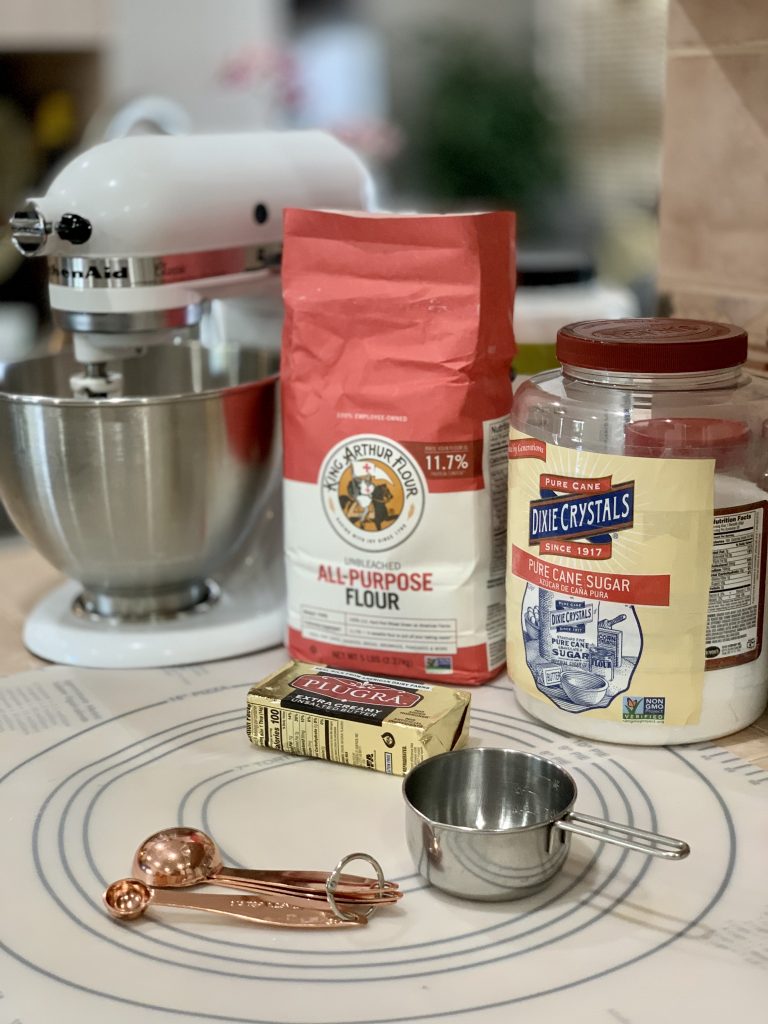
- 2½ cups all-purpose flour
- ¼ teaspoon baking powder
- ¼ teaspoon kosher salt
- 1 stick unsalted butter, room temperature (1 cup)
- 1 cup granulated sugar
- 1 large egg, room temperature
- 1 teaspoon vanilla extract
- ½ teaspoon almond or butter flavor emulsion prefer LorAnn brand
- 1 dab each of green and black food coloring, optional prefer Wilton brand
- sliced almonds
- Raspberry or Strawberry Sauce or Jam
Instructions
Witch Finger Cookies
-
In a mixing bowl, combine the all-purpose flour, baking powder and kosher salt. Set aside.
-
Using a stand mixer fitted with the paddle attachment, cream together the unsalted butter and granulated sugar for about 3 minutes until fluffy and creamy. Scrape the sides midway.
-
Add the egg, vanilla extract and emulsion to the butter mixture and beat until combined. Scrape the sides midway. If you don't have an emulsion, you can leave it out.
-
Gradually add the dry ingredients to the butter mixture until a dough has formed.
Note: If making green witch fingers, roughly divide the dough in half. Using a wooden skewer, add a dab of green and a smaller dab of black Wilton food color to the dough and mix until you have the desired dark ash green witch color. Don't over mix.
-
Use a teaspoon as a guide to scoop even amounts of dough to form the fingers, but not a level teaspoon amount. Roll the dough between your palms (like rubbing your hands) to roll out the dough shape it into fingers. If you want gnarly knuckles, extend the dough to your fingers and the dough will capture those indentations. Shape one end like a finger tip, and indent an almond slice. I was able to make 42 thin finger cookies.
-
Use a knife to make indentations into the cookie to resemble the knuckle markings. Mark 1-2 above the nail, 3-4 for the knuckles and 2 at the top. The top doesn't need to be shaped, they can have rough edges to resemble dismembered fingers. This end will be dipped in sauce or jam. After making the knuckle markings, pinch the sides if the fingers were flattened when making the knuckle marks.
Note: Fingers don't need to be uniform. Fingers can be of different lengths and even broken fingers can be creepy.
-
Shape all the fingers at once, place them on a parchment lined cookie sheet and freeze for 15 minutes.
Note: Freezing the fingers helps solidify the butter so the cookies don't spread out as much during the baking process.
-
Preheat the oven to 350°F. Baking in batches, transfer 14 cookies at a time from the freezer onto the parchment lined baking sheet. Bake until lightly golden, about 13-14 minutes.
Note: Depending on your oven and actual thickness of your cookies, baking time may vary.
-
While one batch is baking, keep the other fingers in the freezer. Transfer the fingers to a wire cooling rack.
-
Only dip the fingers in the raspberry or strawberry sauce if serving immediately to prevent sogginess.
Note: You can make the dough a week ahead and freeze. When ready to shape the fingers, thaw overnight in the refrigerator. Baked cookies can be stored in an airtight container for a few days before enjoying.
Raspberry or Strawberry Sauce
-
If you wish to make a fancier sauce, my Raspberry Grand Marnier Sauce works perfectly with these cookies. If this is only for a child's party, simply warm up about ½ cup of seedless raspberry or strawberry jam for a few minutes.
Recipe Notes
Adapted from Giada DeLaurentis Food Network Witch Finger Cookies
HACK: Use Pilsbury sugar cookie dough to shape the fingers. Don’t forget the sliced almond as nails. Freeze for 15 minutes then bake according to package instructions. Heat some raspberry or strawberry jam. They may not look exactly the same, as they may spread some more, but it’s an easy semi-homemade hack.


