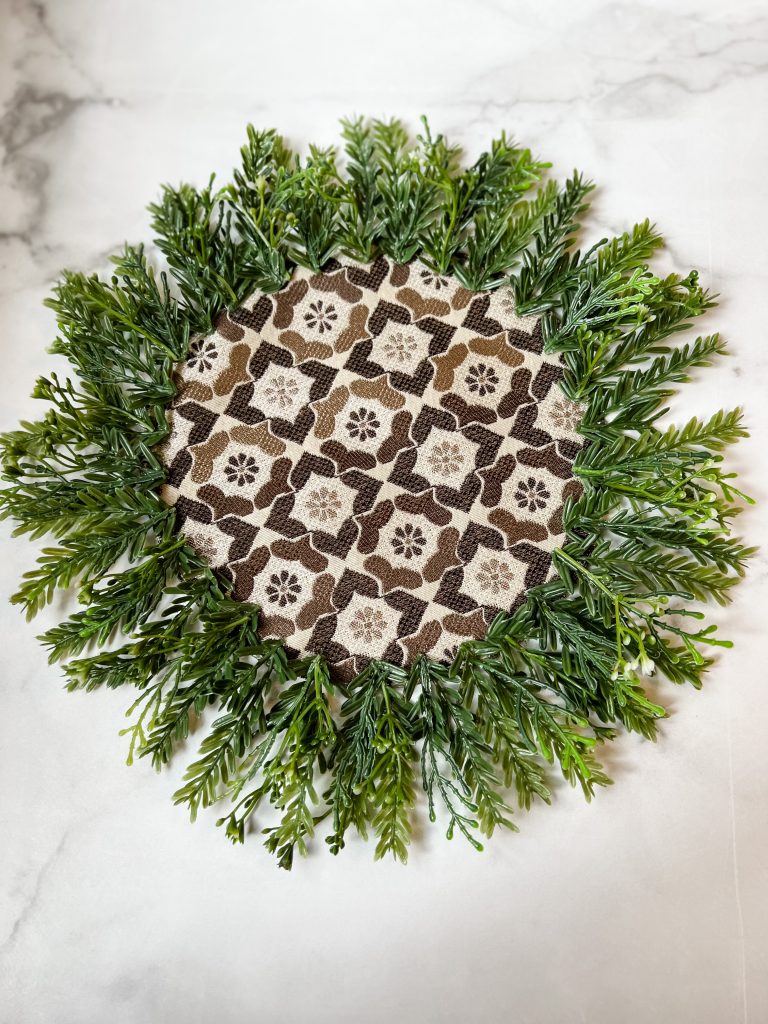
I’ve been searching for nice faux greenery placemats for some time now, and not finding any I liked, I decided to make my own. As with most of my DIY projects, I get an idea in my head and I just go for it. If I don’t like the outcome, I start over or scrap it, but at least I tried. Usually, I’m very happy with the outcome and this time around, I was thrilled with the finished product. It added a wonderful pop of green color and texture – bringing the garden inside and onto my table.
DESIGN & FUNCTION
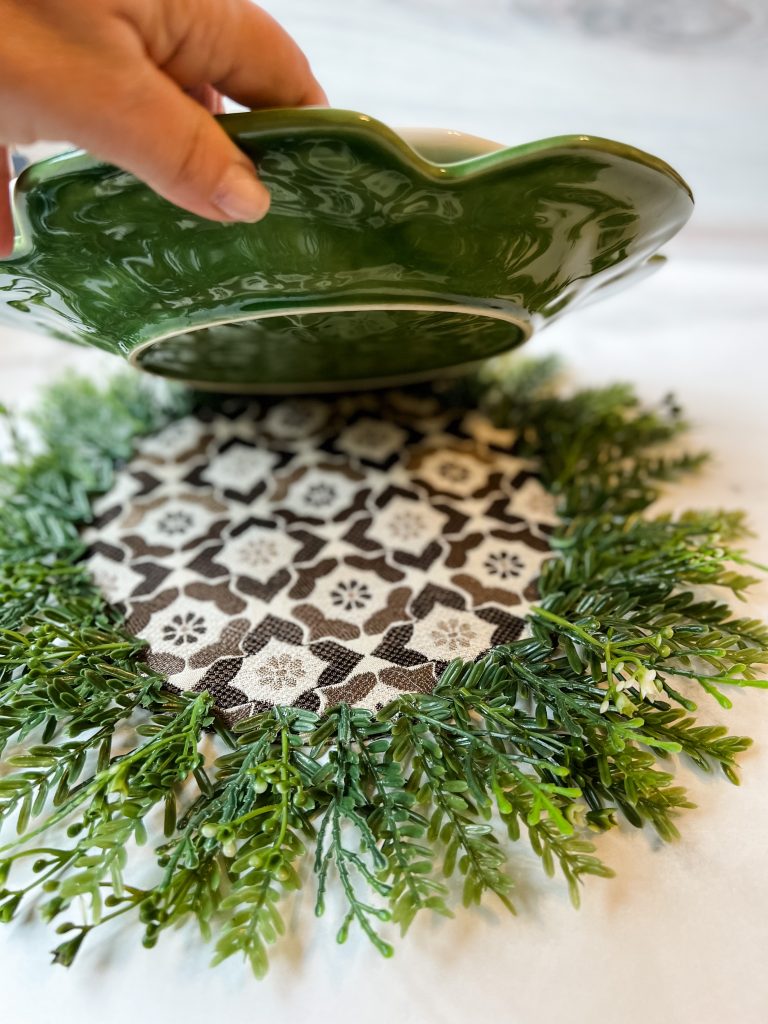
I had previously purchased faux fern placemats at Michael’s thinking they would work. They were completely covered in faux fern and the bulky plastic made the dinner plate wobbly. Who wants a wobbly dinner plate when you’re trying to cut your food? It’s an accident waiting to happen. I knew I needed to set a charger or dinner plate firmly on the table so the center needed to be flat and free of any greenery. I felt a thick fabric would serve me best and hold up to all the glue and greenery around the edge.
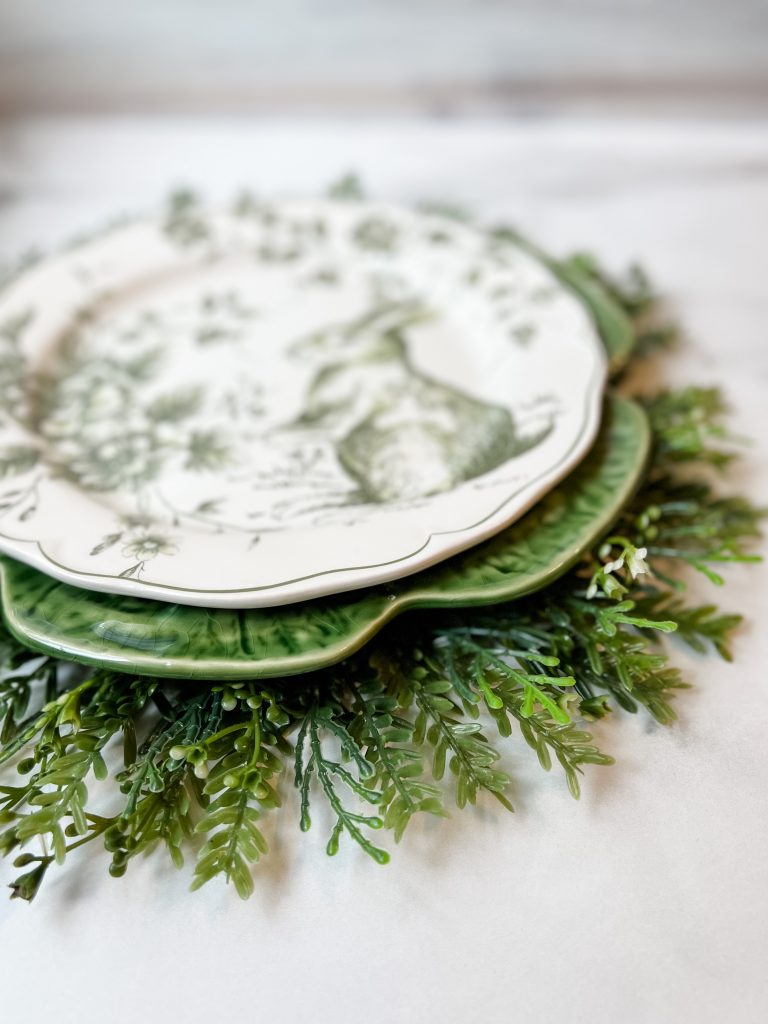
Shown below is a Bordallo Pinheiro dinner plate with a Maxcera Green & White Toile Bunny salad plate and you can’t see the brown fabric. If I set a charger plate first, you’ll see less greenery as charger plates are usually 13 inches. You can see them here in my Peter Rabbit Tablescape.
SUPPLIES
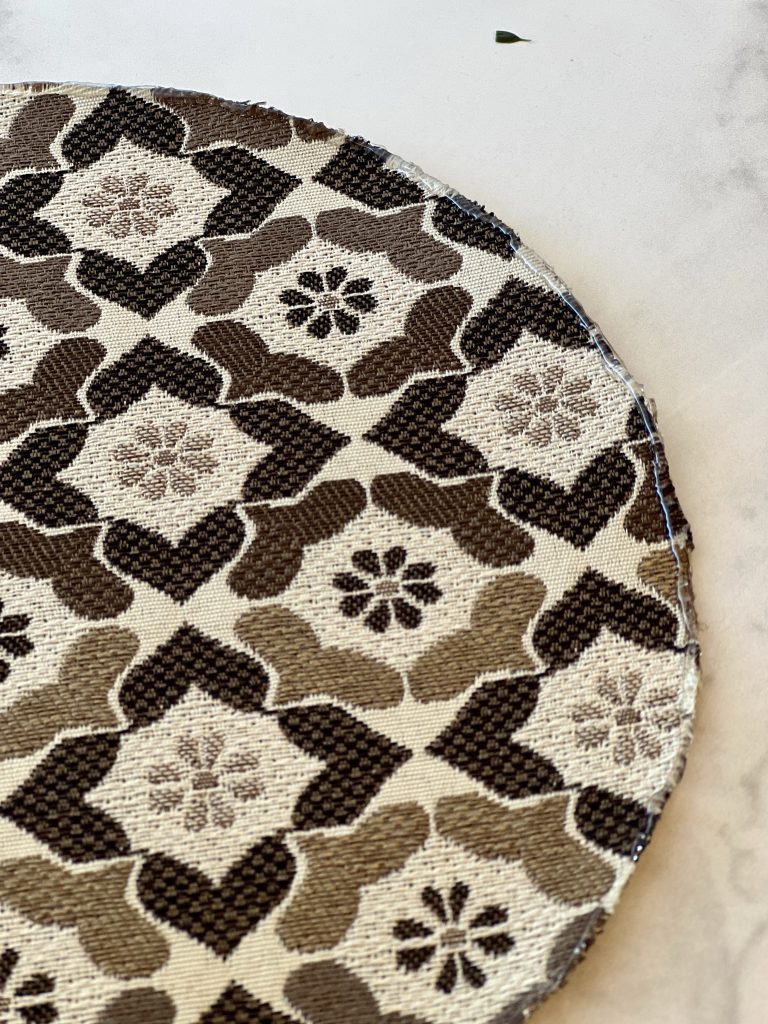
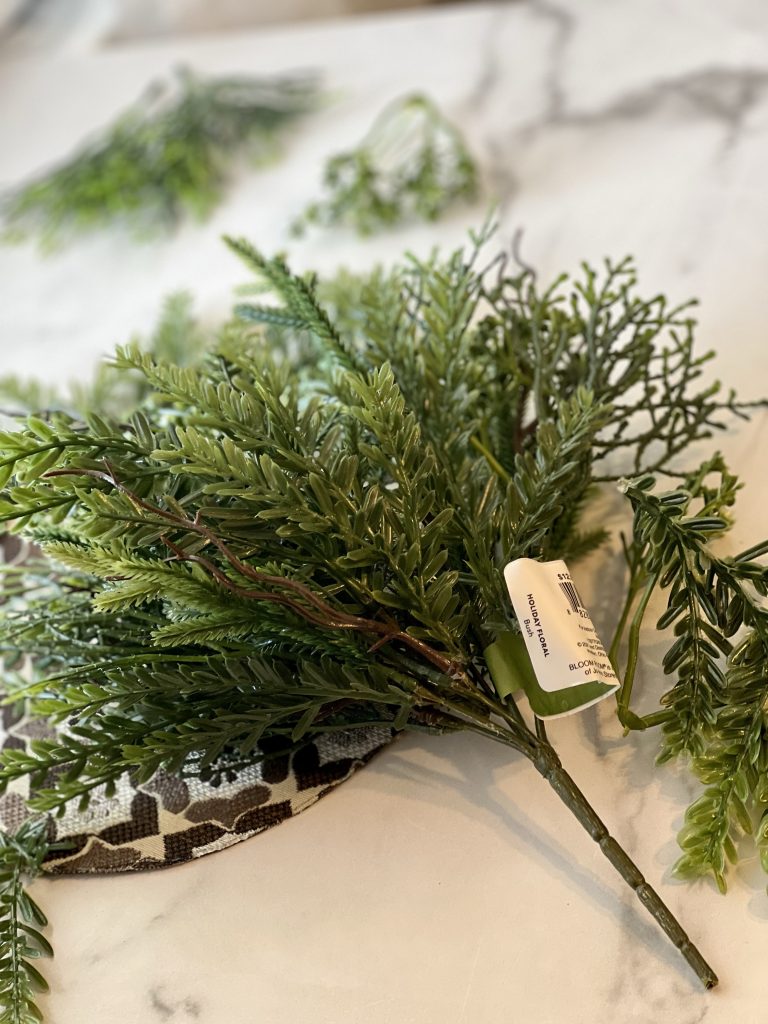
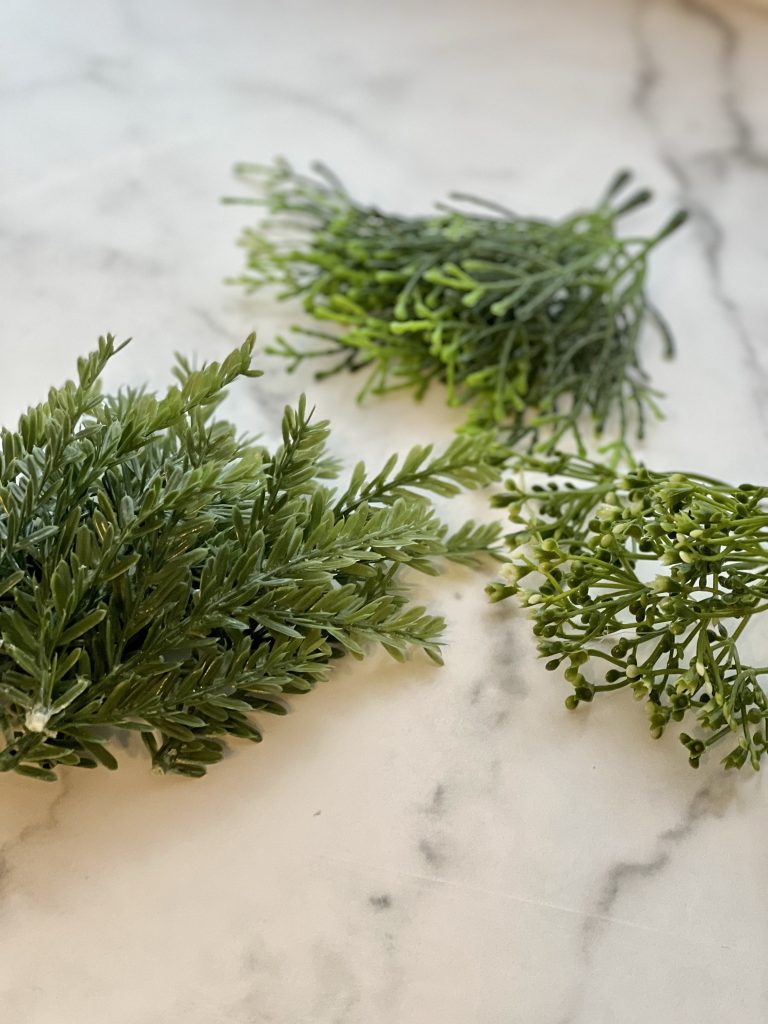
I went to JoAnn Fabrics after Christmas to see what materials were available. I was looking for a thick fabric, and lots of greenery floral picks. I was able to find an inexpensive remanent, about 1/2 yard, and 10 green floral picks. I had a glue gun and plenty of glue sticks at home. My supplies, with after-Christmas sales and discount coupons, came out to about $30 dollars. While the fabric pattern isn’t my preference, it will be covered by a charger or plate so I didn’t worry about it.
HOW I MADE THEM
I started out by tracing the base of a charger plate on a piece of paper to get an exact measurement of the diameter of the placemat, allowing about an extra 1/4 inch to glue down the greenery. Now that I had a pattern, I cut out 8 circles. I’ll use the remaining materials to make a table runner. To prevent the fabric from fraying, I added a bead of hot glue around the edge. This was a huge time-saver as I didn’t want to take the sewing machine out. If you don’t have a sewing machine, you don’t need one! The bead of hot glue worked perfectly and sealed the edge! Let the glue cool before you handle and begin to add the greenery.
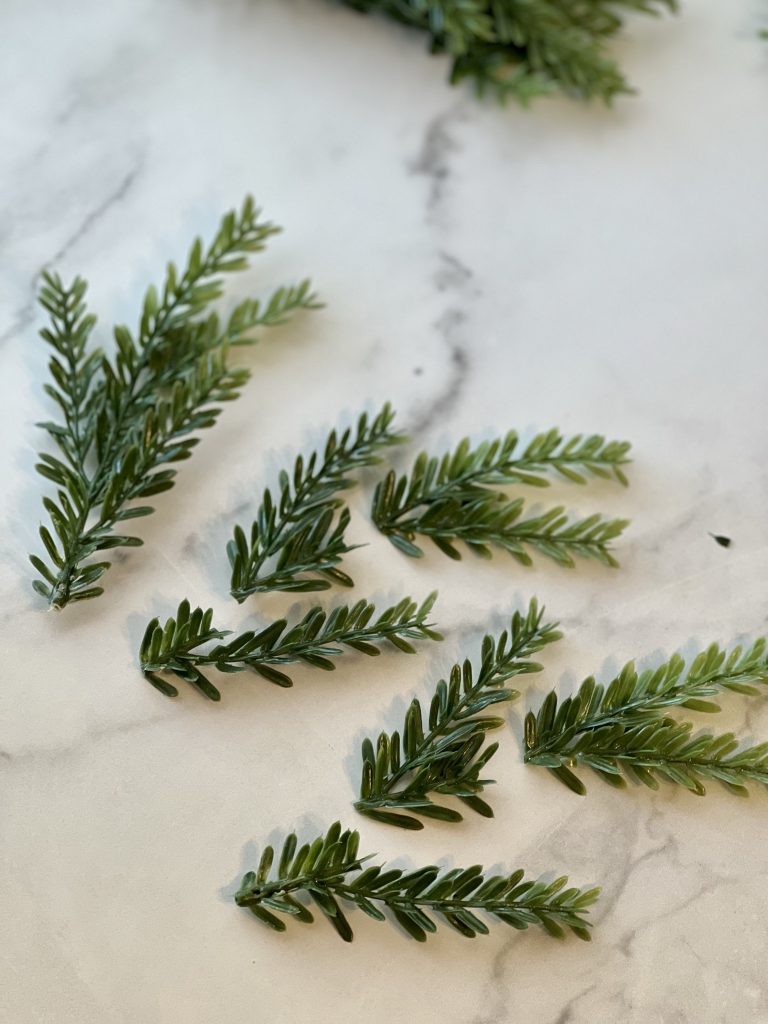
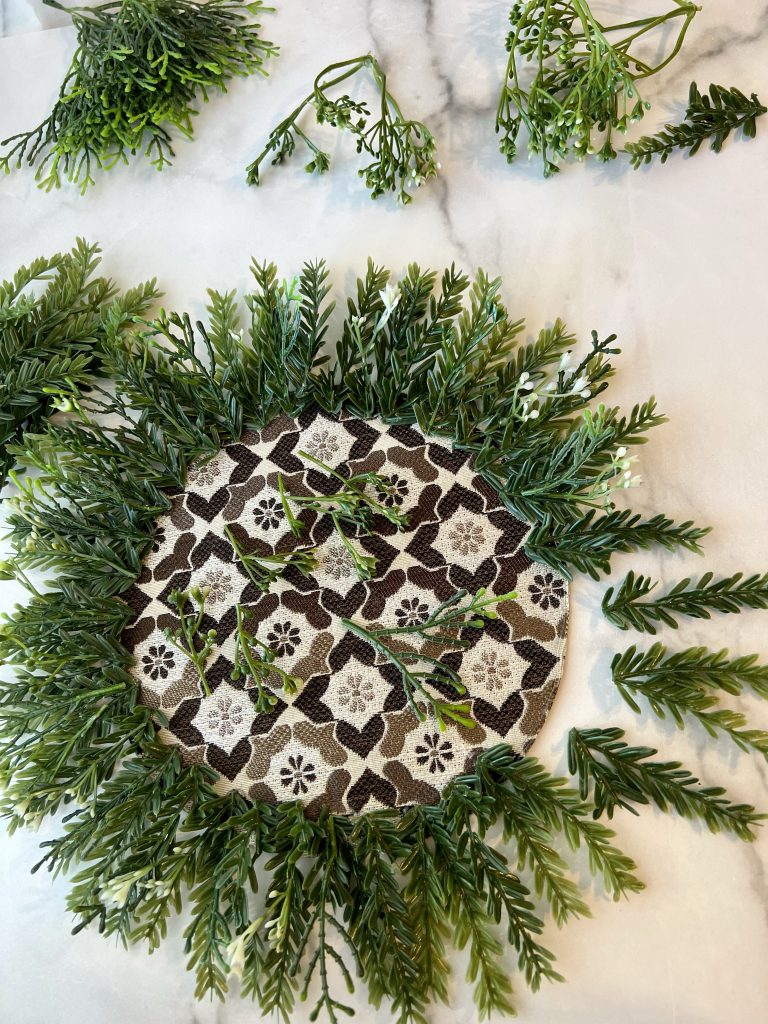
I removed the greenery from the floral picks, sorted and trimmed them. I laid down the thickest greenery first to create a lush base and used the other pieces to fill gaps and add texture by glueing them onto the base greenery. Ten floral picks yielded 8 placemats because I used only three types of greenery on the picks. I saved the rest for another project. You will need to determine how many picks you need for your project. It’s better to err on the side of caution and purchase extra picks and return the ones you don’t need later. Murphy’s Law: When you go back to buy more, they are out!
As you can see, this was not difficult. It only required a little patience to cut, place and glue the greenery in a uniform pattern. I’m so happy I didn’t burn myself with the hot glue this time around.
These placemats are so versatile, you could use them in many tablescapes including garden, Mother’s day, Spring and other themed ideas! I plan to use these often. I hope you enjoyed my little no-sew project! Please leave a comment below and let me know how yours turned out.


2 comments
I love these, such a great idea and so much cheaper than buying them already made.
Right? I was very happy with them.