How cute are little nest egg cups sitting on top of a cupcake and filled with candy robin eggs? For years I’ve wanted to make them, but never really gave it a go. This year I went for it and MacGyvered the nests. Is that even a word? I’m not a baker and this was my first attempt, but it worked for me and I was happy with the results. I hope you try it and have fun creating nests for Easter or just for fun with the kids.
HERE’S HOW I MADE THEM
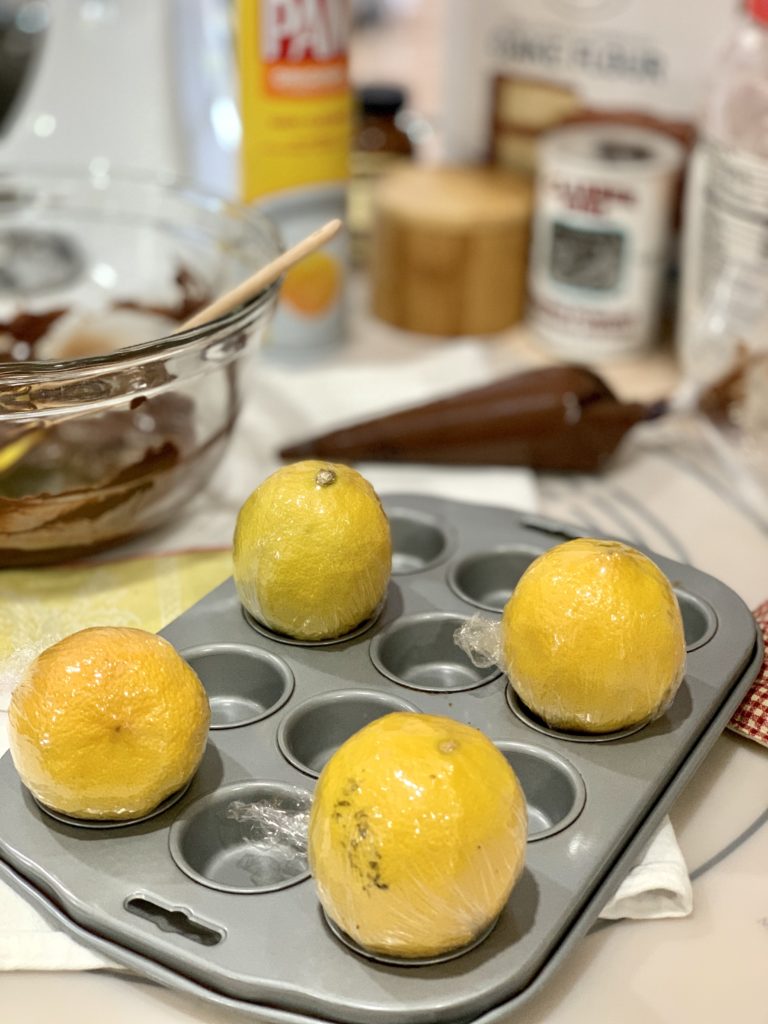
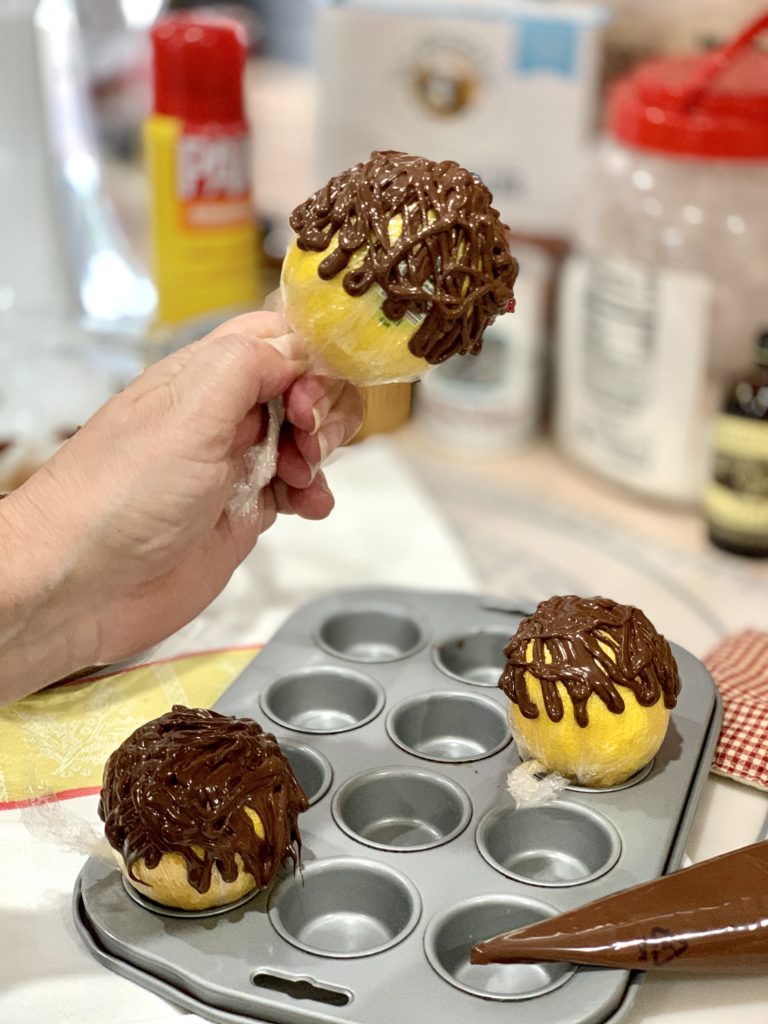
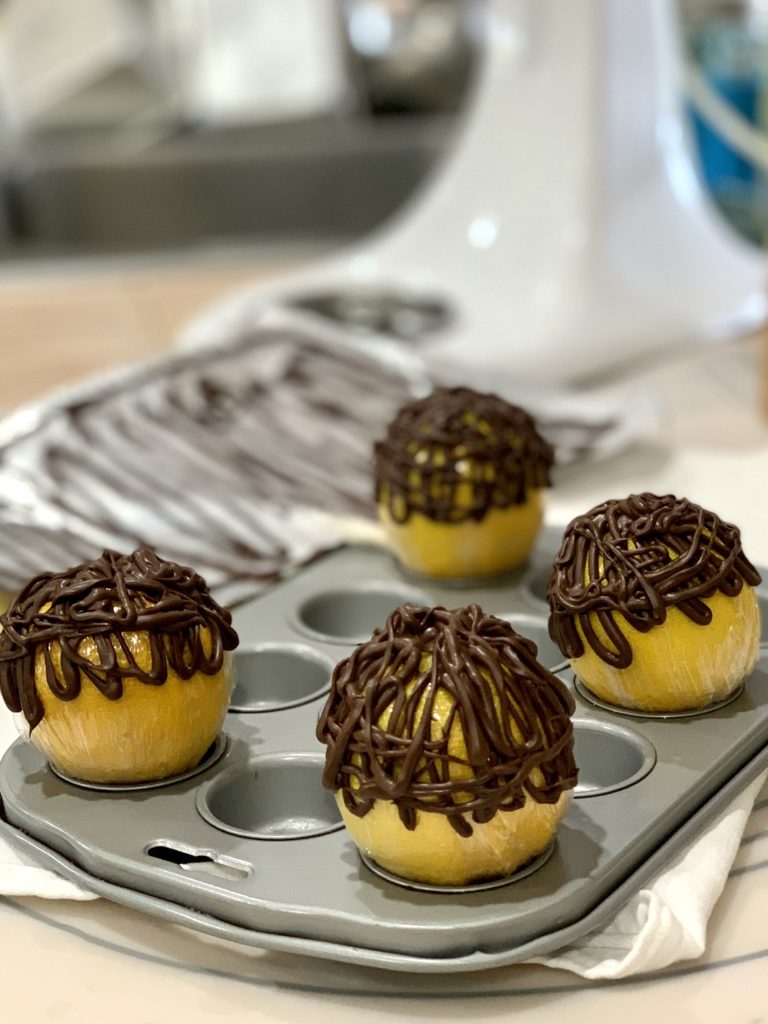
Determine how big or small you want the nests to be. I used a standard lemon, but you could use an egg or other small round object. I wrapped the lemons with plastic wrap, lightly coated with non-stick cooking spray (Pam made with canola oil) and rubbed the oil evenly around the lemon. I set them aside on a cupcake baking tin so they can sit upright.
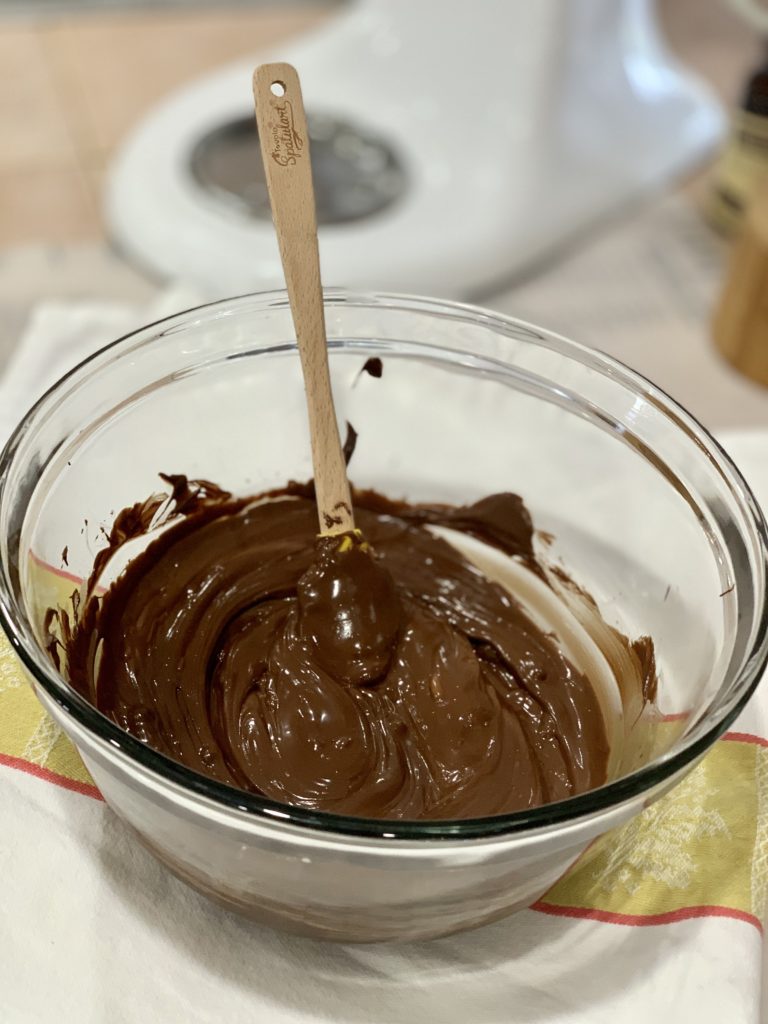
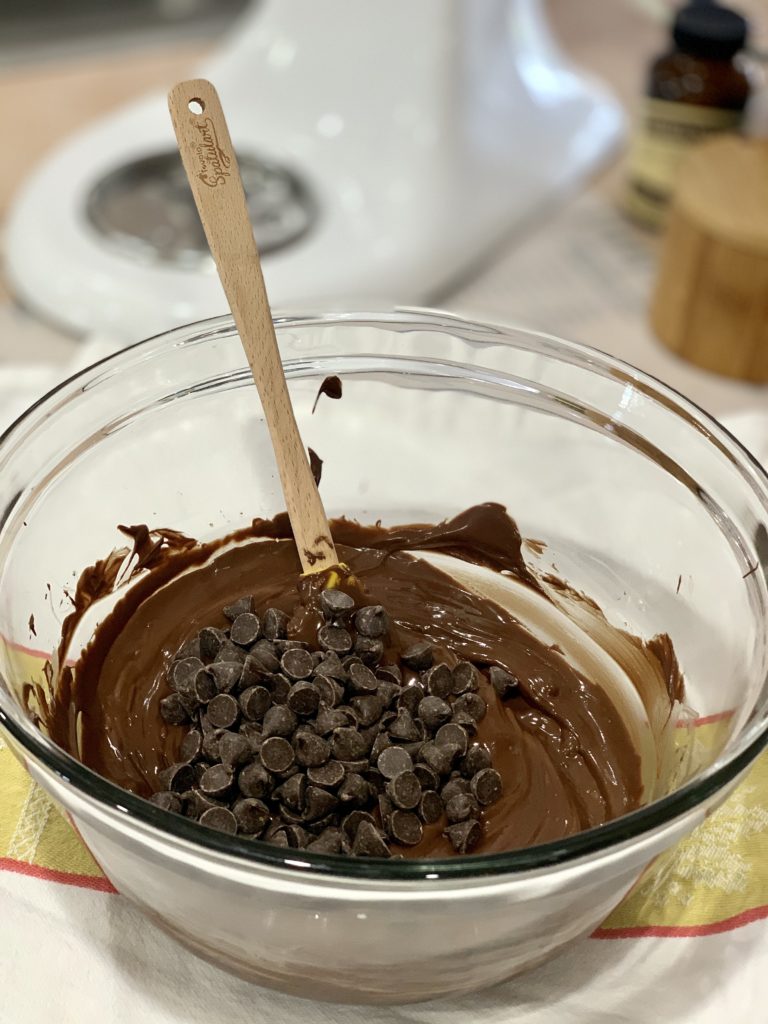
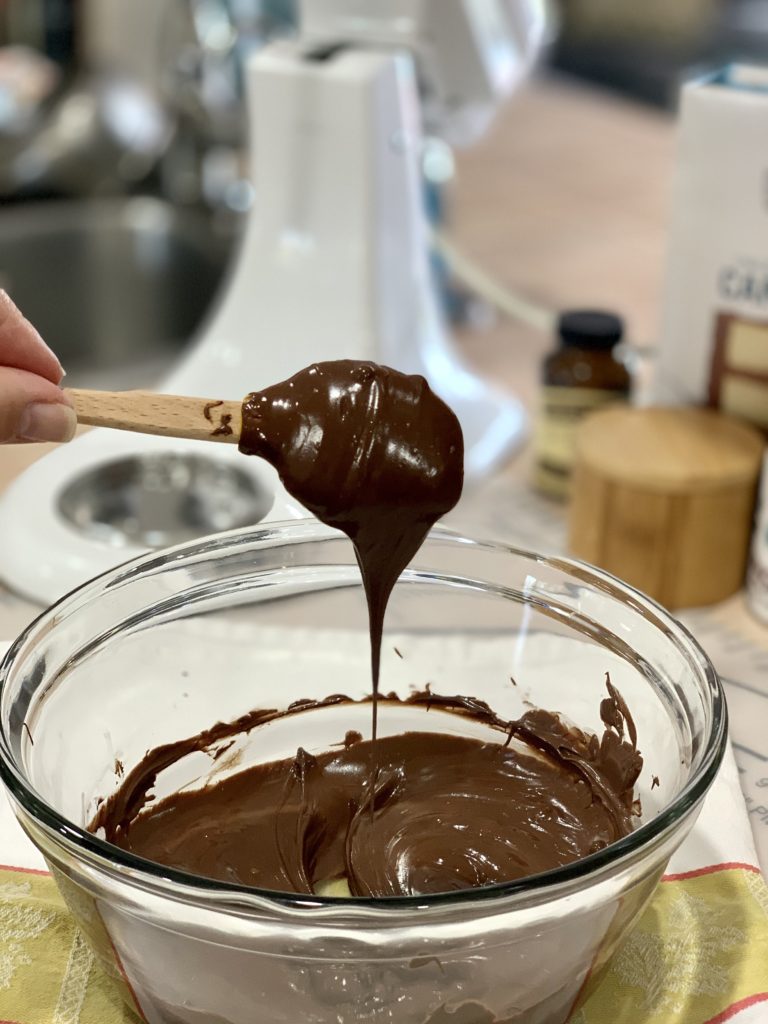
Melt two-thirds of a bag of Ghirardelli semi-sweet chocolate chips over a double-boiler just until the chocolate is melted. Remove from heat and add the remaining chocolate chips. Stir until the chocolate has melted and blended in. This was my tempered chocolate. I didn’t use a candy thermometer or traditional techniques for tempering my chocolate and it worked for me so I was pleased and clean-up was easy.
Chocolate and Double-boiler Tips: As Mary Berry says, “chocolate melts in a child’s pocket” so you only need a double-boiler and some steam to melt chocolate. Set a pot on the stove, add about an inch or so of water and bring to a boil. Reduce heat to a low and gently simmer the water. Place the glass bowl over the water and melt the chocolate, stirring occasionally. As soon as the chocolate has meted and it’s smooth and shiny, remove it.
Note: You don’t need to purchase a double-boiler. You can make one yourself by using a glass bowl that fits well over a pot. Make sure the glass bottom doesn’t set in too deep into the pot. If the water touches the bottom of the glass bowl, it can burn the chocolate and you’ll need to start over.
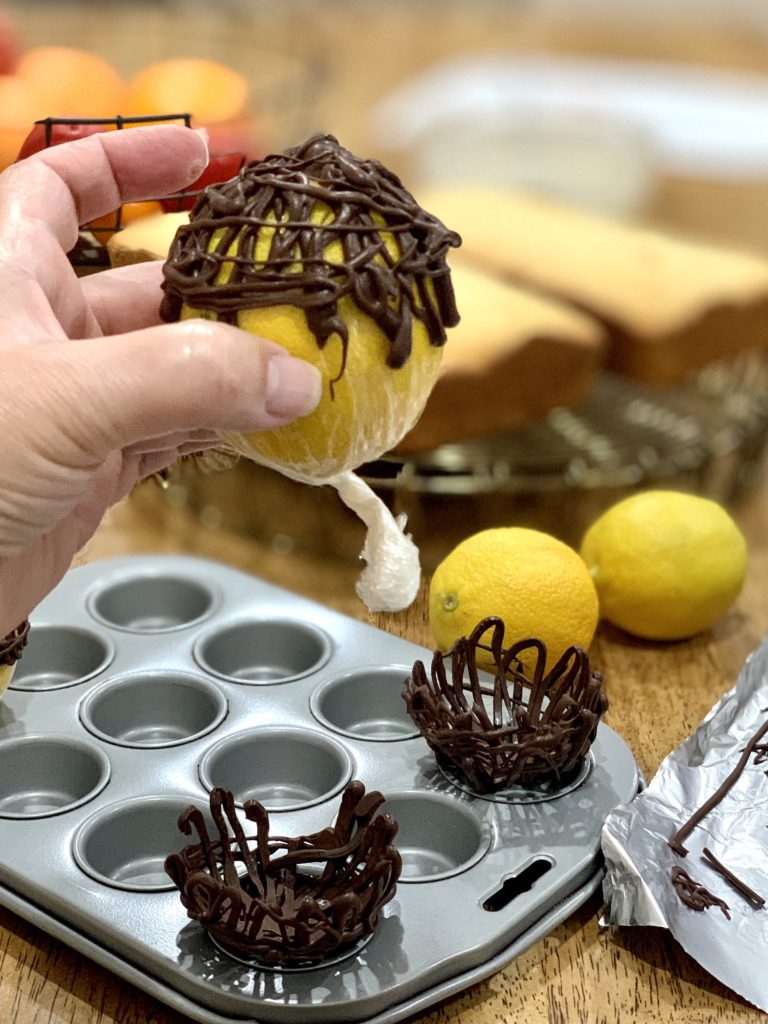
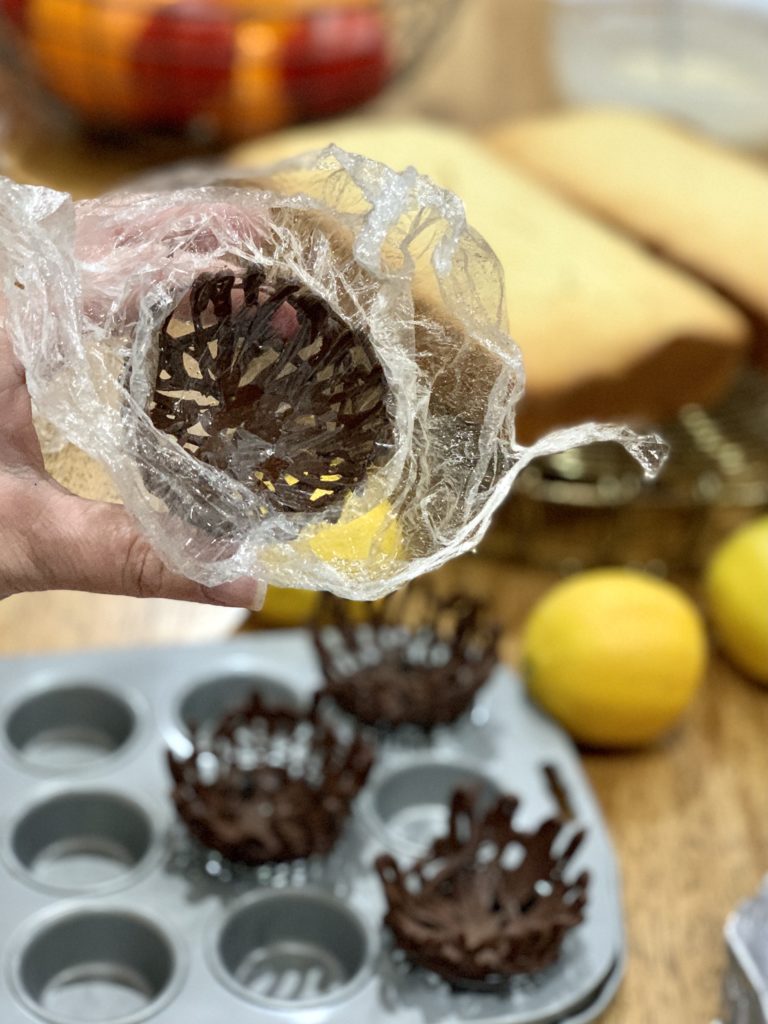
Tempered chocolate hardens quicker than non-tempered chocolate so you need to move quickly. Transfer the chocolate to a piping bag, snip the tip and begin. Working quickly, pipe the design you want on the lemon. I made loops from the top of the lemon toward the middle as I rotated the lemon, then a few loops or zig-zags around the lemon. Each one came out different, but then again, no two nests are the same. Since I ran out of lemons, I also drew some long chocolate lines on non-stick foil (parchment paper also works). Set the nests upright on a cupcake baking tin to dry. Tempered chocolate dries around 5-8 minutes. I set mine aside and returned 10 minutes later. I broke up the lines into “twigs” and began to remove the chocolate nests from the plastic wrapping.
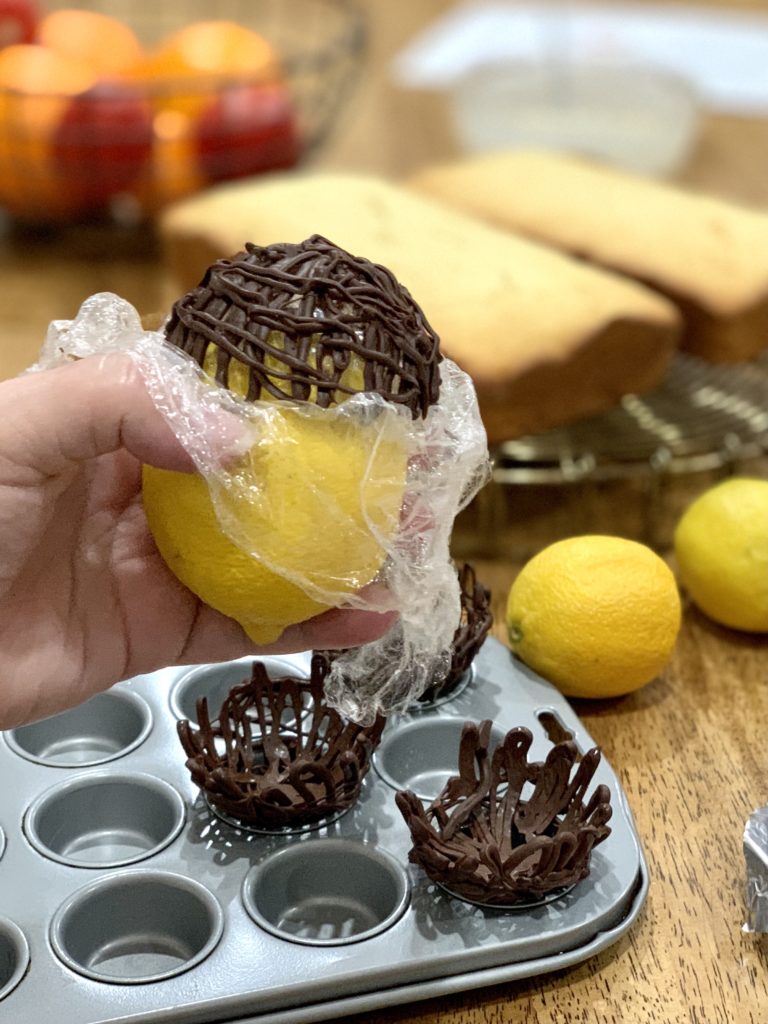
Now comes the tricky part. Carefully remove the lemon from the baking tin by the sides and loosen the plastic wrap. Gently slide your fingers under the plastic and begin to wiggle the lemon loose until it releases. You need to apply very light pressure around a few spots to nudge the nest to release from the lemon. If the pressure is too strong or on just one side, the nest can snap. In the pictures below you can see a missing section. Nothing a twig or frosting can’t fix later. Once the nest releases from the lemon, peel off the plastic wrap and set them back on the baking tin.
They are fragile so if you are not using them right away, place the baking tin in a cupboard or secure location. I made mine a week ahead and kept them in a cool cupboard without any issue.
These cupcakes came together quickly because the nests, twigs and the buttercream frosting were made ahead of time. I simply baked the cupcakes and decorated. They look very festive and I’m happy with both the nests and the twigs. These adorable cupcake baking cups are from HomeGoods.


