Poached eggs are magnificent. They are so versatile – from Eggs Benedict, to a salad or on a burger. You can add a poached egg to just about any meal. The warm egg yolk is rich and creamy, like velvet. There are a few ways to ensure your eggs come out perfect every time. While the “vortex” method may work for a poached egg, when you need to poach at least four eggs at once, it’s not practical. I’ll show you how I make my poached eggs, perfect every time.
HOW TO MAKE POACHED EGGS
Use eggs straight from the fridge. Cold eggs hold their shape better than room temperature eggs.
Start with fresh eggs. Check the date on the box. Fresh eggs are the best for poaching, leave old eggs for scrambling or boiling. Most of us go once a week to the grocery store. If you’re like me, you transfer your eggs to a special container in the refrigerator and toss the egg box. Here’s a quick test to see how fresh your eggs are.
The Fresh Egg Floating Test: Add an egg to a glass of water, and…
If the egg sinks to the bottom, it’s fresh.
If it doesn’t reach the bottom, it’s about a week old.
If it floats in the middle, it’s 2-3 weeks old.
If it stays at the top of the glass, it’s 3 weeks or older.
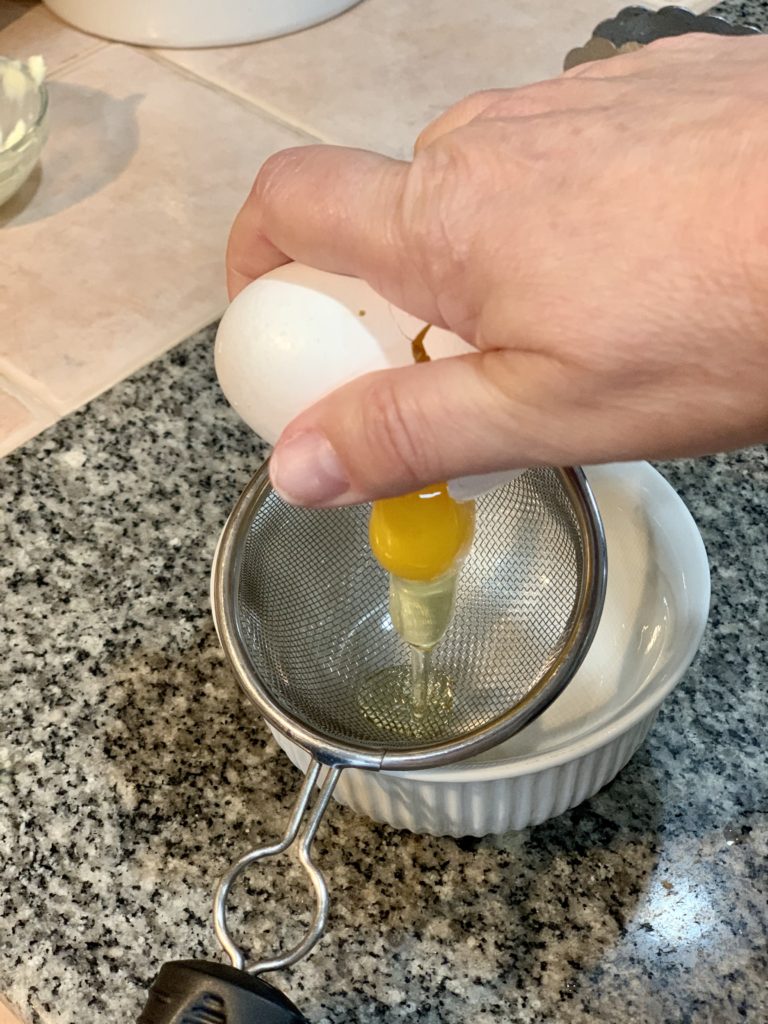
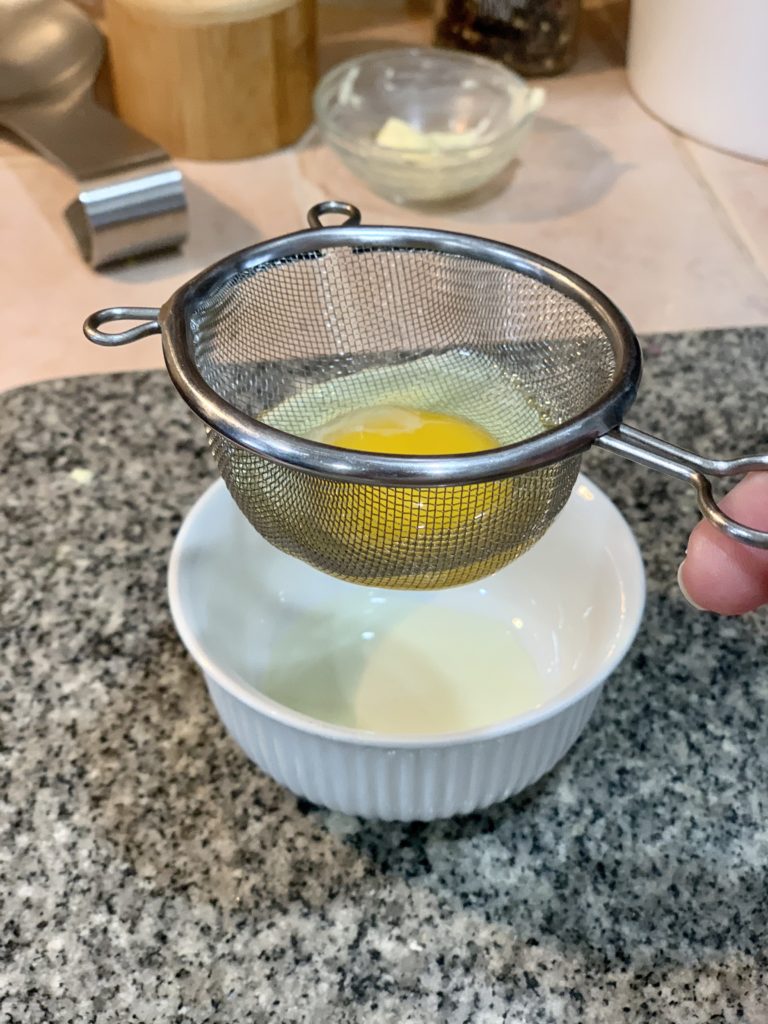
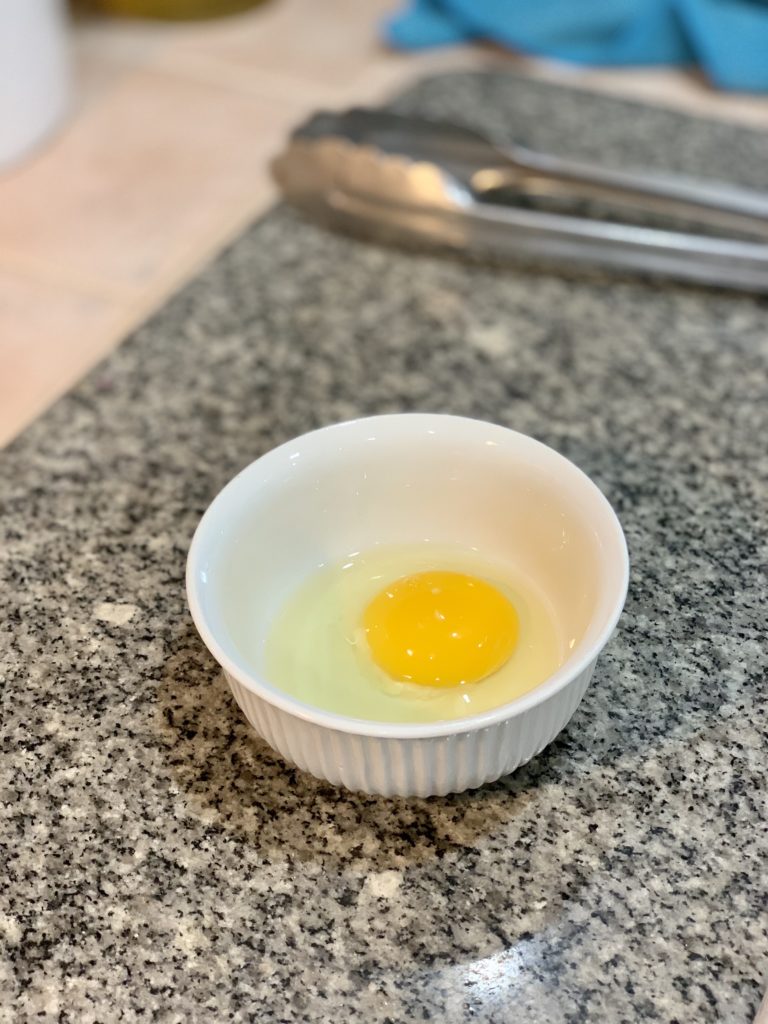
Strain the egg. Sounds crazy, but when you first crack open an egg you’ll notice there’s the yolk, the egg white that is firm and sticks to the egg and then there’s a watery liquid that just oozes out. You want to strain that watery liquid or it will become wisps in the simmering water. I like to set a ramekin dish with a strainer and crack the egg and strain it. With the egg in the strainer, empty out the watery liquid in the ramekin, then gently transfer the egg from the strainer to the ramekin.
Add Vinegar. Add enough water to cover an egg, about 2 to 3 inches, to a skillet and bring to a low simmer. Add 1 – 2 tablespoons of distilled white vinegar to the water and stir well. The water temperature should register at 190°F. If you have bubbles at the bottom of the pan, move a spatula across the pan to remove the bubbles as they can create indentations at the bottom of the egg. It’s preferable if the skillet is non-stick, but not a requirement.
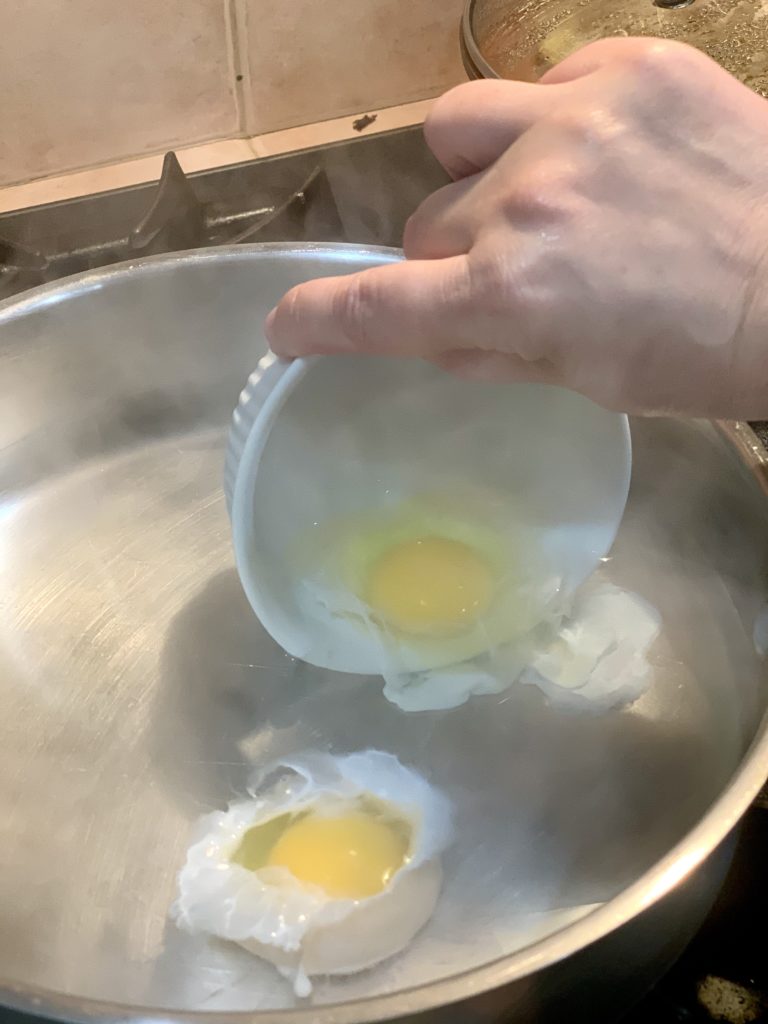
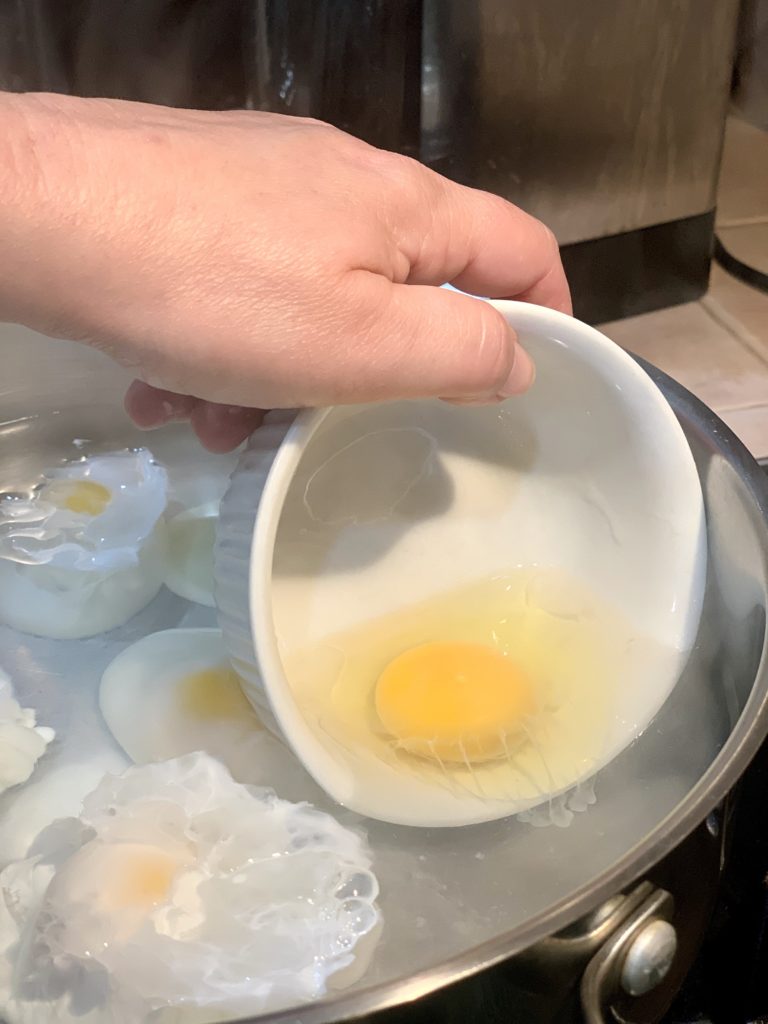
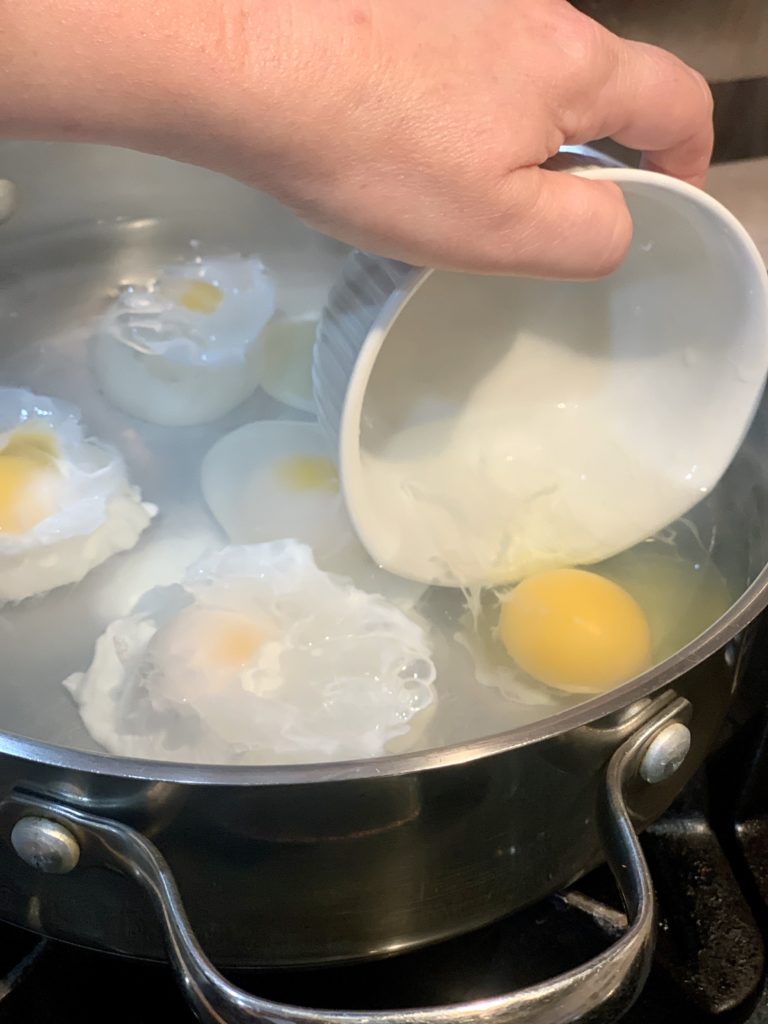
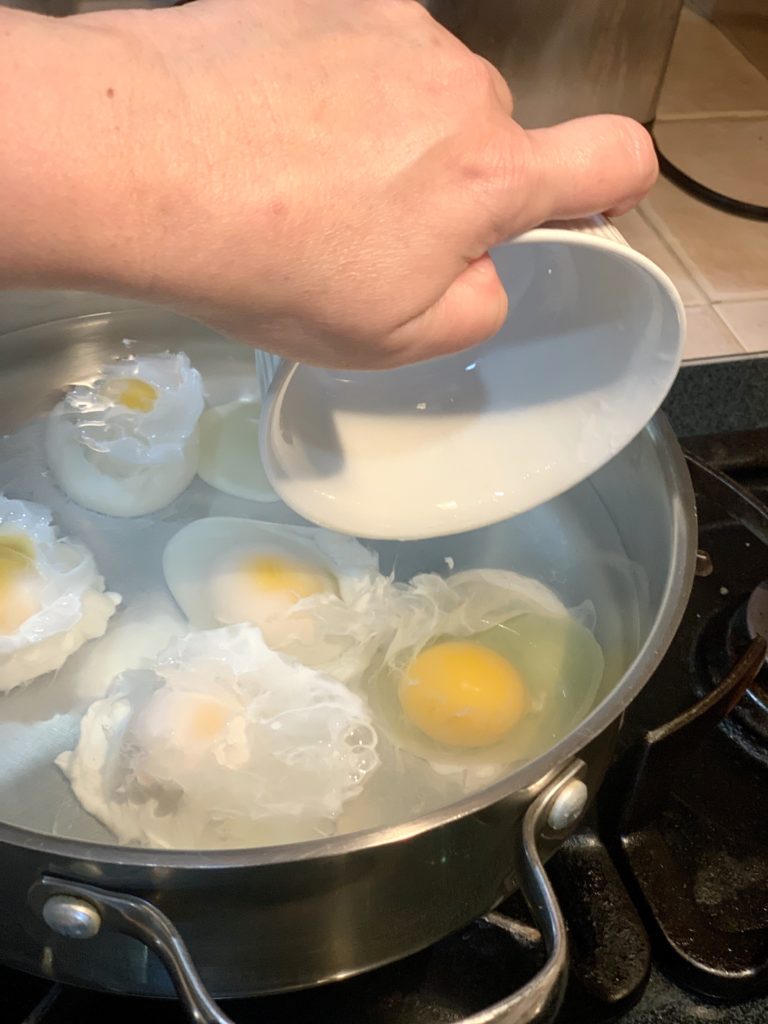
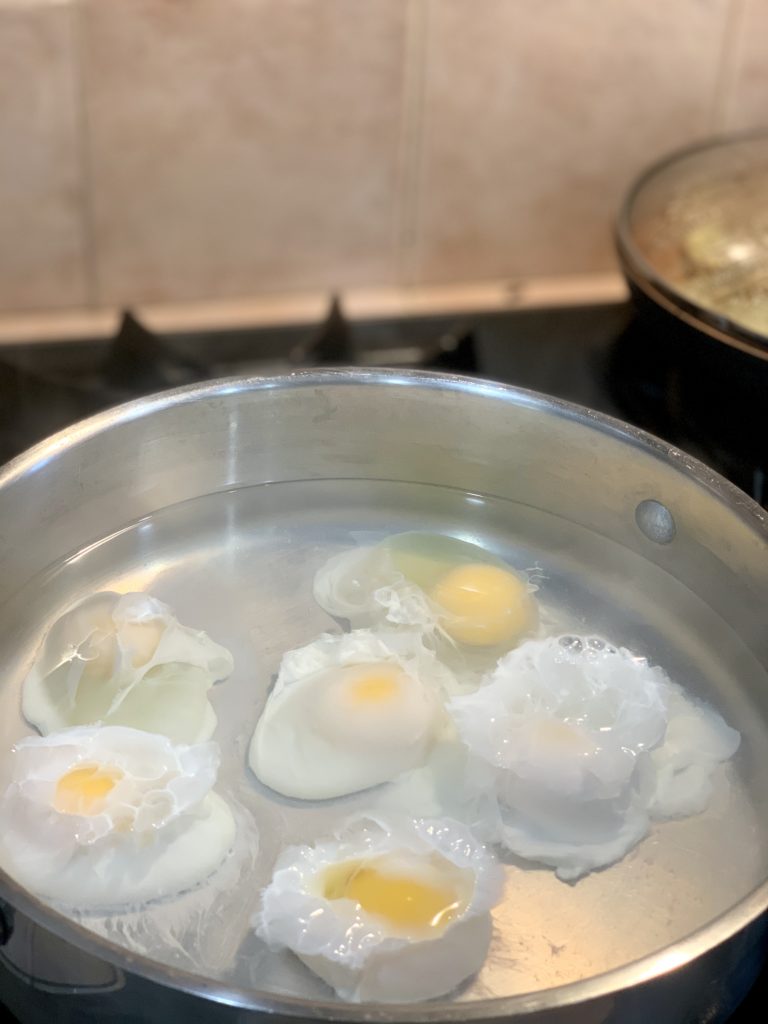
Slightly tilt the ramekin into the water and allow the water to seep in and envelop the egg. Gently drop the egg into the water. The warm water should already begin to cook the egg whites and prevent them from spreading. Place the other eggs in order – a circle pattern works best for me. Since each egg will come out at intervals of 4 1/2 – 5 minutes, depending on desired doneness, you need to remember the order in which you placed them. Once you place them, don’t move the water or you’ll break up the egg whites and get a lot of breakage.
Used a slotted spoon to gently pick up the egg and drain it on a paper or tea towel. Select a tea towel with a tight flat weave, you don’t want to drain the egg on a tea towel with ridges that could change the shape of the egg. If your egg is a little misshapen, use the slotted spoon to remove the section you don’t want.
Did you know you can poach eggs in advance? Once you poach the eggs, transfer them to cold water to stop the cooking process. You can store them, submerged in water, in the refrigerator no more than two days. To bring them back up to temperature, bring a pan of water to a boil, turn off the heat and gently submerge the eggs in the hot water for 30-90 seconds, depending on desired doneness.
Whirlpool Method
This method works great if you’re only making a poached egg for yourself, otherwise it’s too time consuming and not practical when poaching many eggs. If using the whirlpool method, when the water is hot, swirl the spoon in the center of the pan to create a whirlpool. Drop the egg in the center of the swirl. The circular motion will keep the egg tight as it cooks. I can’t think of cooking one egg at a time, but some people like this method.


