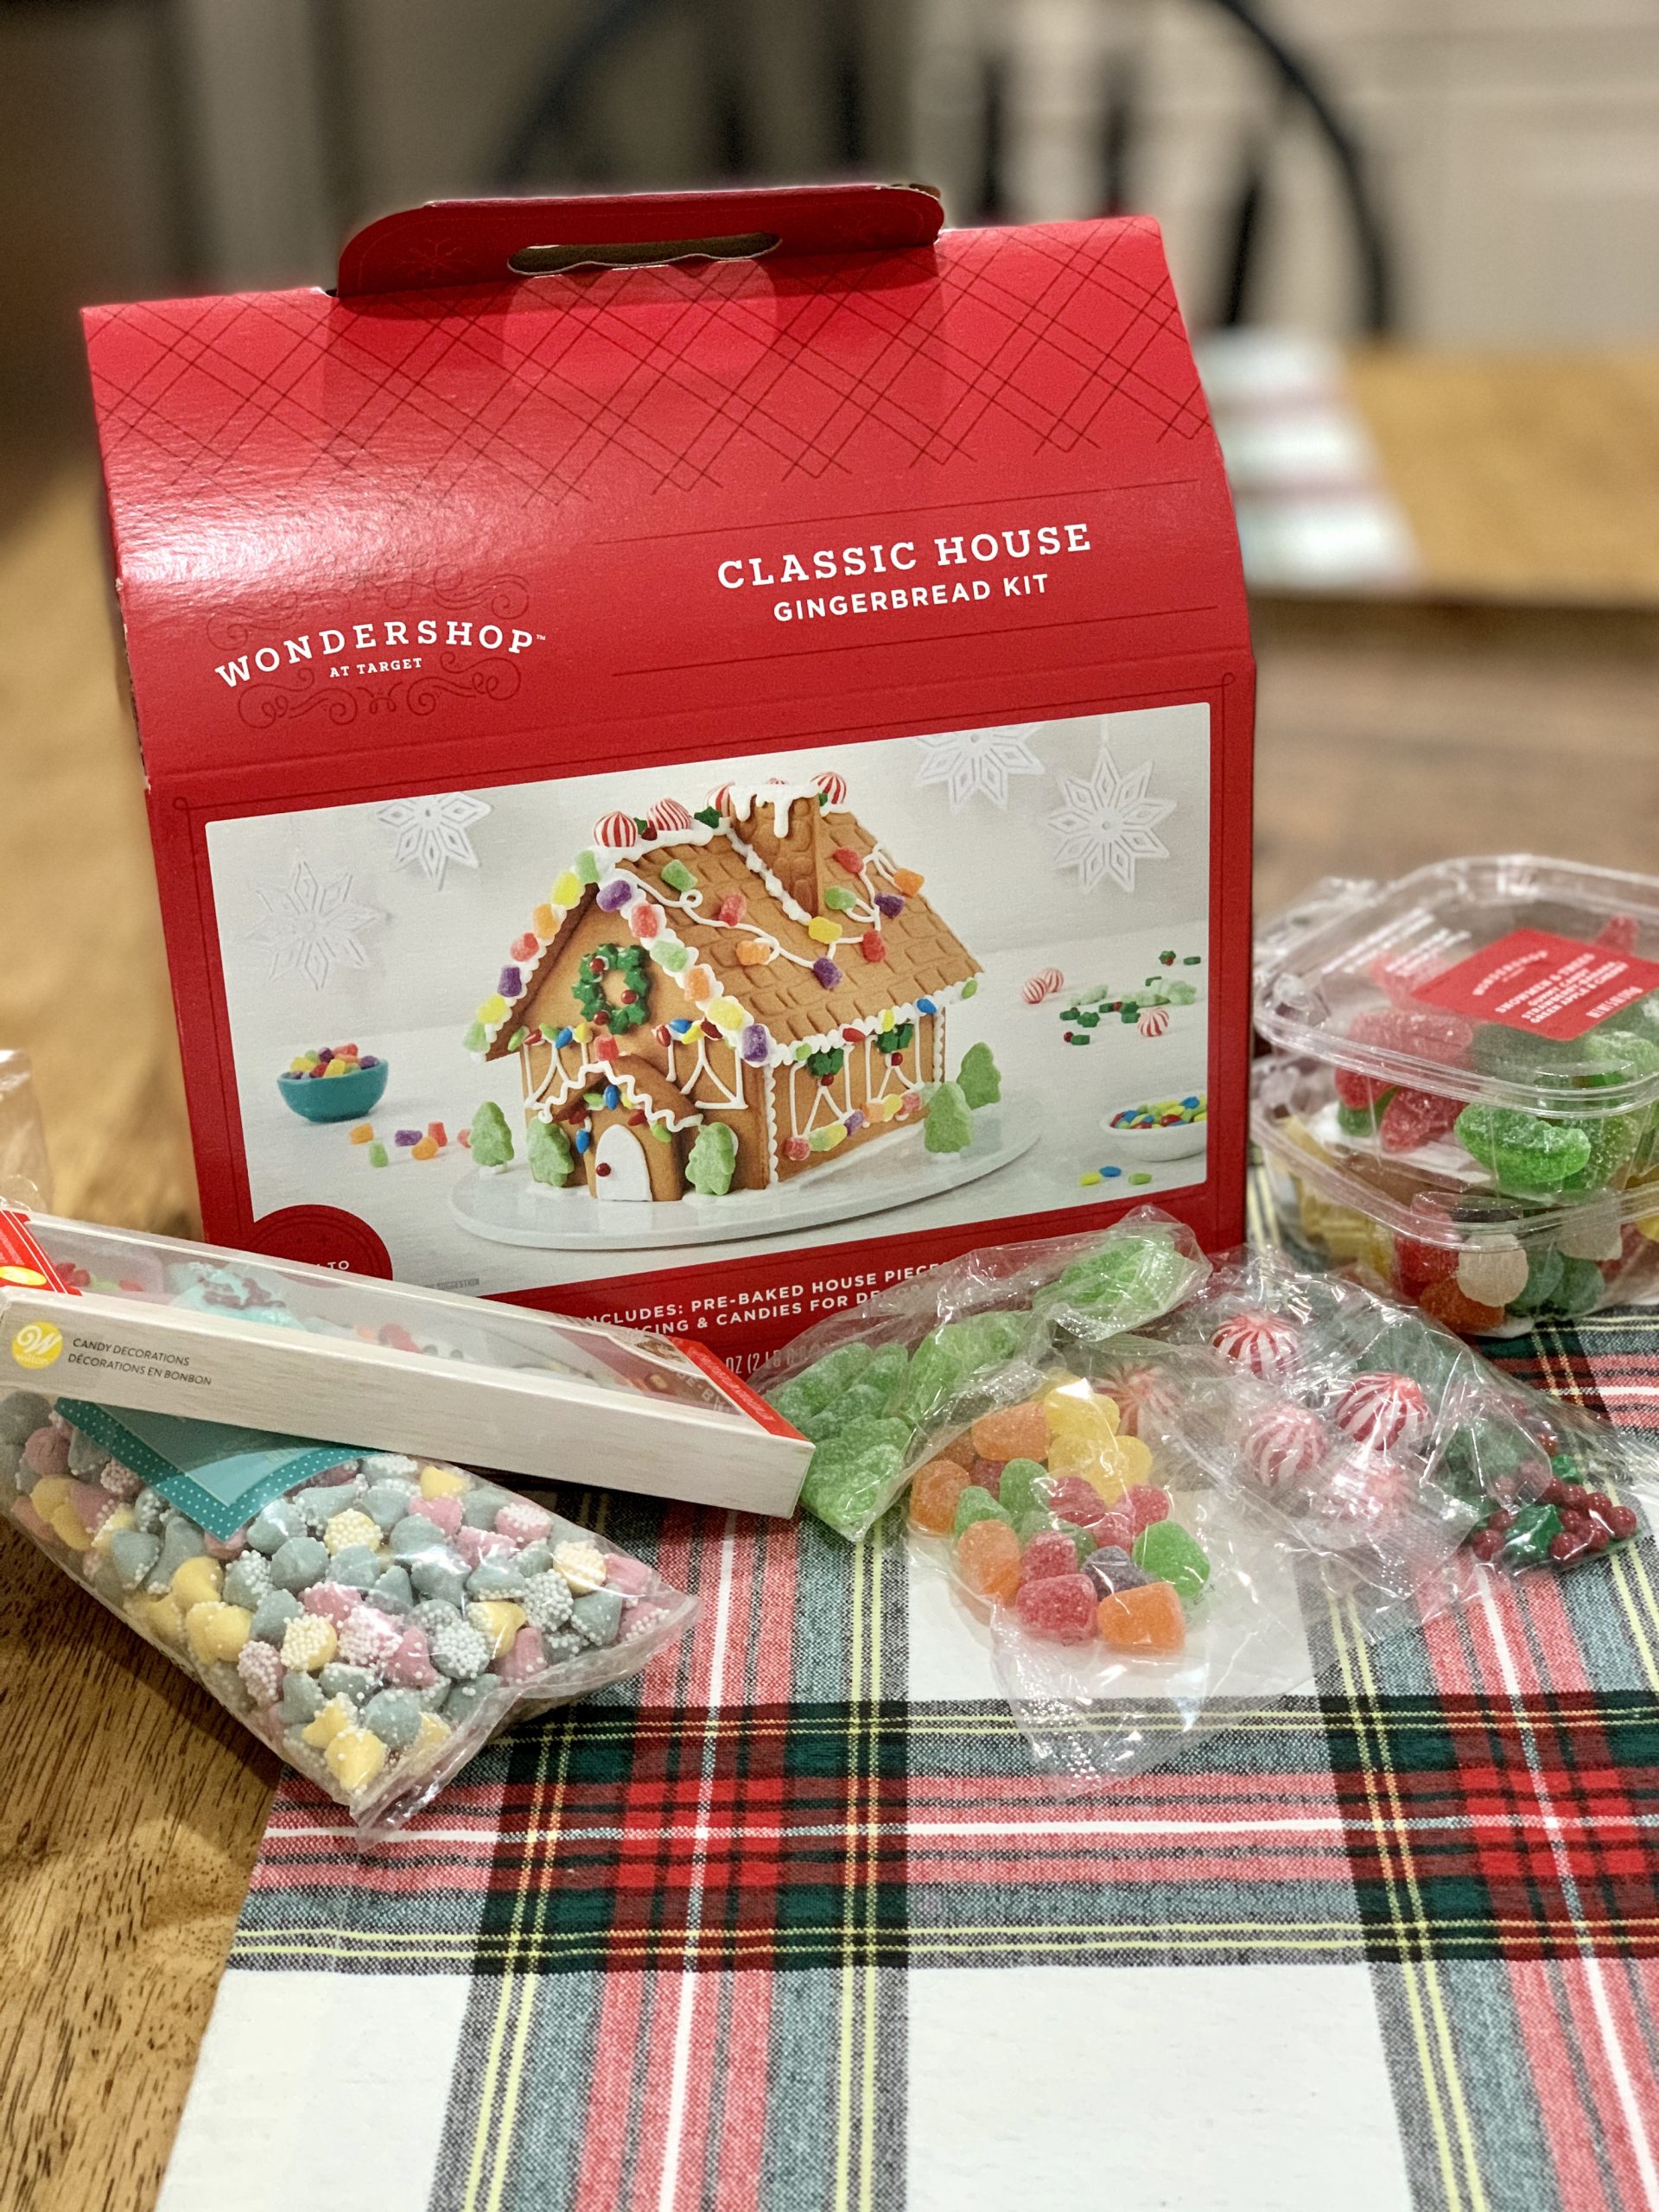
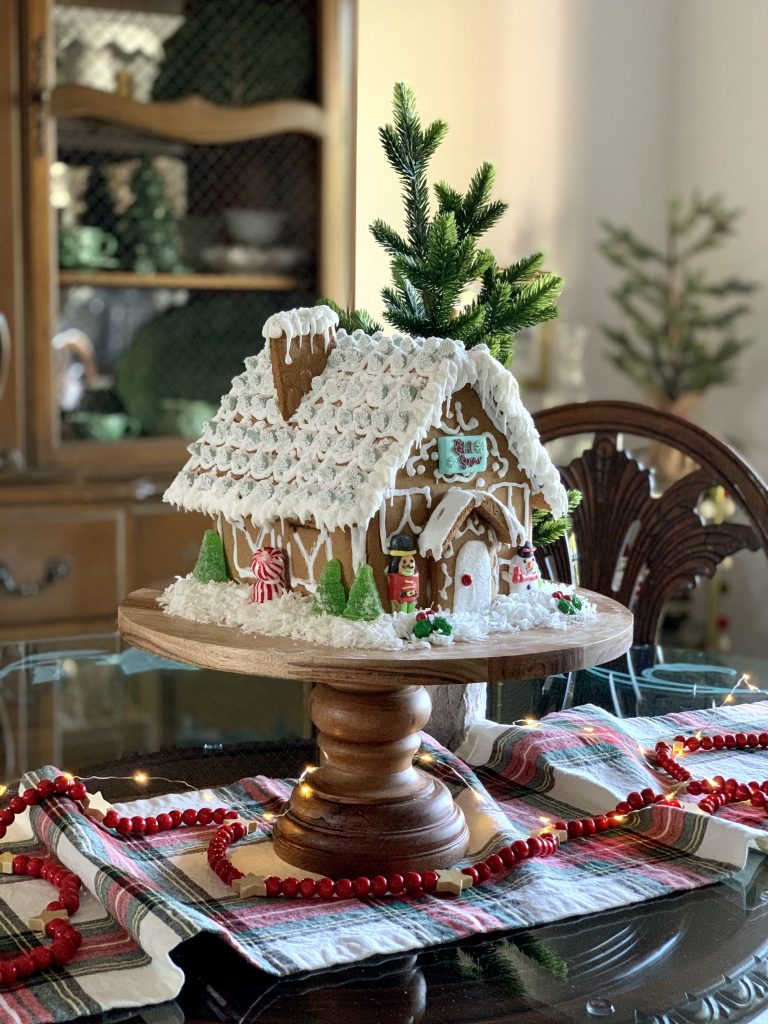
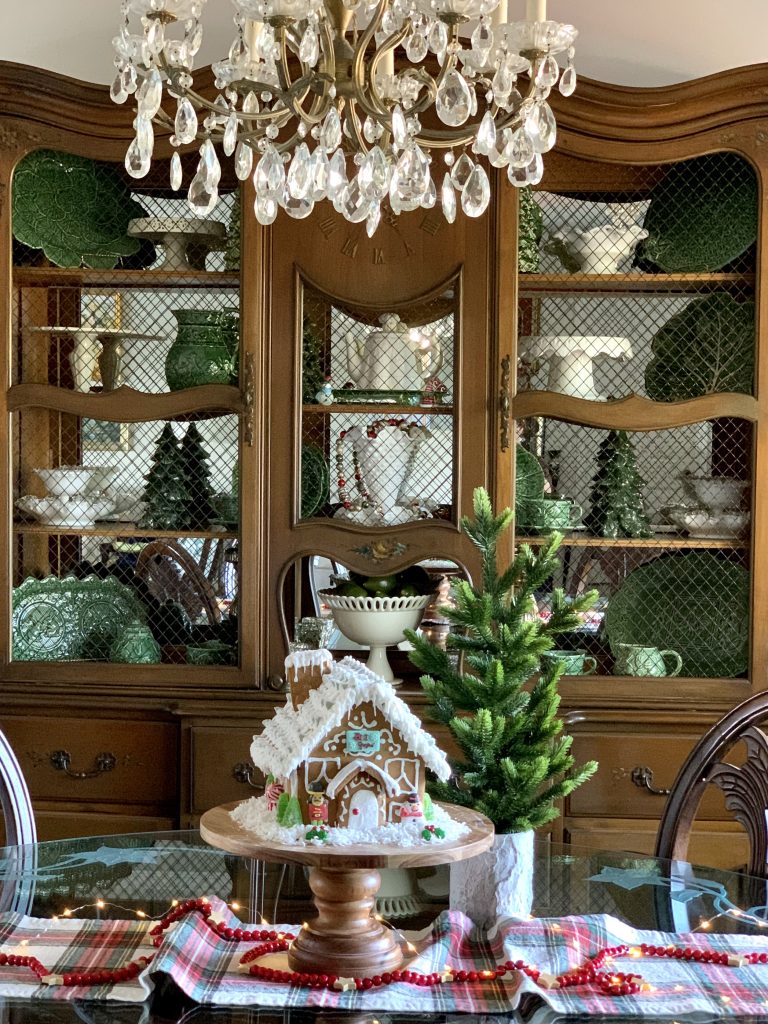
I randomly picked up a gingerbread house kit at Target for a little weeknight fun and I’m so glad I did. You see this was my first ever attempt at gingerbread house decorating – a bucket list item for sure, LOL!
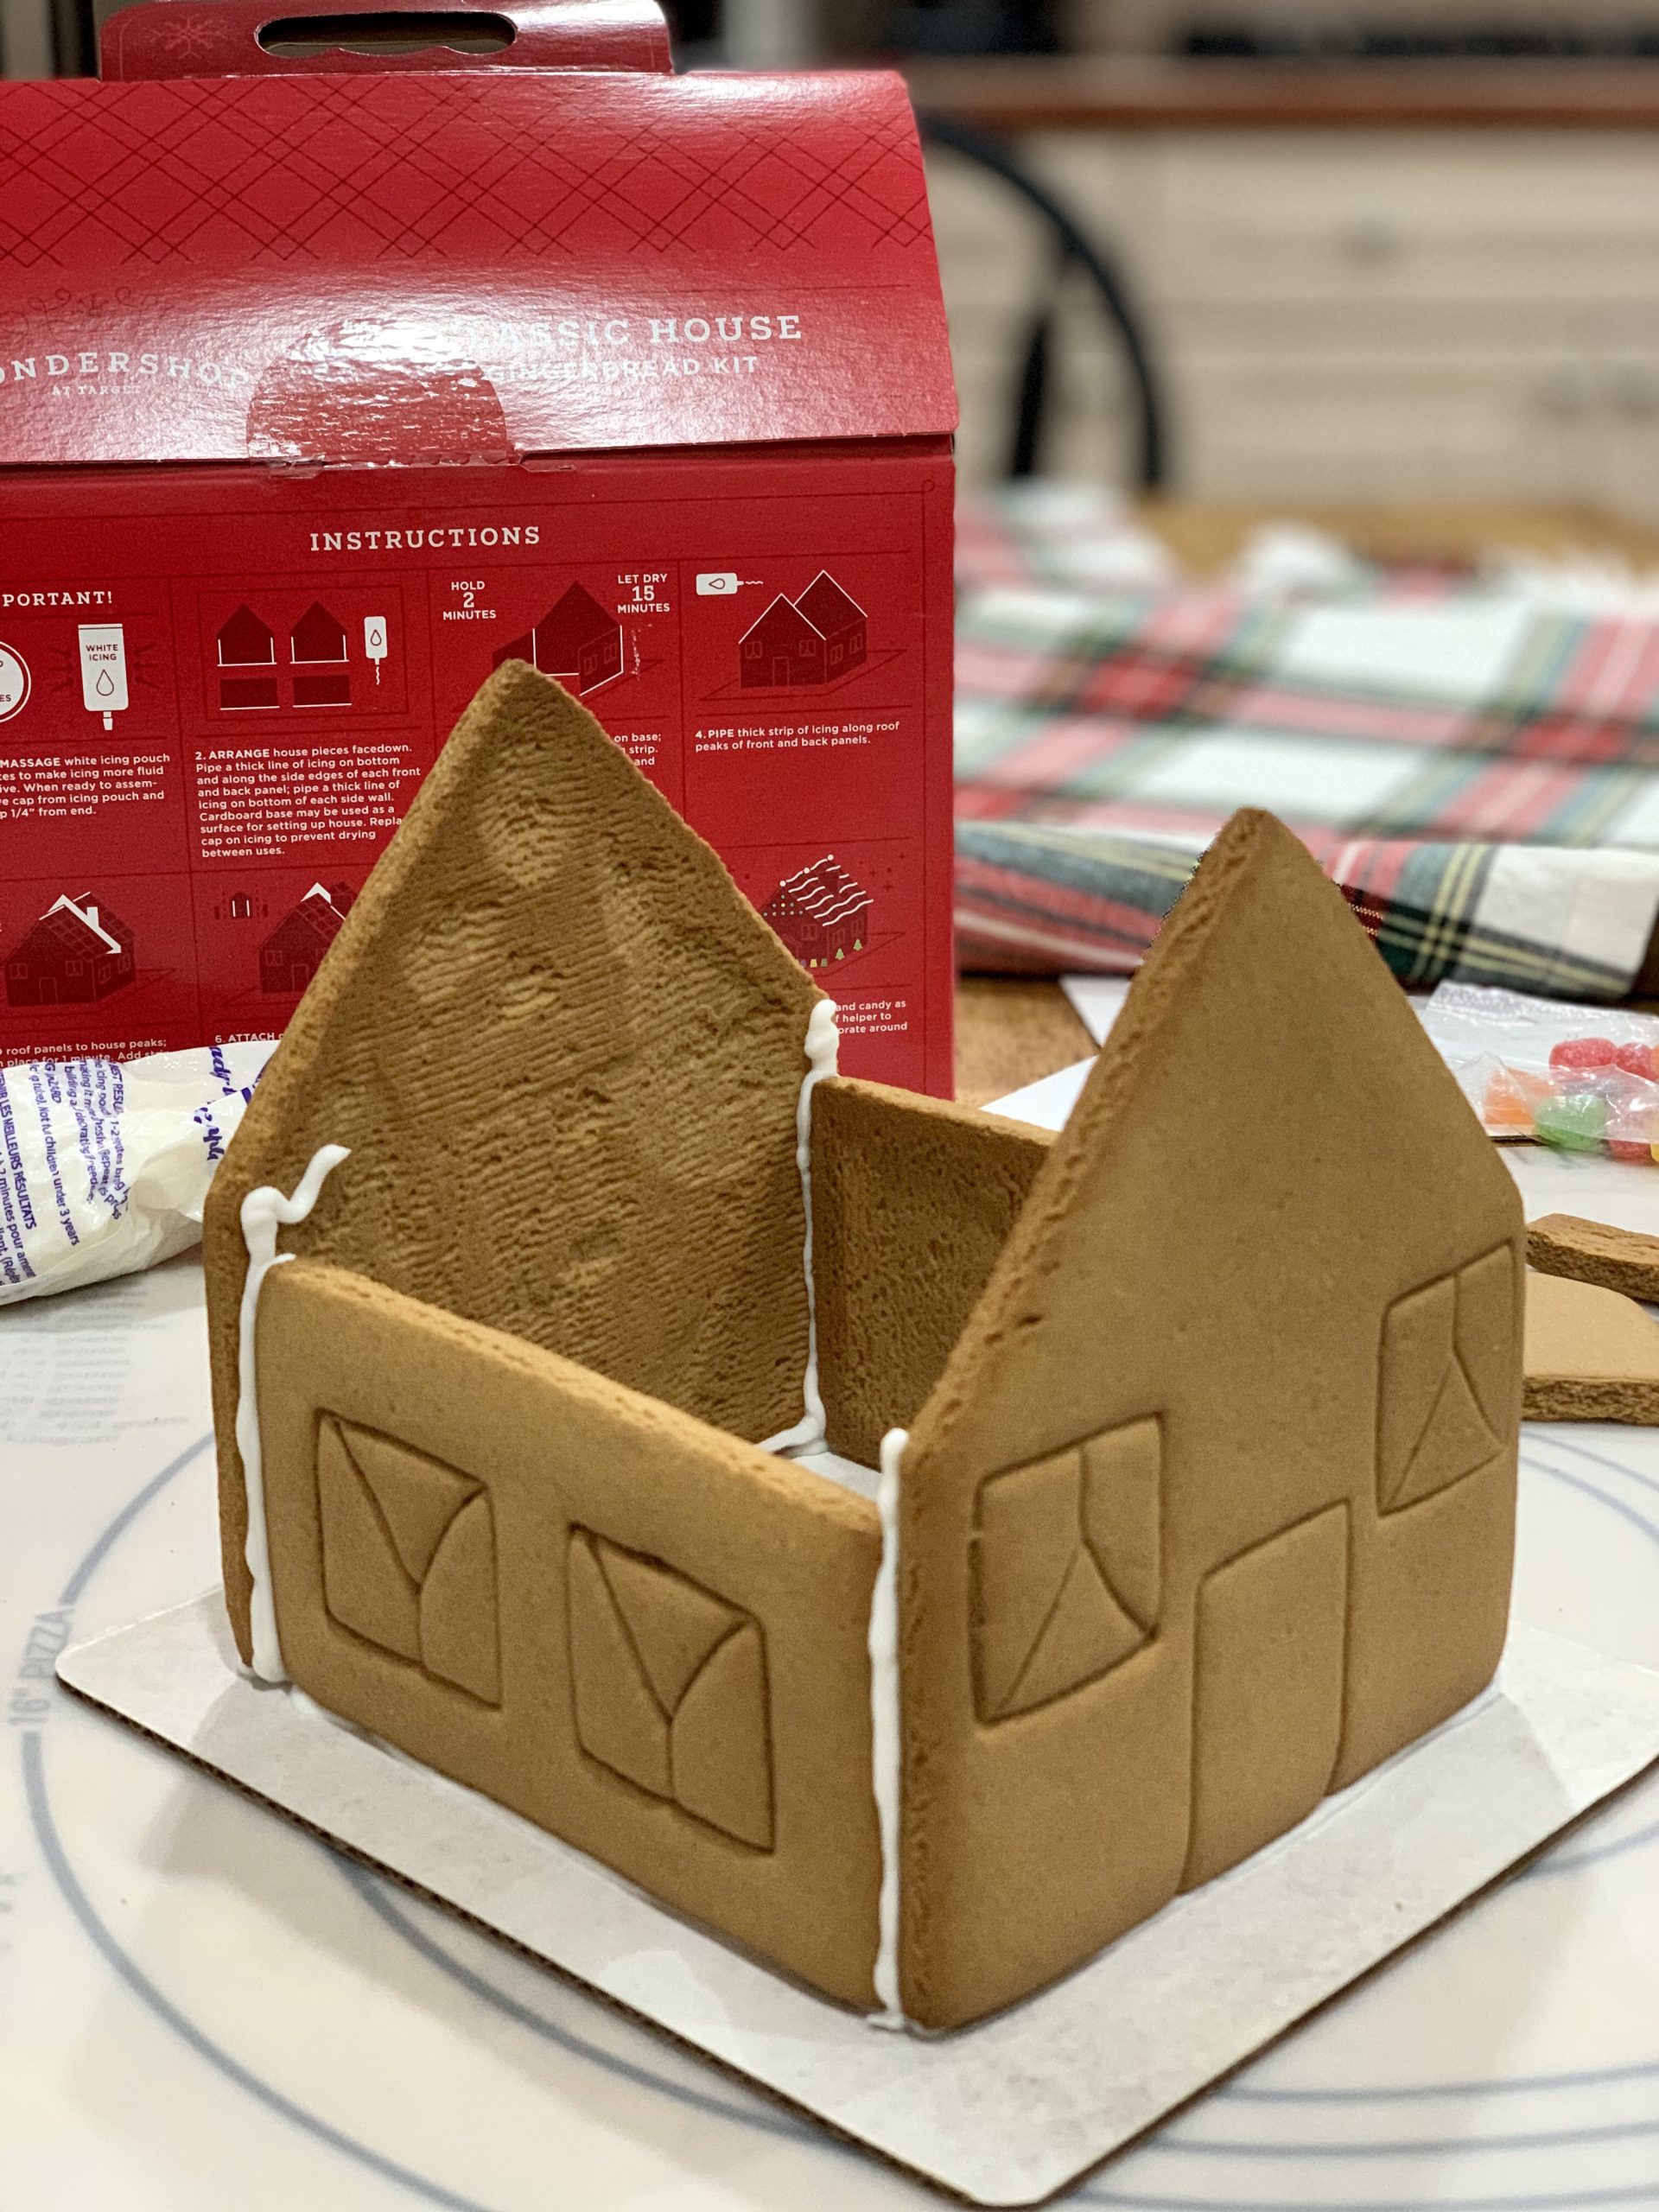
The kit comes with a deconstructed house, icing and decorative candy to accomplish the design on the box. I didn’t want that design so I purchased extra candy to achieve a different look. Cementing the sides together was super easy.
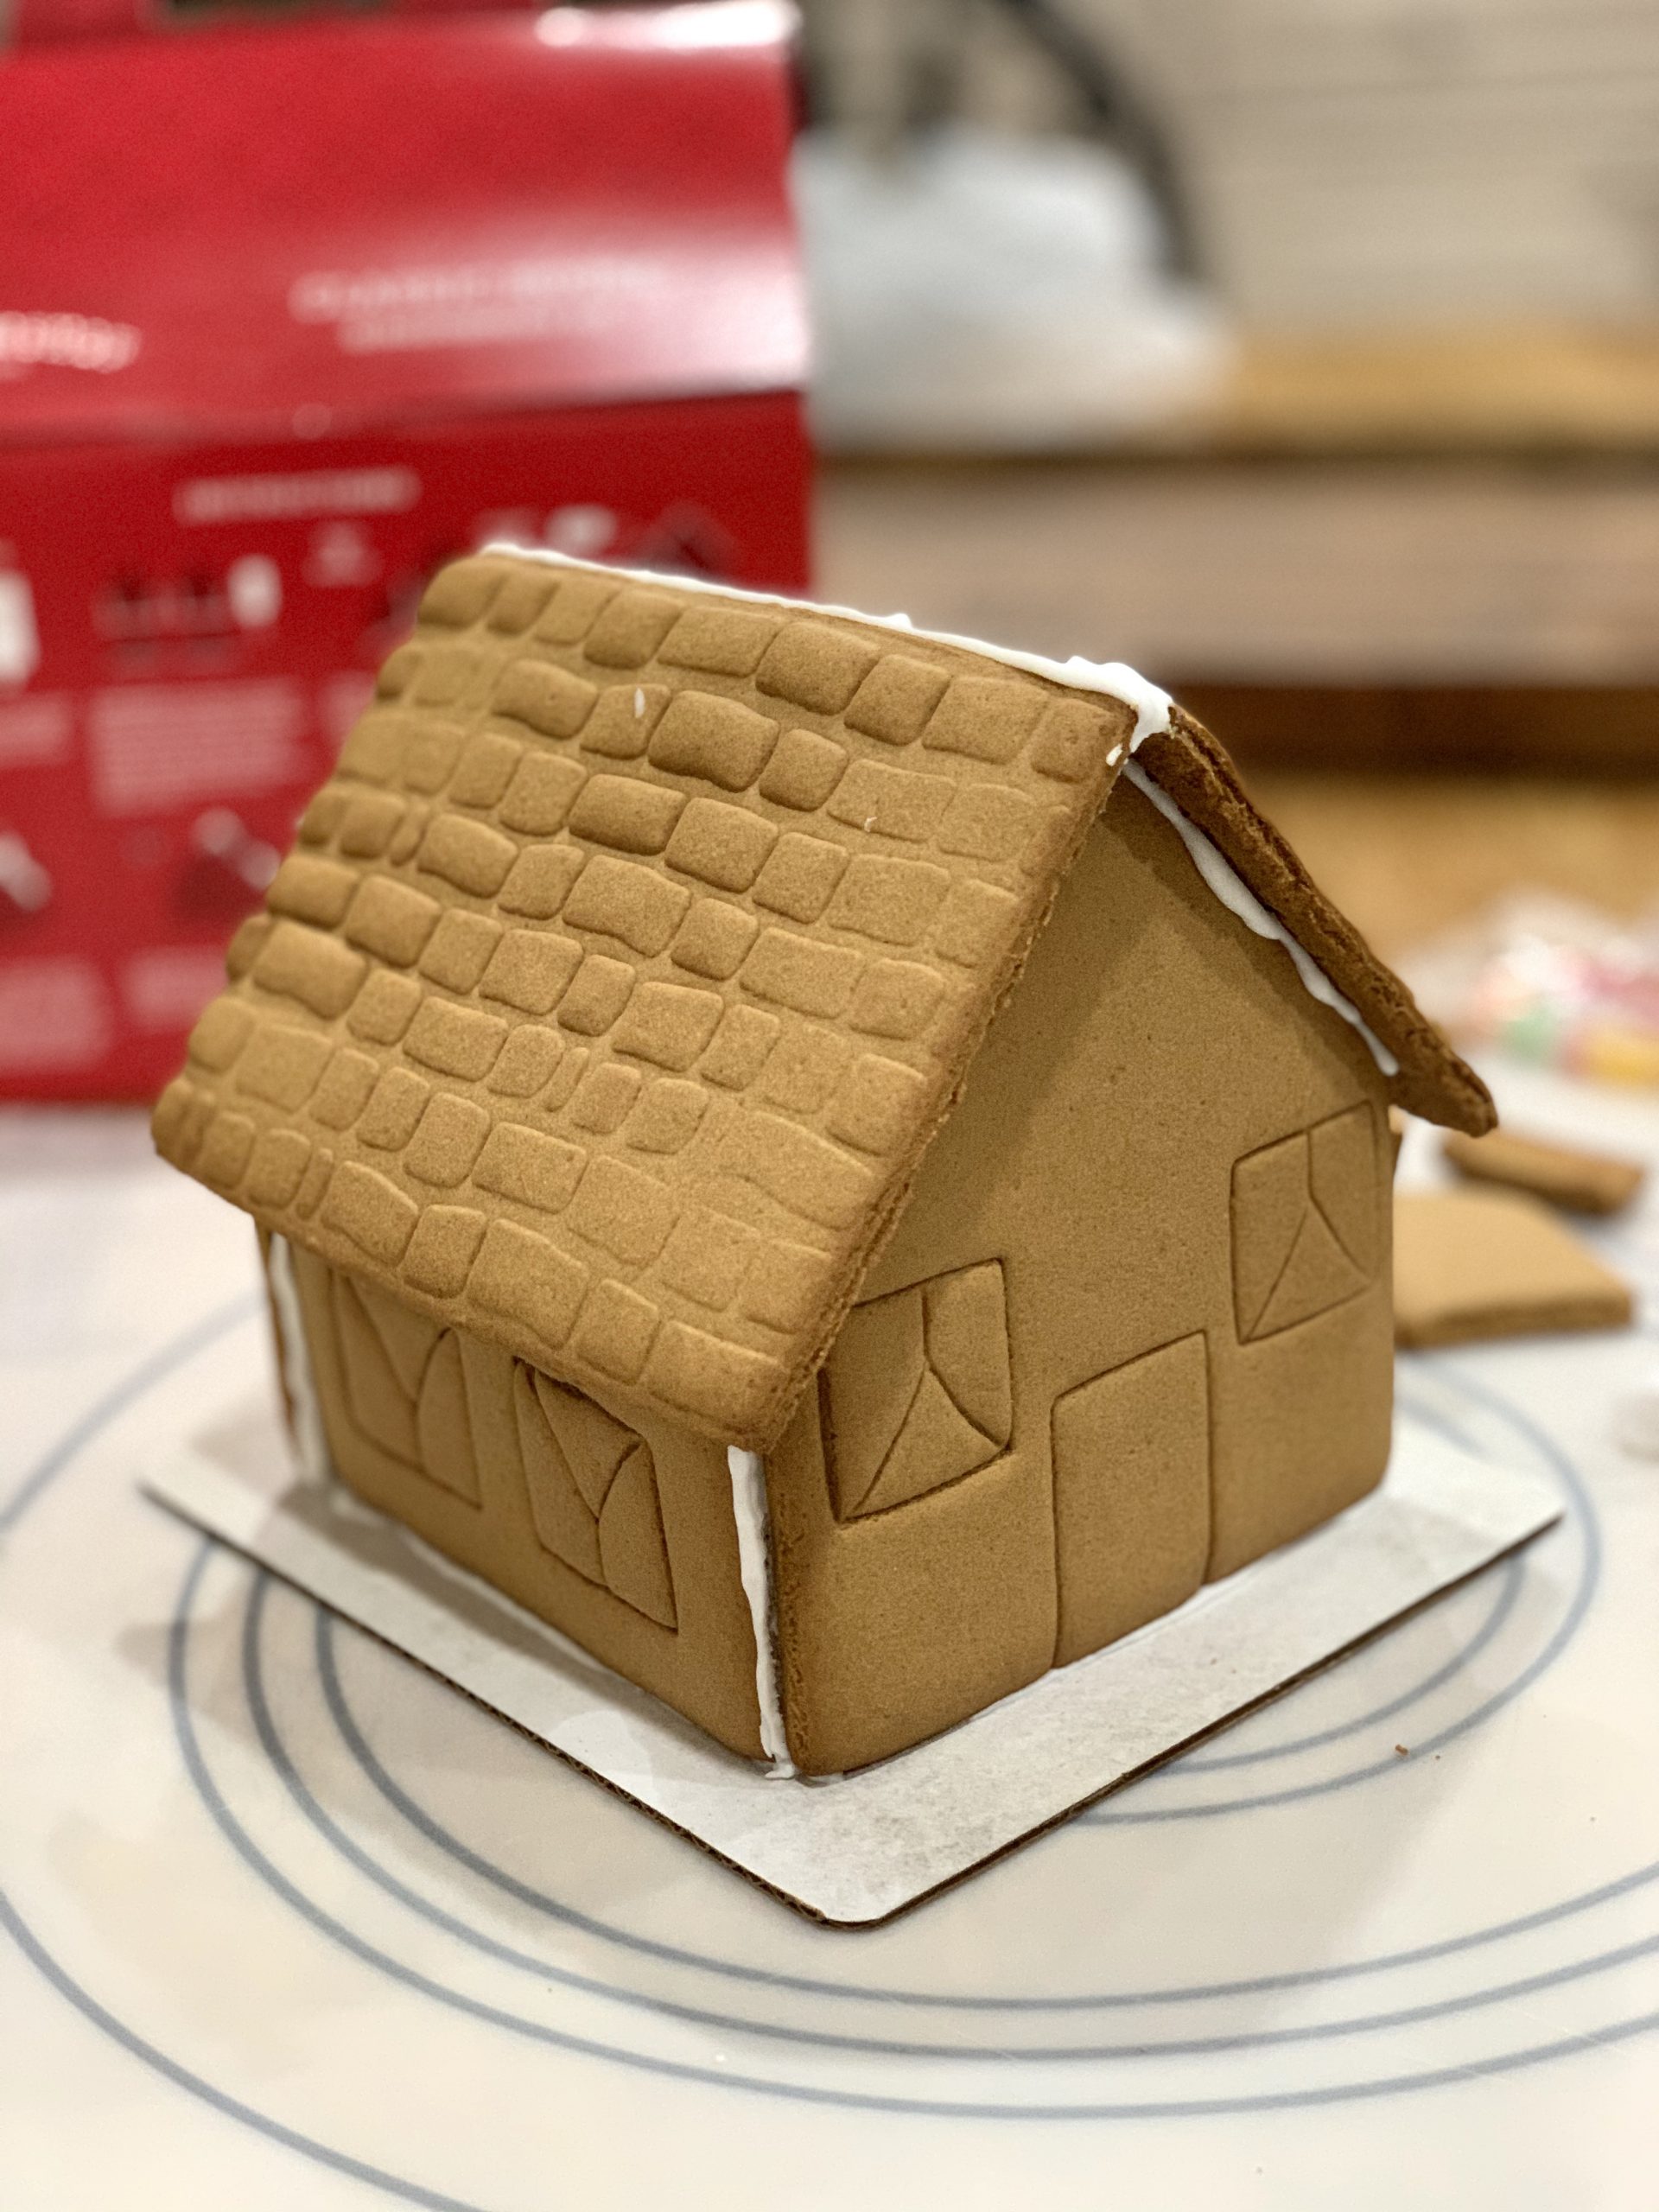
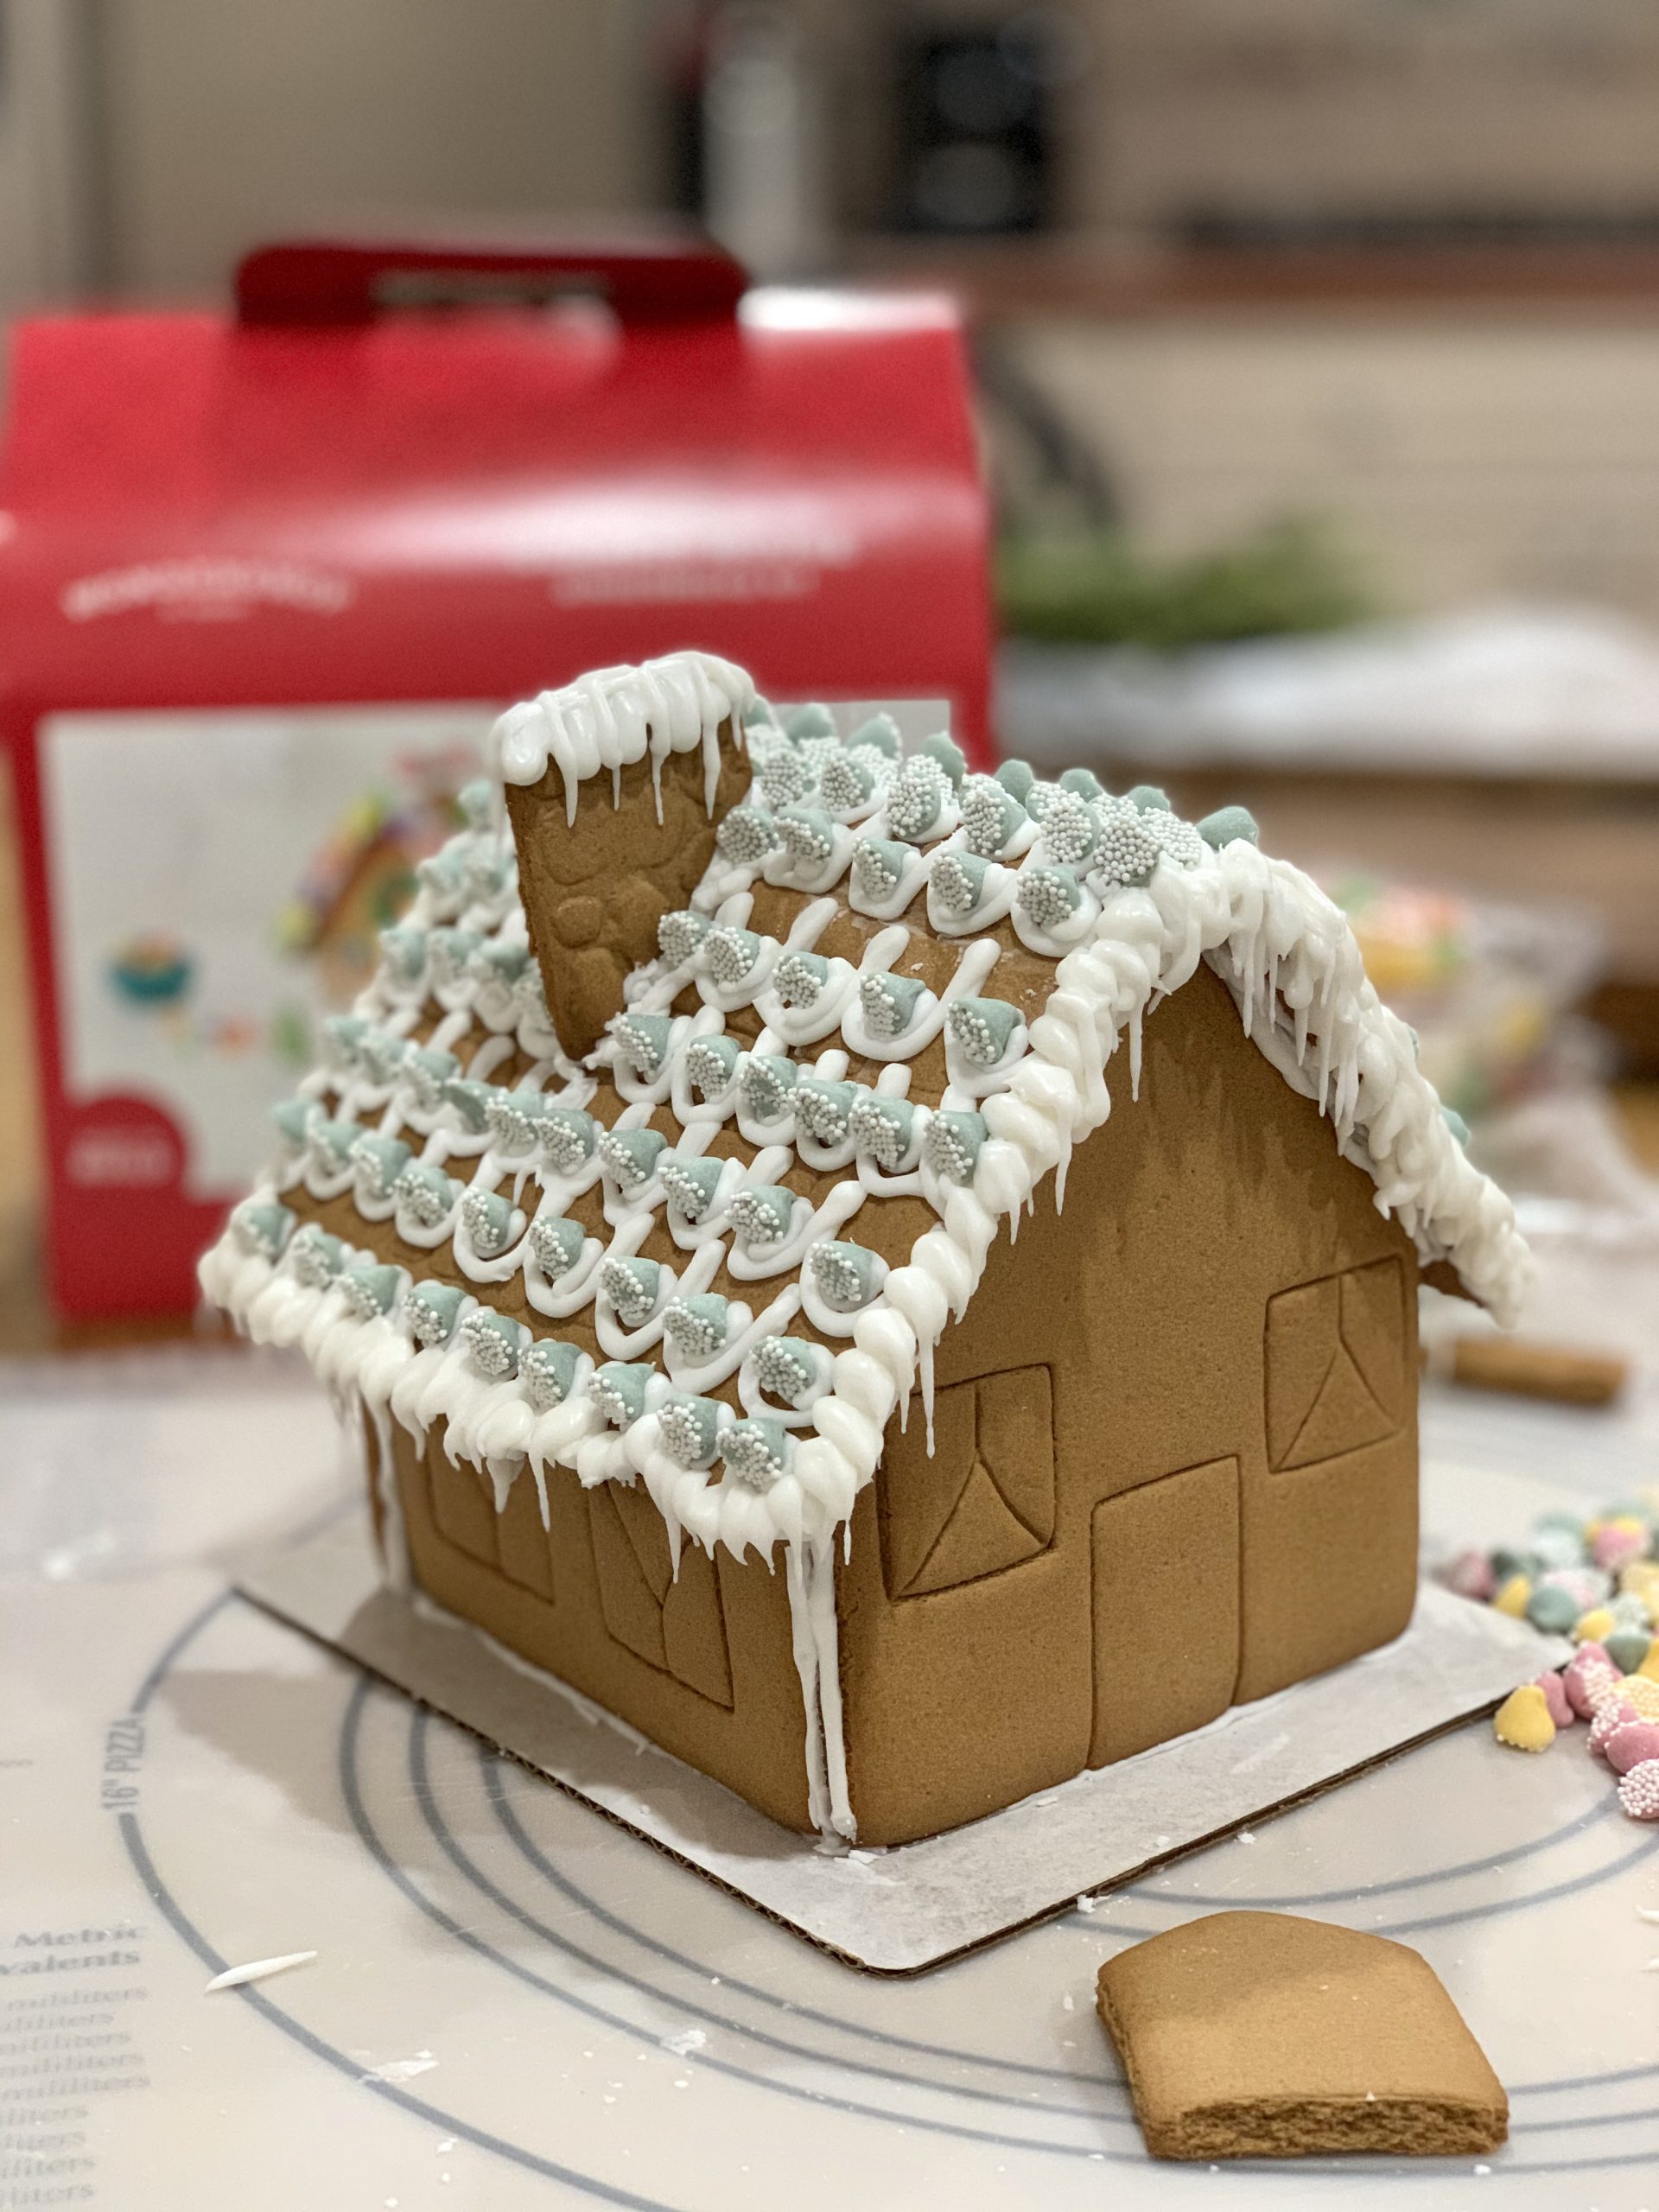
My issue came with the roof. I put it together, followed the directions and when I iced the “shingles” the sides began to slide down! I spent 30 minutes holding the roof in place until it dried and finally set. Then I had to touch up all the spots I messed up.
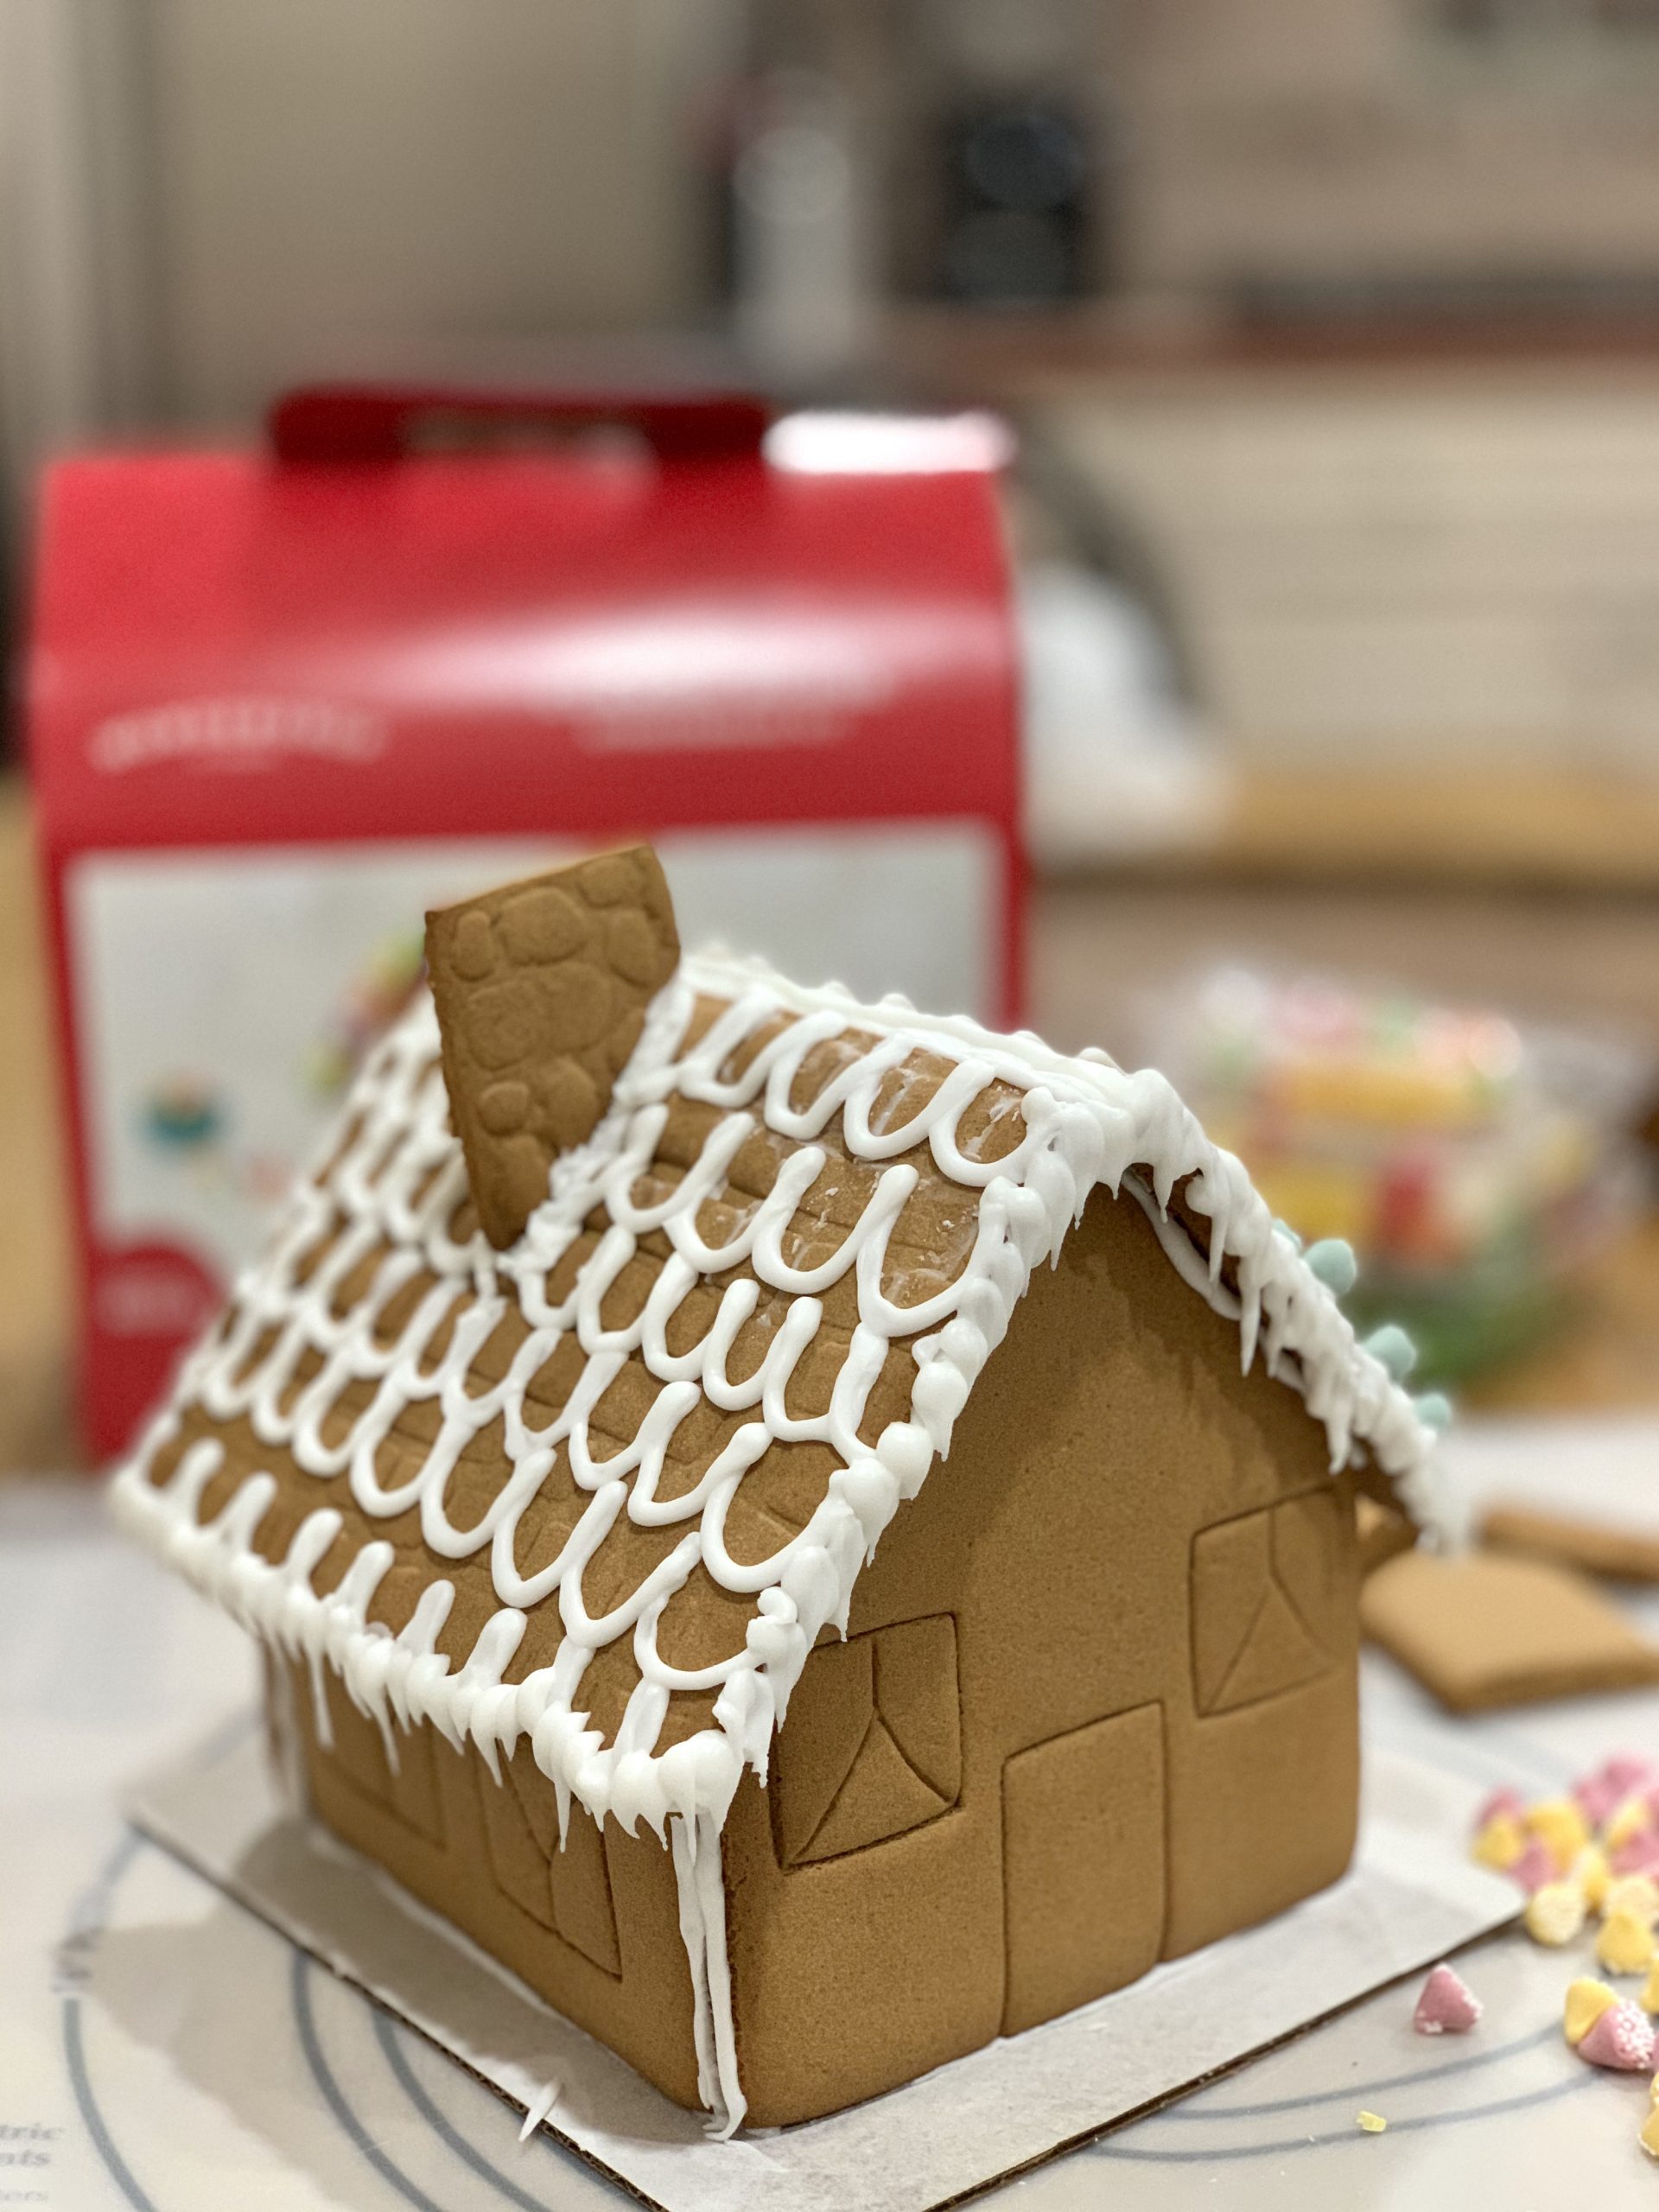
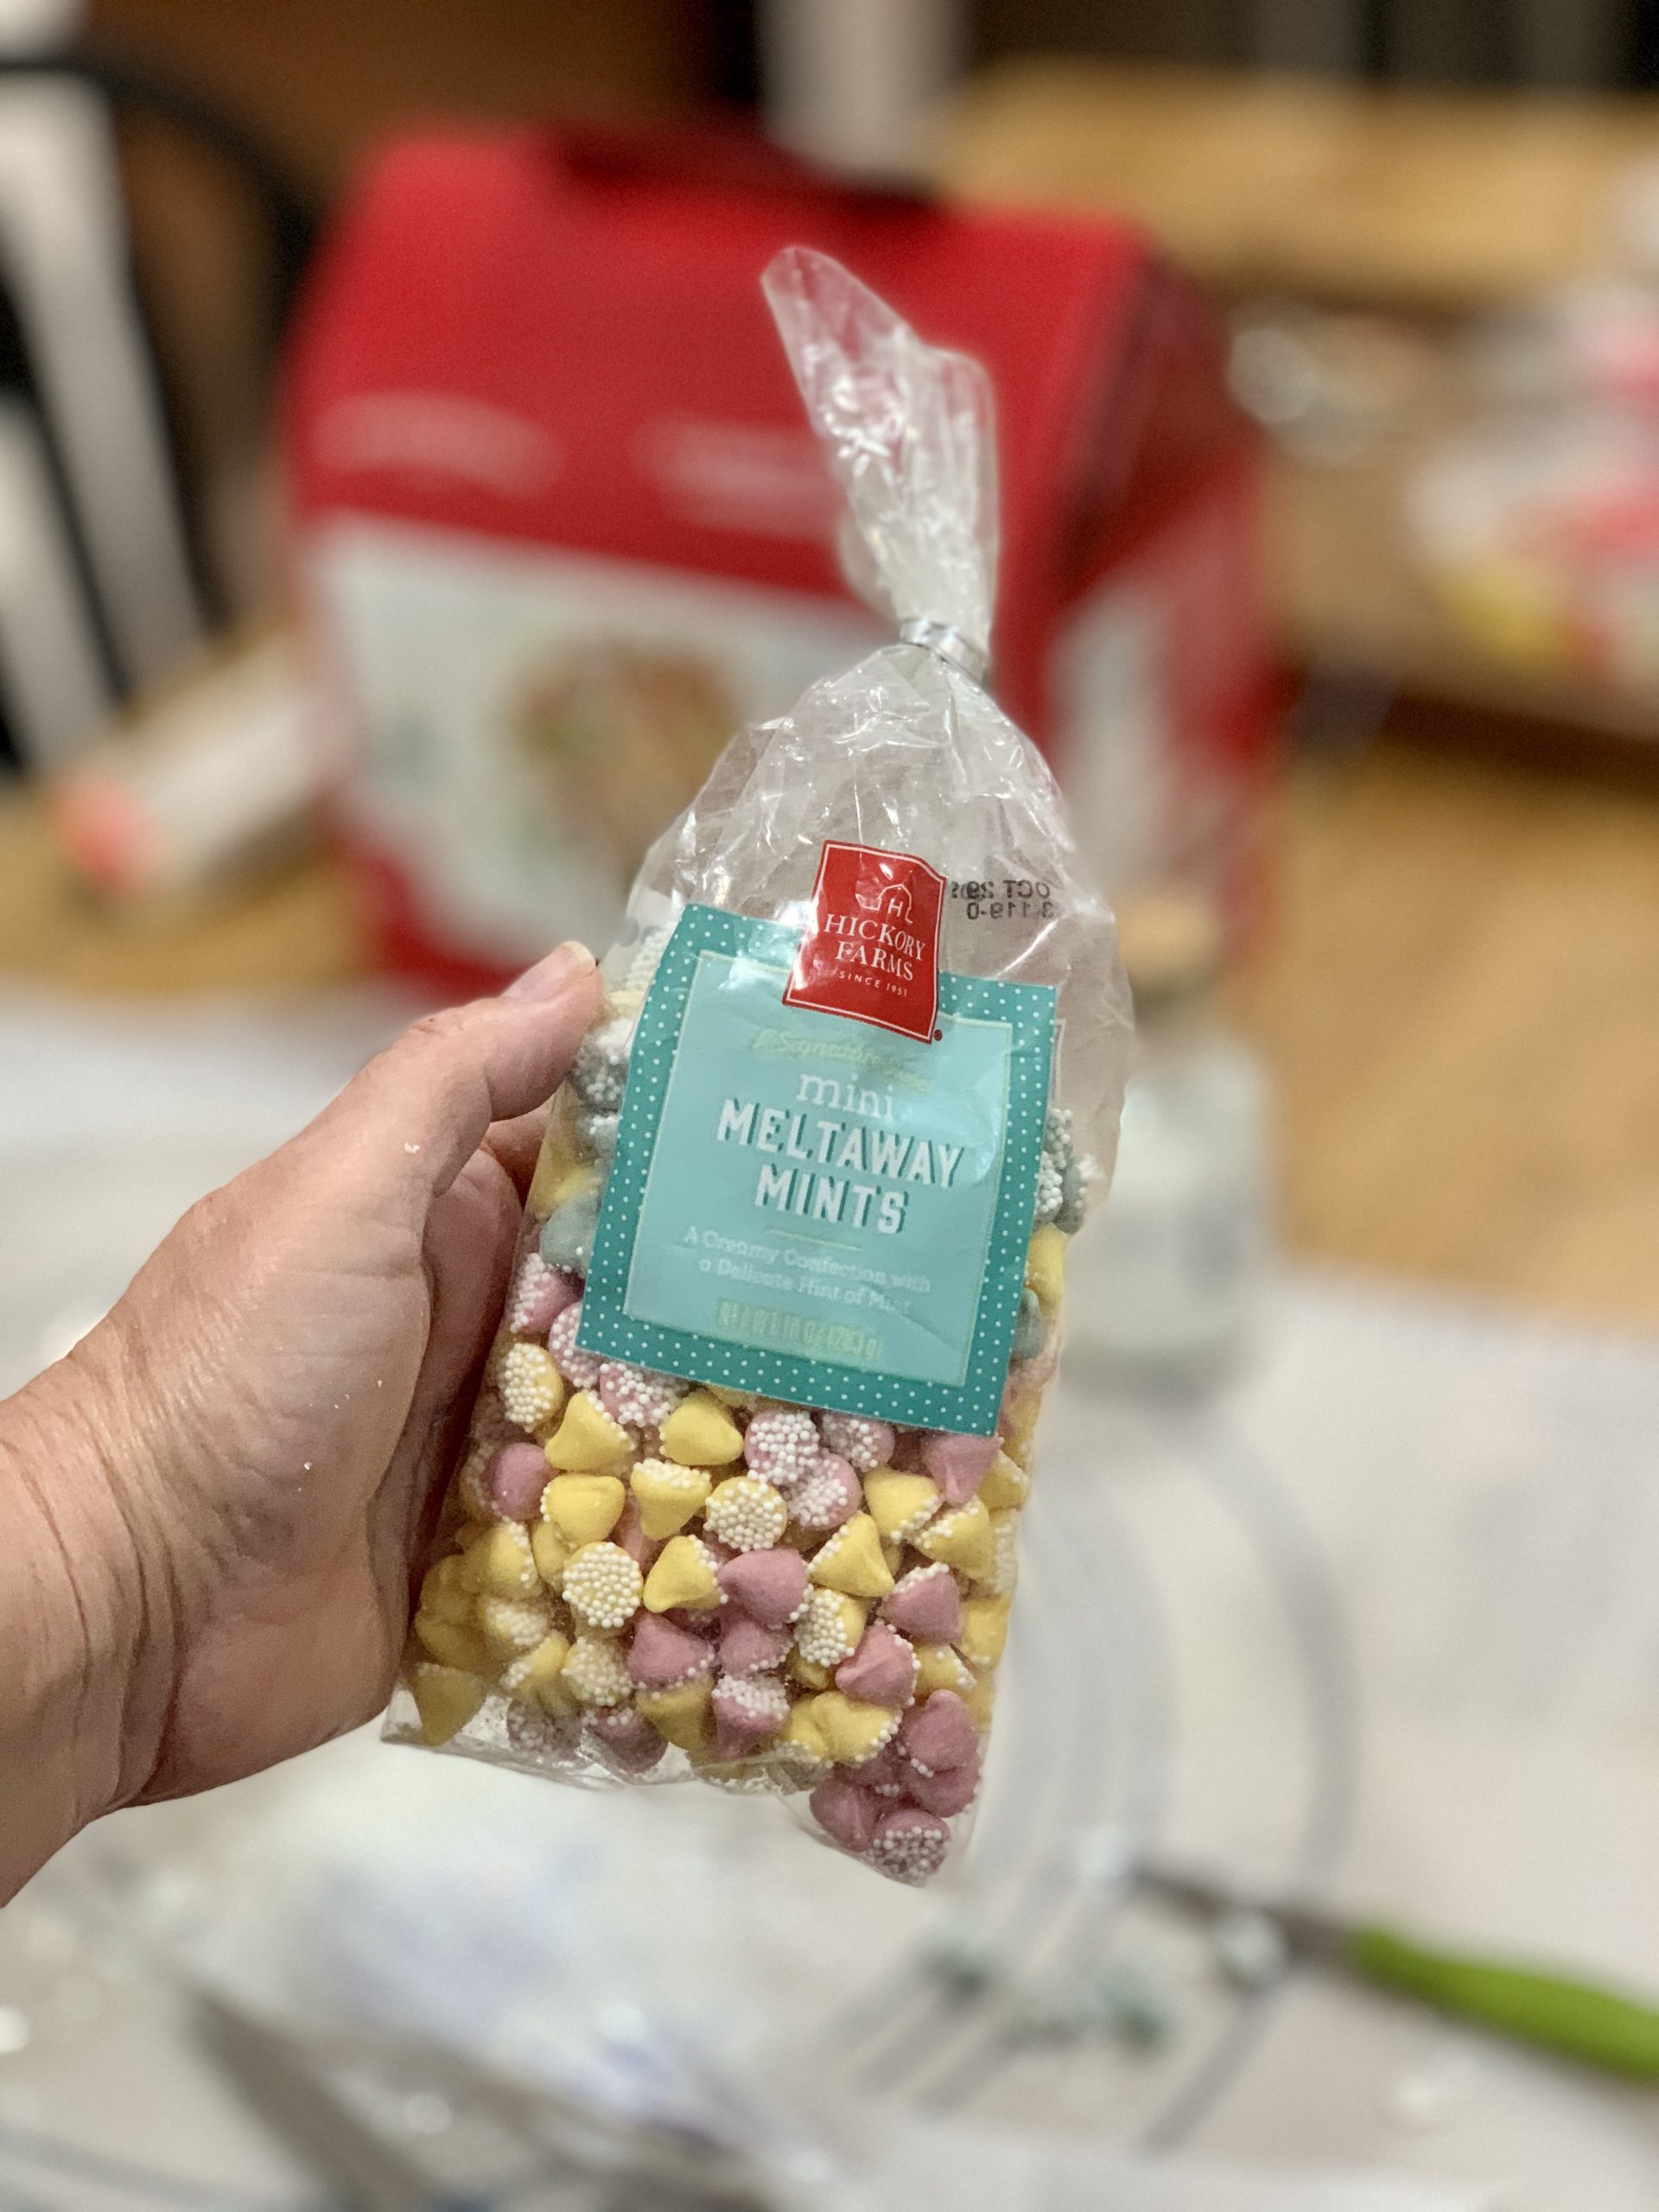
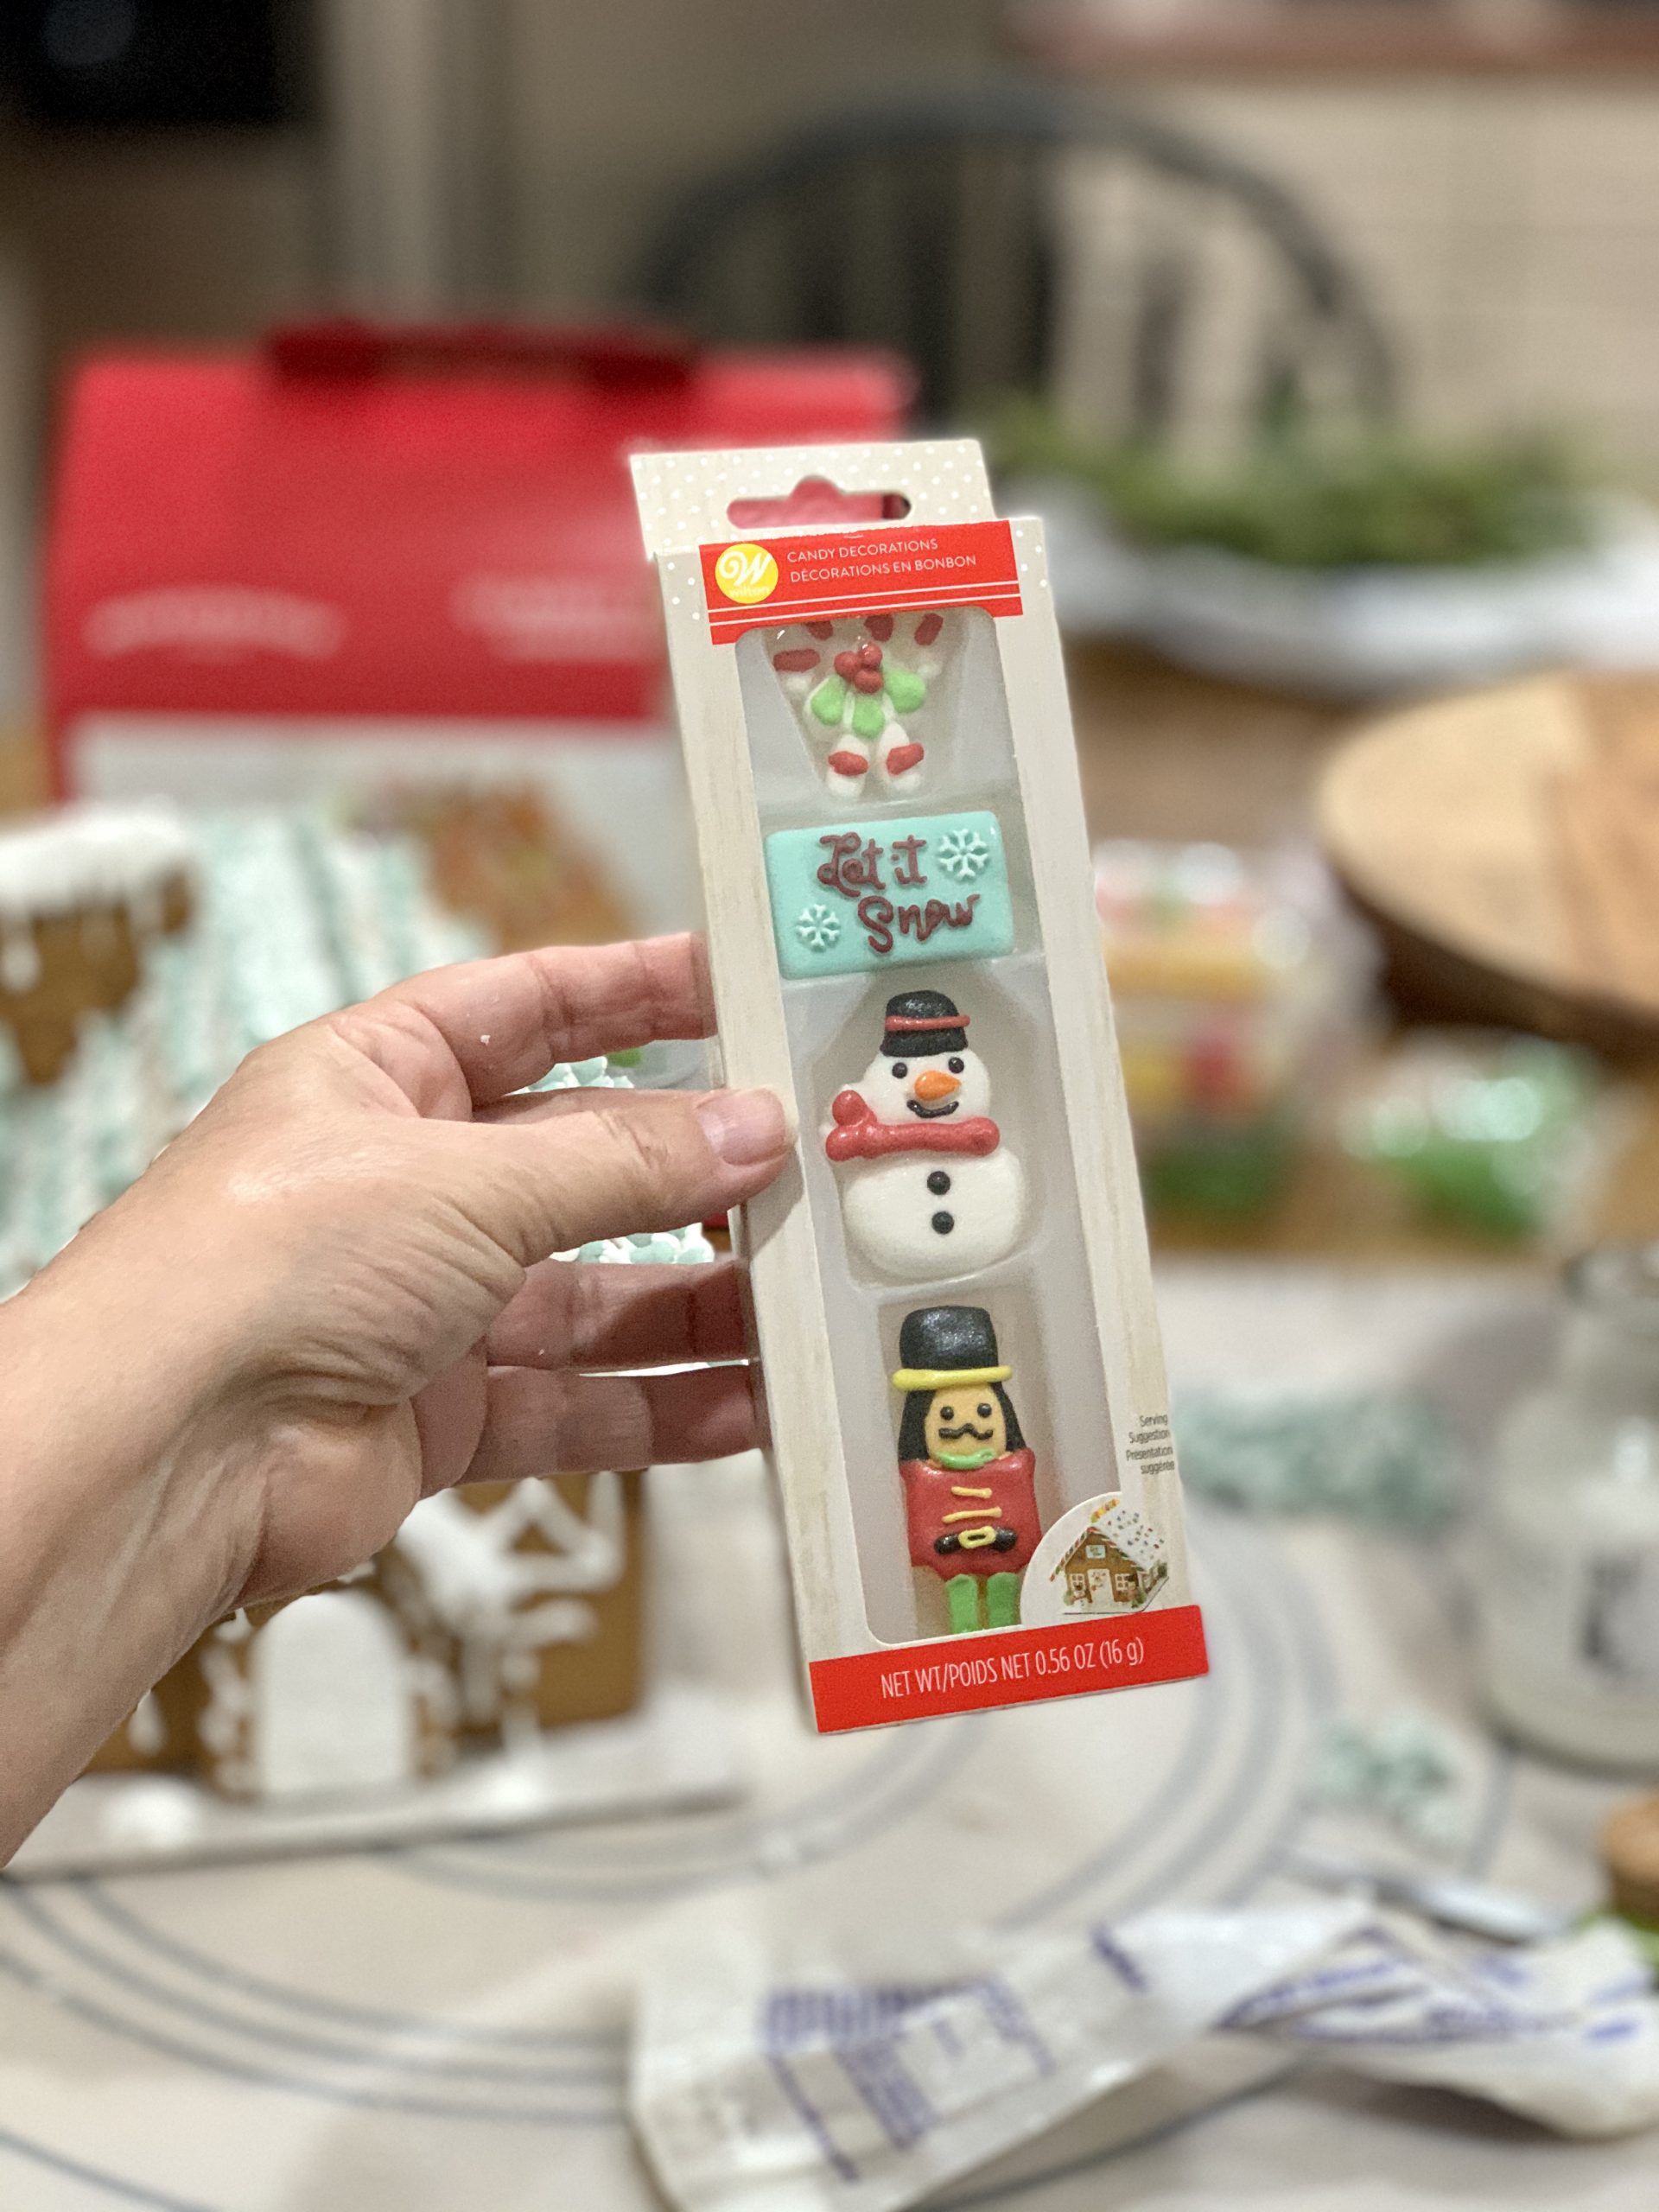
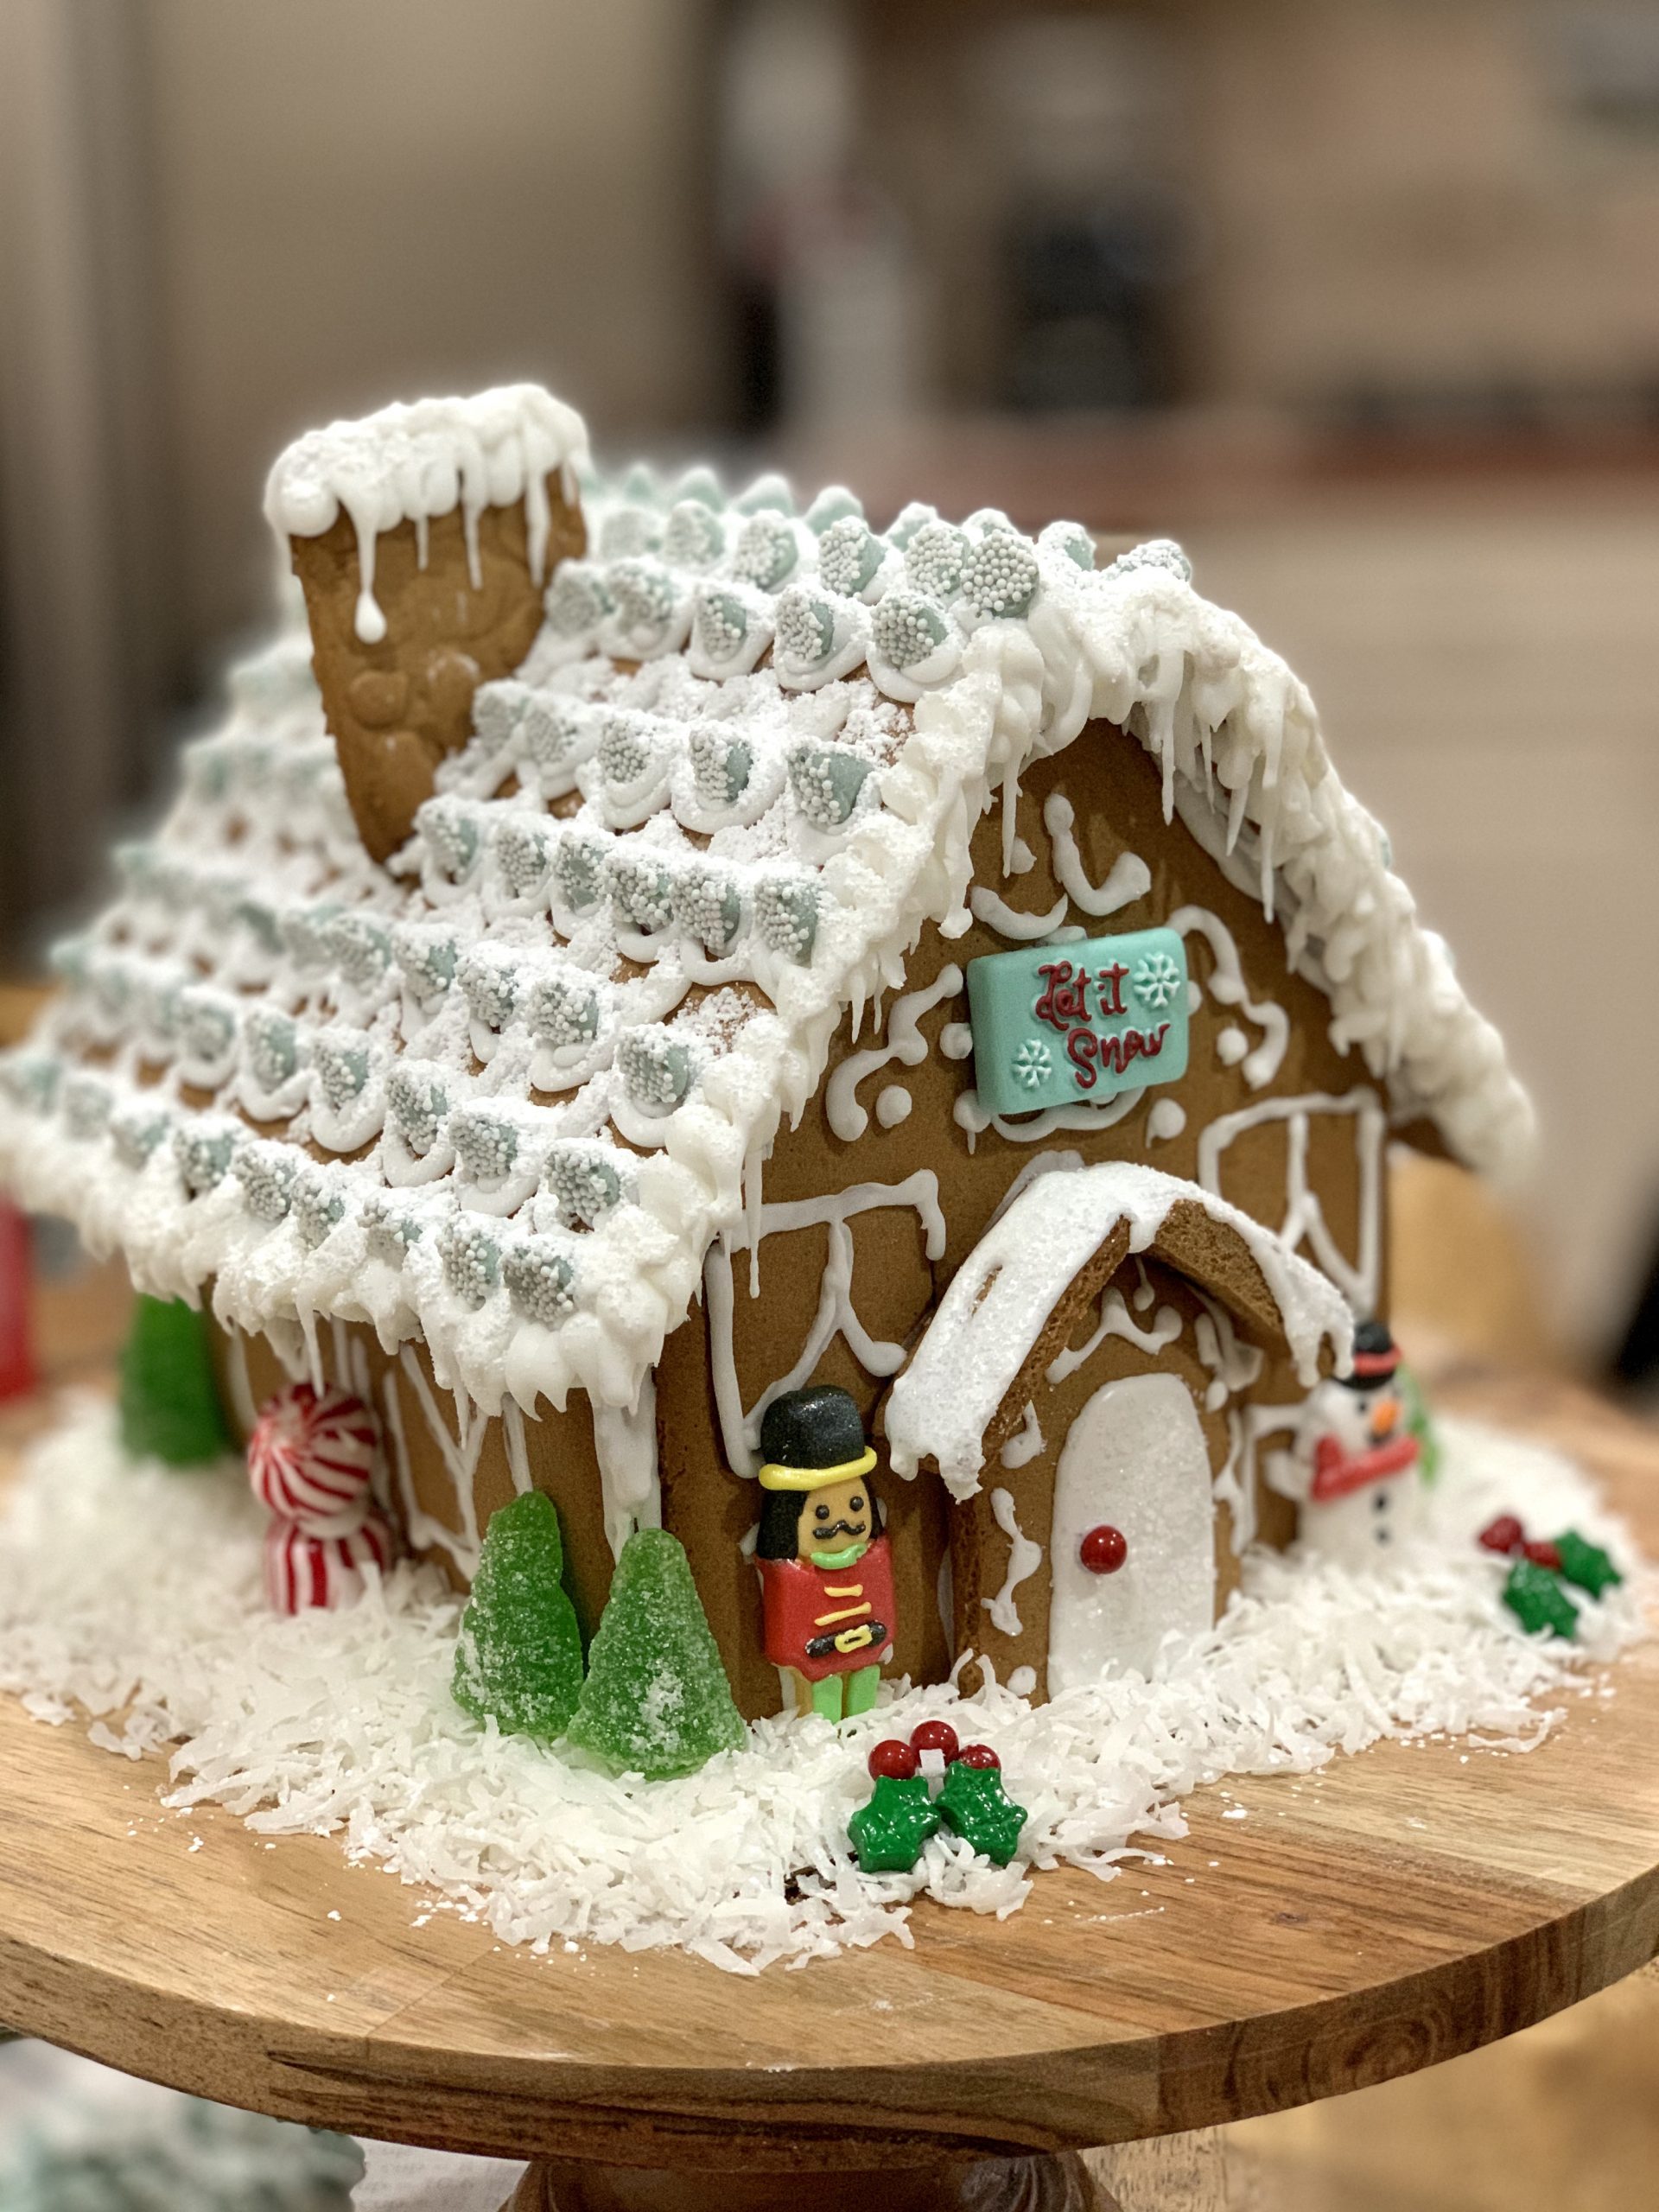
I used the blue Meltaway Mints, Wilton candy and a little shredded coconut (snow) to decorate the house. I barely used the candy included in the kit. I added a little glitter to the snow on the chimney and the melting snow icicles around the roof. The finishing touch was powdered sugar for that fresh fallen snow look. Also, powdered sugar covers a multitude of imperfections.
I followed the box directions (build first, decorate later) and I was disappointed that my icing was dripping down the sides of the walls. I’m going to buy another one and work in reverse to see if I can get the clean icing lines I’m looking for! The box may need to rewrite their instructions once I’m done.
I thought it would be an epic fail because I’m not an artist, but I’m happy with my shabby chic gingerbread house. While I bake lots of cookies, I don’t decorate and transform them into beautiful works of art. I made it the centerpiece in our dining room table to add a little whimsy to this year’s decor. I placed the cake stand over a plaid table runner, added a wooden garland, twinkle lights and a small tree for the cottage in the woods look.
I really enjoyed this project, even with the hiccups and sliding roof tops! This may be a new tradition for me. I hope you give it a try as well.
